
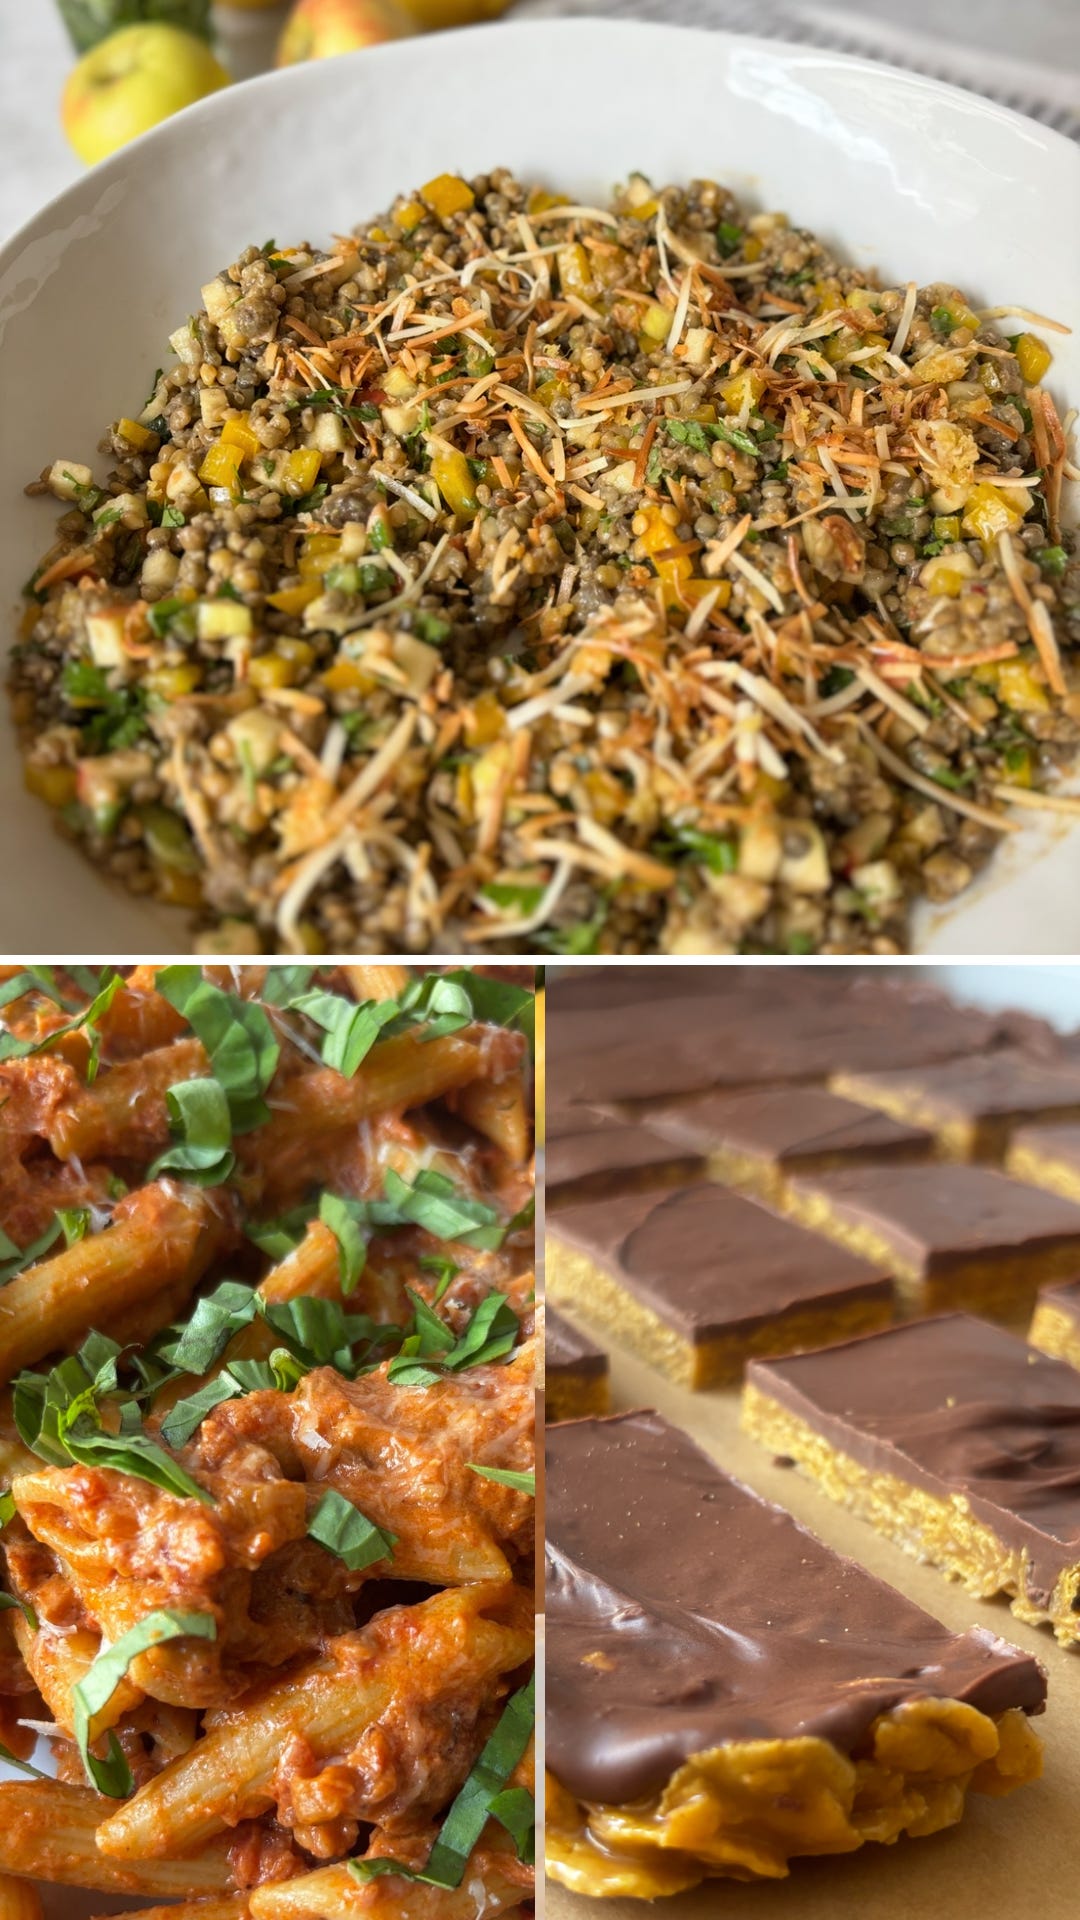
Happy Sunday! Here are all of this week’s recipes in one place. I hope you find something, or many delicious things to make this week.
P.S. Looking for a specific ingredient, one of my favorite kitchen tools, or the printable recipe PDFs? I’ve linked everything at the bottom of this post.
If you’re going to make tomato sauce from scratch, it better be worth it. This one is! Pancetta, onions, garlic, and three kinds of tomatoes finished with cream—or my favorite cottage cheese trick.
Serves ~ 4 | Prep: 15 min | Bake: 30–35 min | Total: about 50 min
Ingredients
3 tablespoons extra-virgin olive oil
2 tablespoons pancetta, finely diced (Trader Joe’s pre-diced pancetta works great)
1 small onion, diced (about ⅔ cup)
1 bay leaf
Pinch of red pepper flakes
¾ teaspoon sea salt or kosher salt
3 garlic cloves, minced (or 3 frozen garlic cubes)
2 tablespoons tomato paste
¼ cup oil-packed sun-dried tomatoes, drained and coarsely chopped
2 cups crushed tomatoes (I use most of a 28 oz can)
¼ cup chicken stock or dry white wine
1 pound short pasta (I love penne, but ziti or fusilli are nice too)
½ cup blended cottage cheese or ½ cup heavy cream, for a richer, more indulgent sauce
½–1 teaspoon sugar (to taste)
Additional salt, to taste
Freshly ground black pepper
For Serving
¼ cup chopped fresh basil
Freshly grated Parmesan cheese
Instructions
Heat the olive oil in a medium saucepan over medium heat. Add the pancetta, onion, bay leaf, red pepper flakes, and ¾ teaspoon salt. Cook, stirring occasionally, until the onion is very soft and beginning to caramelize and the pancetta is lightly browned, about 8–12 minutes.
Increase the heat to medium-high. Add the garlic and cook for about 30 seconds, until fragrant. Stir in the tomato paste and sun-dried tomatoes. Cook for 1–2 minutes, stirring constantly, until the tomato paste darkens slightly.
Pour in the chicken stock or white wine. Cook, stirring frequently, until the liquid has mostly evaporated, about 1–2 minutes. Add the crushed tomatoes and bring to a gentle simmer. Reduce the heat to low, partially cover, and cook, stirring occasionally, until the sauce has thickened, 25–30 minutes.
If using cottage cheese instead of heavy cream: Blend the cottage cheese with 1–2 tablespoons milk until it’s completely smooth and creamy. I love my Beast Mini or Mega Blender for this—it makes the cottage cheese silky, and my kids can’t tell the difference. (Full-fat cottage cheese works best.) I linked my code below if you’d like 15% off.
If using heavy cream: Skip this step.
Meanwhile, bring 4 quarts of water to a boil. Add 1 tablespoon kosher salt, then the pasta. Cook until al dente, about 1–2 minutes less than the package directions. Reserve ½ cup pasta water before draining.
Remove the bay leaf from the sauce. Stir in the blended cottage cheese or heavy cream, then add ½ cup freshly grated Parmesan cheese and stir until melted and smooth. Add ½ teaspoon sugar, taste, and add up to another ½ teaspoon if needed. Season with additional salt and freshly ground black pepper to taste.
Add the cooked pasta to the sauce, tossing until evenly coated. If needed, stir in a splash of the reserved pasta water until the sauce reaches your desired consistency.
Divide among bowls and top with fresh basil and additional freshly grated Parmesan. Serve immediately and enjoy.
I really like to use blended cottage cheese instead of heavy cream (okay, not for desserts - let’s not get too crazy) It adds a boost of protein and cuts back on the fat without sacrificing the creamy texture. My kids have never noticed the difference.
Don’t rush this step. Letting the tomato paste darken for a minute or two caramelizes the natural sugars and gives the sauce a much richer, deeper flavor.
Pre-shredded Parmesan doesn’t melt as smoothly because it has anti-caking agents/ powder they put on the cheese. Yikes. Freshly grated Parmesan gives you the silkiest sauce and tastes so much better.
Before draining the pasta, reserve some of the cooking water. The starch helps the sauce cling to every piece of pasta and makes it extra silky.
Wine or Chicken Stock? Both are delicious. White wine adds a little brightness, while chicken stock gives the sauce a richer, cozier flavor.
The sauce actually tastes even better the next day, making it perfect for meal prep. Just cook fresh pasta when you’re ready to serve.
The Beast Mini Blender is what I used to blend the cottage cheese in this recipe. I use it all the time for dressings, sauces, marinades, soups, and smoothies. If you’ve been thinking about getting one, my link saves you 15% off, which is the best discount I’ve found.
Get 15% off here → https://get.aspr.app/SH1jQQ
De Cecco Penne Rigate - My favorite pasta. It’s made in Italy, and those little ridges help the sauce cling to every bite.
San Marzano Crushed Tomatoes - a little thing that makes a BIG difference. These are the best, no contest.
Maldon Sea Salt - I use this for seasoning along the way + finishing.
Microplane Zester - Freshly grated Parmesan really does make a difference, and this is the one I use. It also makes quick work of lemon zest, garlic, ginger, and even chocolate. One of those inexpensive kitchen tools I reach for all the time.
Sweet, crunchy, savory, and just a little spicy, this lentil salad is anything but boring. The warm ginger-coconut crunch is what makes it! Even my anti-veggie teenage boys love this one.
Serves: 4–6 | Prep: 15 min | Total: 15 min
No mayo in this one, so no worrying about it sitting out too long — which makes it an easy yes for a potluck, the beach, the pool, wherever. It’s high-protein, it’s vegan, and my teenage boys who normally push vegetables around their plate eat this one up. The ginger-coconut crunch on top is really what makes it — don’t skip it.
Ingredients
For the Salad
1 (17.6 oz) pkg steamed lentils (about 2½ cups)
1 yellow bell pepper, diced
1 Fuji or Honeycrisp apple, diced
1 jalapeño, seeded and finely diced
1 cup chopped Italian parsley
For the Dressing
1 tbsp balsamic vinegar
Juice of 1 lemon
1 tsp Dijon mustard
1 tsp coarse salt
⅓ cup really good olive oil (avocado works too)
For the Ginger Coconut Crunch
1 tsp sesame oil
2 tbsp freshly grated ginger (or ~
¼ cup unsweetened shredded coconut
Instructions
Add lentils to a large bowl and gently break them apart.
Stir in bell pepper, apple, jalapeño, and parsley.
Whisk dressing ingredients until emulsified. Pour over salad and toss.
In a small skillet over medium heat, warm sesame oil. Add ginger and coconut; cook, stirring, until golden and fragrant.
Spoon the warm crunch over the salad and toss lightly before serving.
Steamed lentils are in the produce section at Trader Joe’s, Sprouts, most grocery stores carry them there too, sometimes next to the pre-washed greens.
Swap in diced cucumber, or any veggie you like — this recipe is forgiving.
Keeps beautifully in the fridge for a few days.
Maldon Sea Salt - a little thing that makes a big difference.
Corto Olive Oil - a really good olive oil makes all the difference, especially when the recipe is pretty simple.
My go-to Knife - Sharp, affordable, Japanese Steel. Best seller for a reason.
Caraway Glass Food Container (10 cups) - great for storing these.
(Except I’ve always made them with Corn Flakes.) I got this recipe from my college roommates years ago, and it’s been one of my favorite easy treats since.
Serves: 20–24 bars (9×13) or 40–48 bars (13×18 ) | Time: 20 minutes + ~1 hour to chill
I love this recipe because it’s simple, but so good. It comes together with just a handful of pantry ingredients, and the combination of peanut butter, chocolate, and butterscotch is hard to beat. If you know, you know.
The only trick is not to overcook the sugar and corn syrup. Bring it just to a boil, then take it off the heat before stirring in the peanut butter. That’s what keeps the bars soft and chewy instead of hard.
Ingredients
9×13 Pan
1 cup sugar
1 cup light corn syrup
1 cup creamy peanut butter
1 teaspoon vanilla extract
6 cups Corn Flakes (or Special K cereal)
1 cup semi-sweet chocolate chips
1 cup butterscotch chips
13×18 Sheet Pan (Double Batch)
2 cups sugar
2 cups light corn syrup
2 cups creamy peanut butter
2 teaspoons vanilla
12 cups Corn Flakes (or Special K cereal)
2 cups semi-sweet chocolate chips
2 cups butterscotch chips
Instructions
for a 9×13 Pan
1. Line a 9×13-inch baking dish with parchment paper, leaving enough overhang to lift the bars out after they’ve chilled.
2. Place the cereal in a large mixing bowl and set aside.
3. In a medium saucepan over medium heat, combine the sugar and corn syrup. Stir constantly until the mixture just comes to a boil. As soon as it does, remove it from the heat.
4. Stir in the peanut butter and vanilla until completely smooth.
5. Pour the peanut butter mixture over the cereal and gently fold until evenly coated.
6. Transfer the mixture to the prepared pan and gently press it into an even layer. Don’t pack it down too firmly.
7. Melt the chocolate chips and butterscotch chips together in the microwave in 30-second intervals, stirring between each, until smooth.
8. Spread the chocolate mixture evenly over the bars.
9. Refrigerate for at least 1 hour, or until the chocolate is set. Lift the bars out using the parchment paper and slice.
Enjoy! And maybe share a few, because I have very little self-control around these.
for a 13×18 Sheet Pan (Double Batch)
Repeat the recipe above using the doubled ingredient amounts and an 18×13-inch parchment-lined sheet pan.
Refrigerate for at least 1 hour before slicing.
Don’t let the sugar and corn syrup boil long. As soon as the mixture reaches a boil, remove it from the heat. That’s the secret to soft, chewy bars.
I like to refrigerate the bars before slicing. It helps the chocolate set and makes for much cleaner cuts.
Don’t skip the parchment paper! It makes lifting the bars out and slicing them so much easier.
Store covered at room temperature for up to 5 days, or refrigerate if you prefer a firmer bar. They also freeze beautifully. Let them sit for about 10 minutes before taking a bite. Trust me.
Parchment Paper - I go through this stuff constantly. I use two sheets to line the XL sheet pan, and it makes cleanup basically nonexistent. Grab a big box — you’ll use it for everything.
9×13 baking dish - I love this Dowan White Porcelain Dish for everything from cakes to lasagna. The white porcelain looks beautiful from oven to table, bakes evenly, and it’s a little deeper than a traditional casserole dish.
My favorite 13 x 18 sheet pans - for the double batch.
My Favorite Spatulas - My go-to silicone spatulas for everything from scraping every last bit of batter out of the bowl to folding and stirring.
My go-to Knife - Sharp, affordable, Japanese Steel. Best seller for a reason.
Caraway Glass Food Container (10 cups) - great for storing these.
I hope you love these recipes! As always, thank you so much for being here. Happy cooking and eating.
xo,
Chelsea
If printable recipes make cooking easier for you, you can find them below.
Paid subscribers get early access to new recipes, plus my full printable PDF recipe library — a new PDF with every recipe I share.
Comments
Nothing yet. Say the first thing.
Sign in to join the conversation.