
I have added some “challenges”, which will help you get creative and hopefully inspire you to start sewing, and they are completely optional! The most important thing is to have fun while learning.
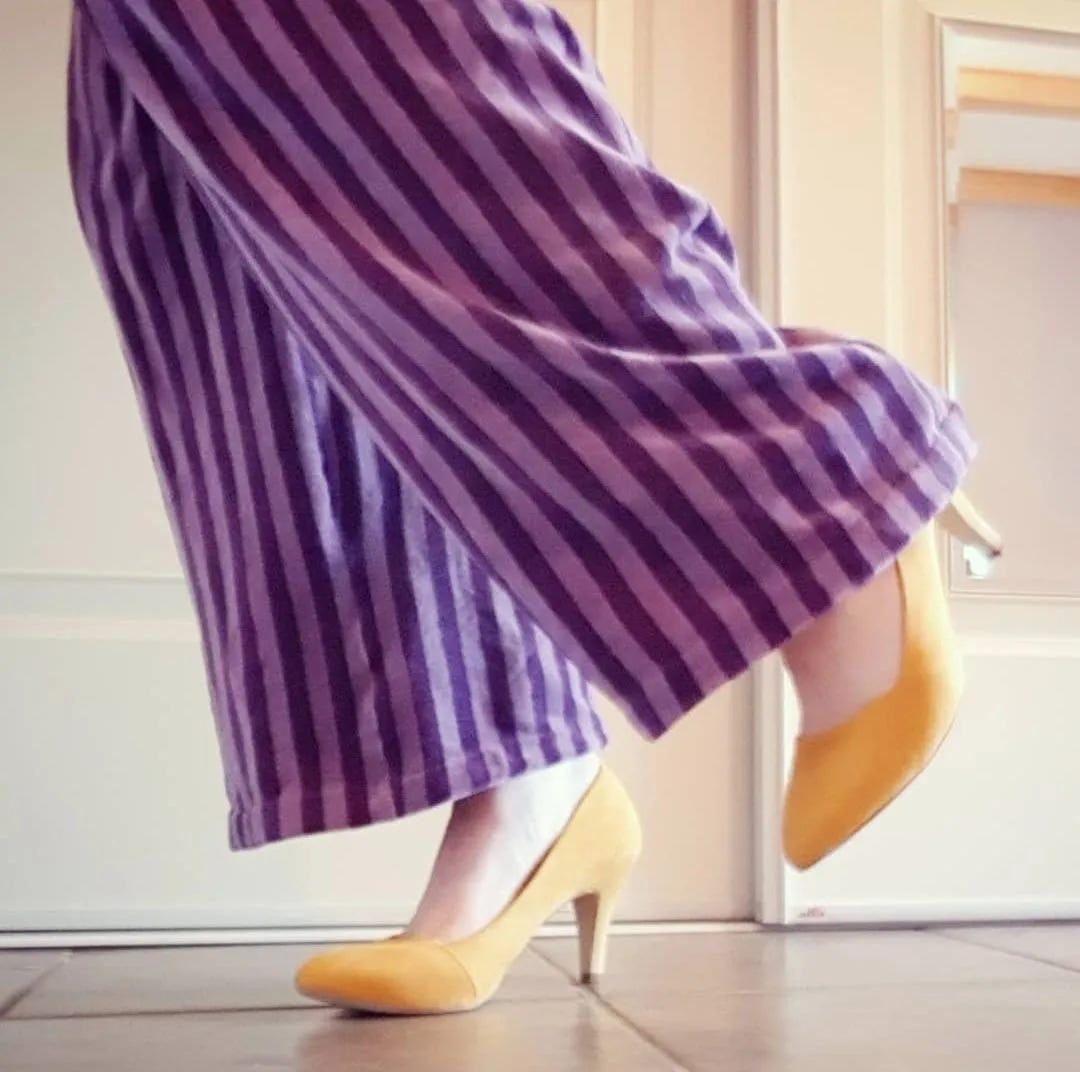
Why you should learn how to sew by hand:
Hand sewing is a valuable skill to have. I find myself fixing the garments of my friends and family often, and the appreciation I get from them is highly motivating. Being able to save your favourite shirt or make an item bigger or smaller is a good feeling. Perhaps you would like to sew a costume for your child instead of buying from the store.
Another reason why you should want to learn how to sew by hand is that you can sew the items of your dreams. You no longer need to be dependent on supporting big companies that may or may not use child workers or adults who are highly underpaid for their work. Choose the right fabric and your item will last for the rest of your life. Maybe you can reuse old curtains and create a beautiful dress.
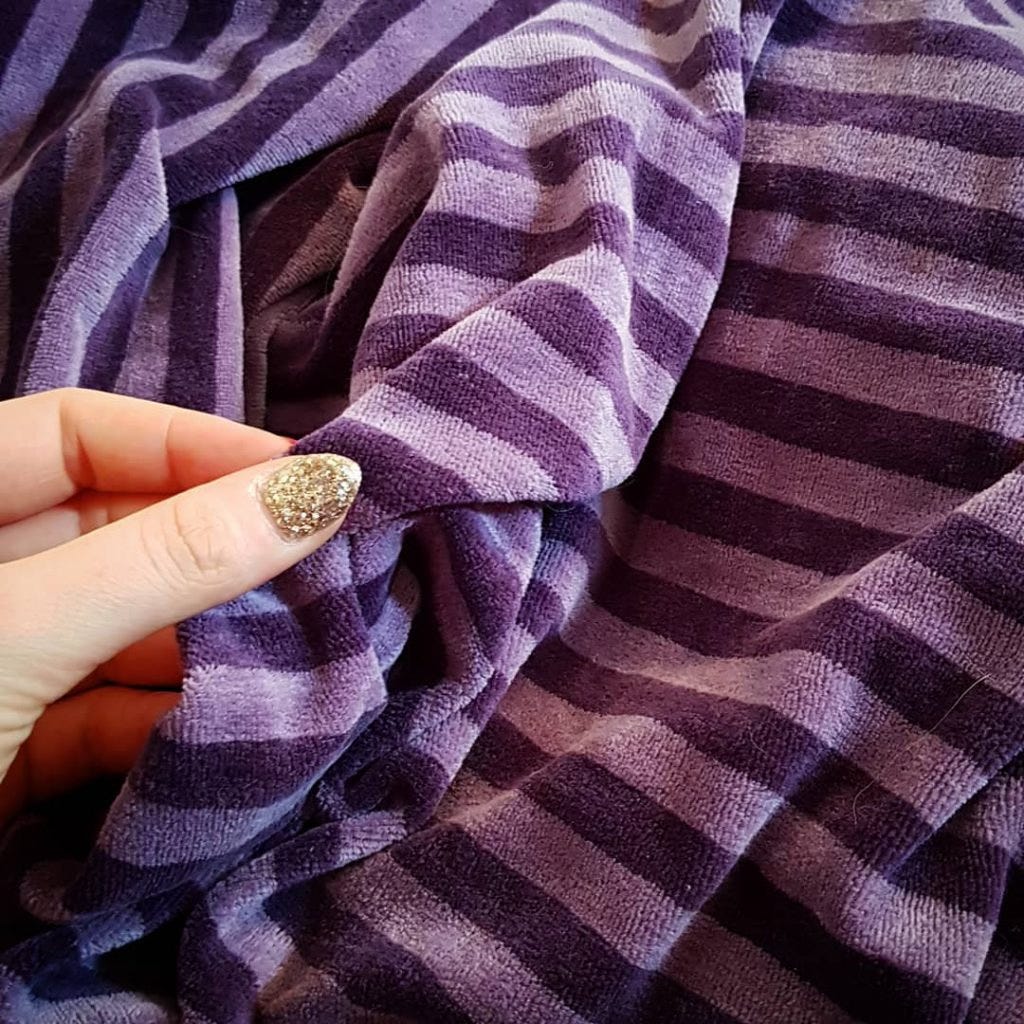
The main reason why I enjoy sewing, is that I find it fun and relaxing.
The first challenge is very simple and does not require much work
Reflect over the history of clothing. How has the production of garments changed since your grandparents time?
Where does the fabric come from? Look at the seams of the garment you are wearing.
Who do you think made it?
How much time do you imagine it took to produce your garment?
Is it made with plant materials?
Where in the world is it from? What tradition or culture does it originate from?
Was it made by machine? Is there some hand sewing on it already? Can you spot the difference between machine sewn and hand-sewn? .
How did I get into hand sewing?
I have sewn by machine since I was a child, but longed for more freedom in my work. I wanted to learn how to do it all by hand. How to sew basic stitches, embroider both with beads, wool and silk. I am grateful for my sewing machine, but I always longed to sit in front of the fireplace with a project in my hands.
What do you do when you don’t know where to start?
I started at the beginning. I gravitated towards the Viking age as this was the earliest period I could think of with info about sewing. I decided to “go back in time” and explore how the most basic items of clothing were made. The idea was to work my way up the centuries.
(This idea I had of working my way up the centuries ended up with me sewing a lot of historical clothing focusing on the viking age and the early medieval era. Because of this interest I even made it on national tv reenacting a woman who lived in year 800 Norway. One time I had a job of reenacting a viking in a long house during a Christmas market. A county in Norway also hired a buch of reenactors to show off a municipality with lots of history for a tv program once. Goes to show how when you have a passion for something, it literally can lead you to the things you least expected and also jobs! I was even offered a job at a museum because of this interest, however I did not do it.
Working my way up the centuries was a bigger task than I had anticipated, and if I wanted I could probably be stuck in a “time era” forever and never move on because there would constantly be something new to learn.
So how did I begin? I ordered books online and began practicing the basic stitches. I quickly became obsessed with learning stitches, and would practice for hours and hours until both my hands and eyes hurt. The wonderful thing about this is that I use all of the techniques I acquired for my everyday wear, not just historical clothing.
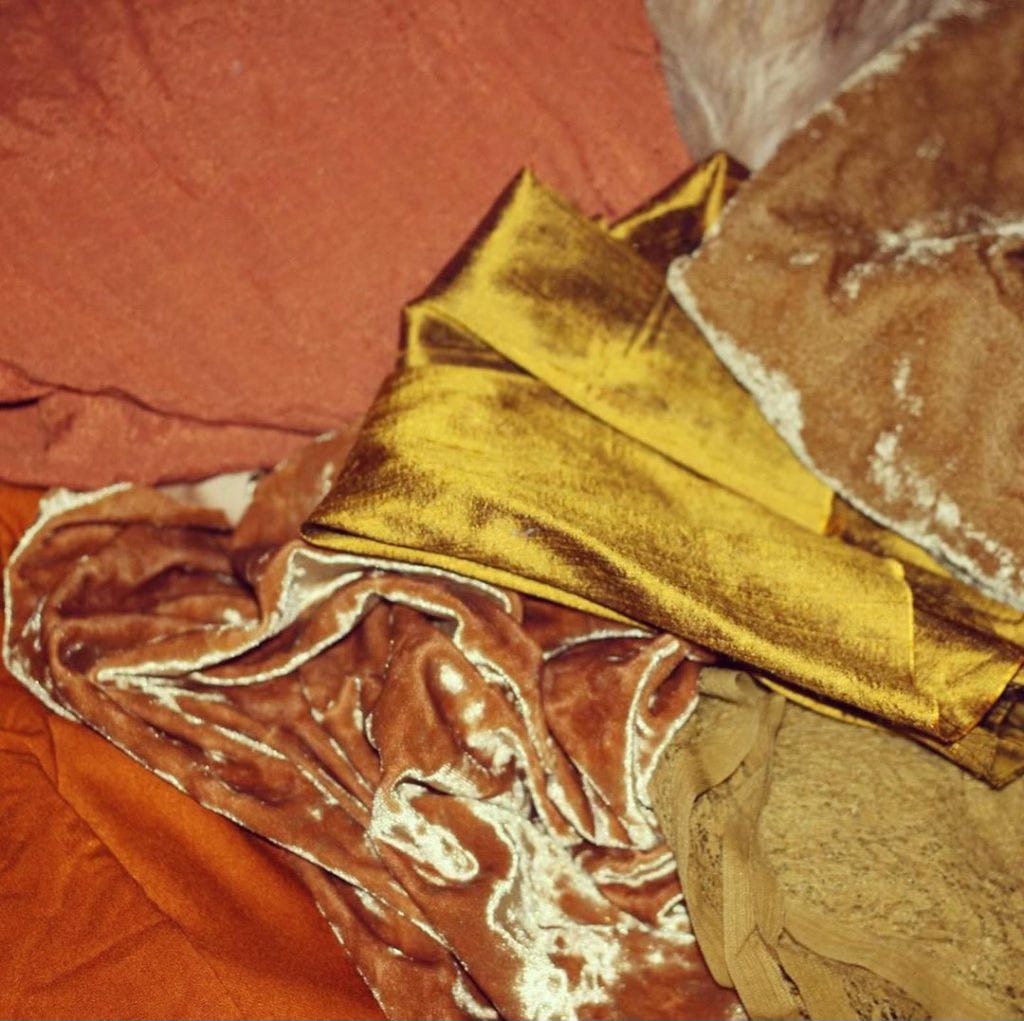
One of my more elaborate projects was sewing a velvet dress with beaded embroidery decor. I ended up using this dress when I modelled for a Pre-Raphaelite themed calendar, inspired by the Pre-Raphaelite brotherhood. Also probably something that would not have happened if it wasn’t for my interest in clothing and fashion.
Your second challenge:
Figure out what your goal is when it comes to sewing. Is your goal to learn historical sewing, the most common stitches or perhaps embroidery? Maybe all of it! It helps to have a clear goal.
Once you figure out your goal, you can start focusing on it. Maybe order books on what you’d like to learn, go to the library etc. Don’t try to learn it all at once. Make a plan and slowly work through it.
Don’t underestimate asking people for help. It’s something I should have been better at doing. I’m so stubborn, I made it much more difficult for myself than it had to be.
I suggest practicing on a piece of fabric until you feel confident enough to start with a bigger project.
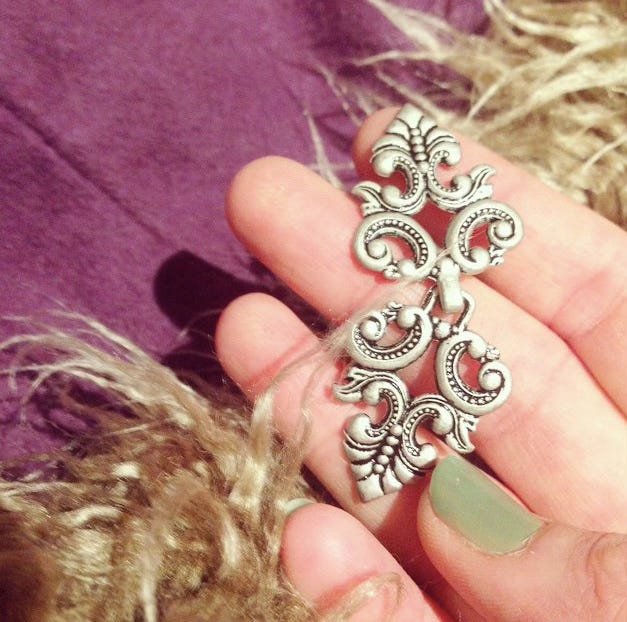
Patterns & Fabric
Should you wish to make your own clothing, there are a few things you need to know; your measurements and what you want to sew. To figure out your measurements, look up a “measurement chart” online for ideas on what to measure. The more measurements you have, the better! You need a measuring tape to do this.
Do you have a favourite top or dress? Look at the seams and figure out how many individual pieces it’s made of. Draw it on a piece of paper, and add your own measurements to it. To do this, you’ll need to do a bit of math, but when you solve the puzzle, it’s easy.
To make your own pattern it’s a good idea to use tracing papers to transfer the “real size” pattern to it. You’ll need scissors, rulers, measuring tape, a pencil. Once the pattern is drawn on the tracing paper, you cut it into individual pieces. You will then pin it with needles to your fabric, and cut around it. Remember to have some seam allowance!
When you buy a fabric, you always need to pre-wash it unless the seller tells you otherwise. Sometimes you will need to hand-wash instead of using the washing machine. This is because the fabric might shrink when washed. It would be a shame to sew a piece of clothing only to have it shrink in wash later.
I don’t always use a pattern for things I have made many times before. Sometimes I draw the measurements directly on the fabric, but this is very difficult if you’ve never done it before.
I don’t particularly like following store bought patterns, so I usually change it to suit me better or I do it different somehow. Most fabric stores in Norway (not that we have many…) keep an archive with pre-made patterns, and it usually tells you how much fabric you need. You can find patterns on Etsy, ebay and probably other places as well.
Some practical challenges:
Take your own measurements, and write it all down on a piece of paper, so you can keep it for reference.
Find a piece of clothing you would like to copy (for learning purposes). Lay it flat on a table and figure out how it’s constructed. Draw the construction on a piece of paper, and add real life measurements to the drawing. Compare the measurements to your own measurements that you took earlier.
When getting started with hand sewing, you may find yourself lost in a sea of different stitches. Which ones are the most useful? Which ones is suitable for what project? Below you can see some of my most used stitches when I make everyday clothing.
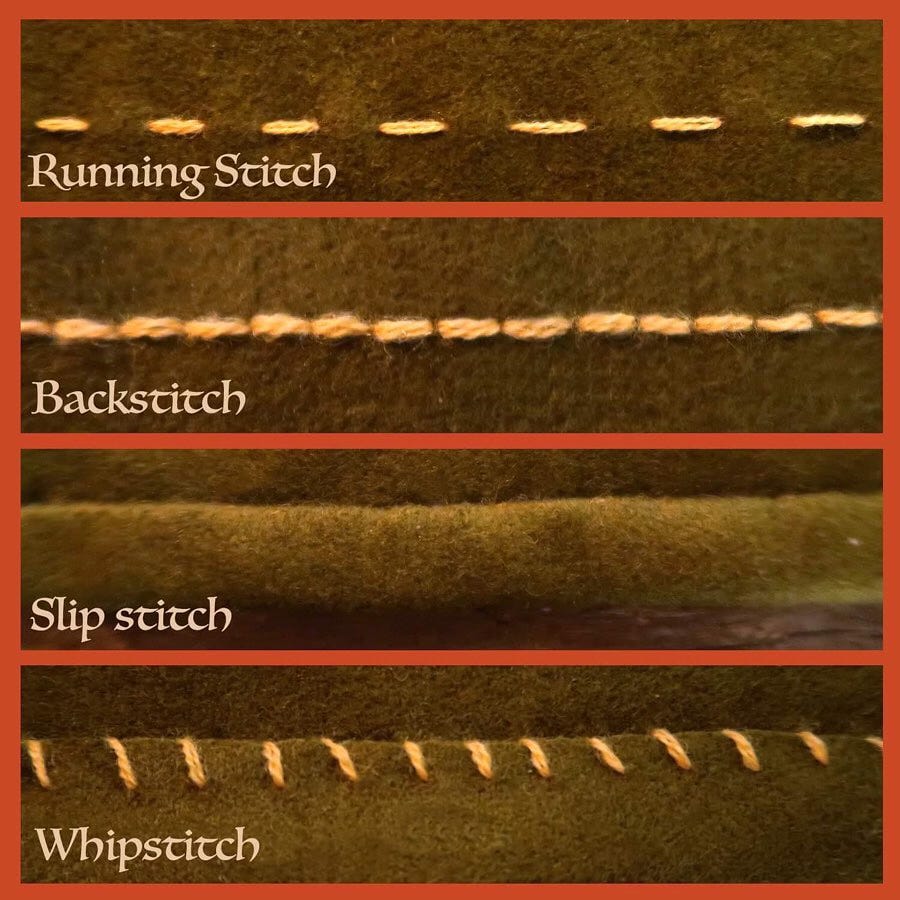
Running Stitch: I use this as a temporary stitch, so that I don’t need needles to pin the fabric together – basting the fabric. I use as few needles as possible to avoid stabbing myself too much.
Backstitch: If you make very small stitches, it’s as effective and sturdy as a sewing machine. There are different ways to do this stitch! .
Slip Stitch: As a hemming stitch, this is one of my favourite ones. I sew it so that none of the threads are visible on either side. It works great for shirts, arms, pants etc.
Whip Stich: Used to secure a hem or edge of the fabric.
One of my best advices when sewing clothing is to baste your fabric instead of using needles..
Since I wanted to be as historically accurate as possible when sewing with linen and wool, I used linen thread drawn through beeswax. This would make the stitches secure. These days what thread I use, depend on what I sew and what part of the fabric I am sewing on. Good quality thread is much preferred, such as silk.
You might want to look up a video on how to thread your needle and tie the knot if you have never done it before. Make sure you find good quality sewing needles. There are different needles for different uses. Using a thimble is also something that will save your fingers.
“Beaded Embellishment: Techniques & Designs for Embroidering on Cloth” by Amy Clarke Moore and Robin Atkins
“Free-form embroidery” by Judith Baker Montano
“18th Century Embroidery Techniques” by Gail Marsh
“High fashion sewing secrets from the worlds best designers” by Claire B. Shaeffer
“18th Century Embroidery Techniques” by Gail Marsh
“The Tudor Tailor, Reconstructing sixteenth-century dress” by Ninya Mikhaila and Jane Malcolm-Davies
Hope this helps! The comment section is open for questions if you have anything on your mind. Do you enjoy sewing?
-Camilla
No posts
Comments
Nothing yet. Say the first thing.
Sign in to join the conversation.