
There are many options when choosing what you want to draw or sketch. In my ongoing course here on Substack, the main focus is working with graphite pencils, because it’s the easiest way to start learning. I will take you through different materials you can use. All of these materials are NOT needed, but of great use if you would like to learn better how to draw.
When it comes to creating art, the choices can be overwhelming. However, when starting out, it's essential to narrow down the options to make the learning process more manageable. Graphite pencils are a fantastic medium for beginners as they are easy to work with and provide a range of values to work with. In this course, our primary focus will be on using graphite pencils, but we will also explore other materials that can complement your work.
When it comes to creating artwork with graphite pencils, the quality of the pencils plays a significant role in achieving the desired results. Artist quality pencils offer a wide value scale, allowing you to achieve a full range of tones from light to dark. This range is essential for adding depth and dimension to your drawings. In my article “Mastering Hatching and Cross-Hatching” you can read and explore these techniques for a more realistic result.
Personally, I have used various brands of artist quality pencils, but I find that Faber Castell and Koh-i-Noor pencils stand out for their consistency, durability, and the smoothness of their lead. They are a reliable choice for both beginners and experienced artists alike. Buying a set of 8B-2H value range is a good idea! Read my article “Understanding Values in Graphite Pencils” to learn more.
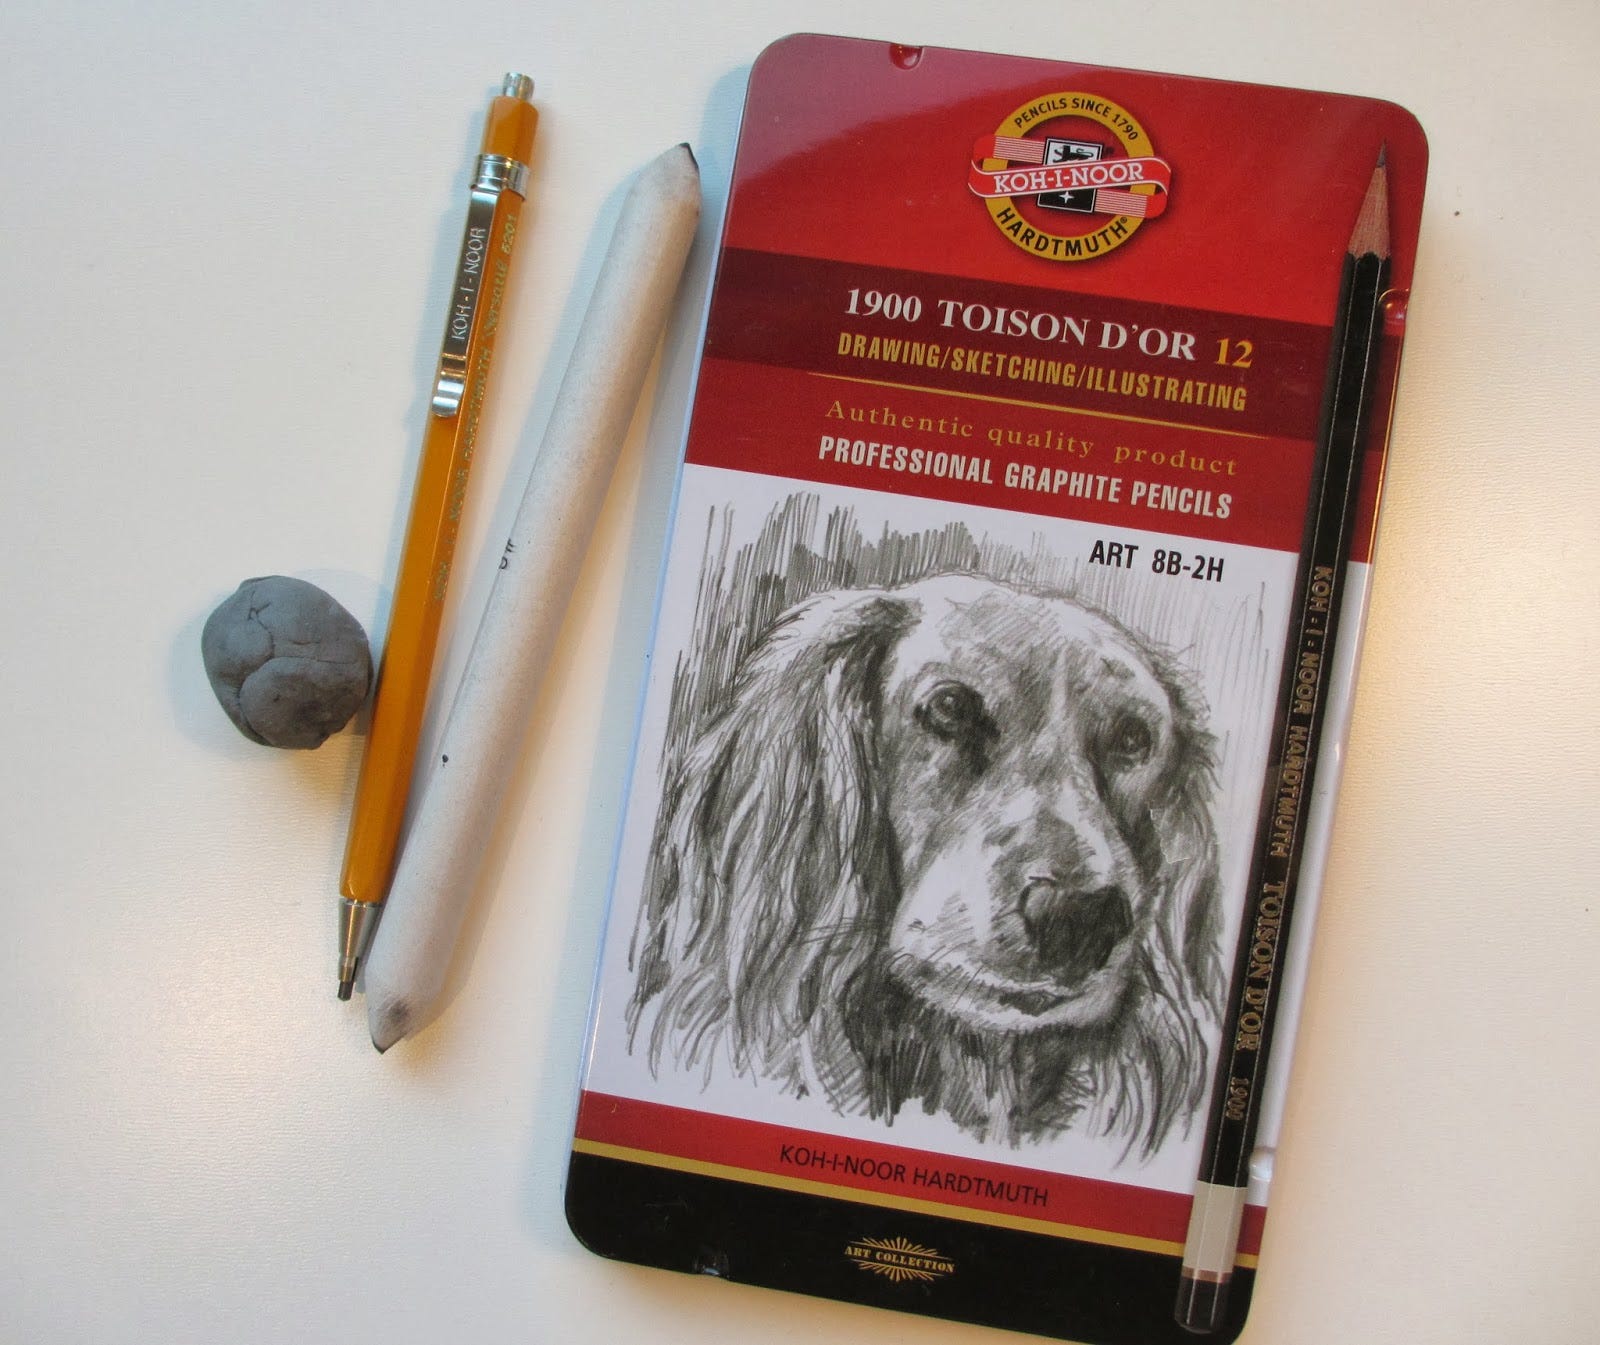
I also like using mechanical graphite pencils - as they are very useful for small details. The brand is not important.
The paper you choose to draw on is the single most important material you use when drawing. It’s wiser to invest in a good quality paper than buying expensive pencils. I will tell you about my favorite papers and why I like them, however you might prefer different sheets.
Drawing paper have different thickness, texture and heaviness. When looking for drawing paper for graphite pencils, I prefer sheets that are over 140 g/m2 (grams per square meter) – this is a number for how heavy the paper is. The papers I like the best is between 160- 180 g/m2. The paper should feel a little rough between the fingers – not too rough and not too smooth. Smooth paper is excellent for markers and pens. Watercolour paper is a good example of papers with rough texture. Common weights for watercolour paper are usually over 190 g/m2.
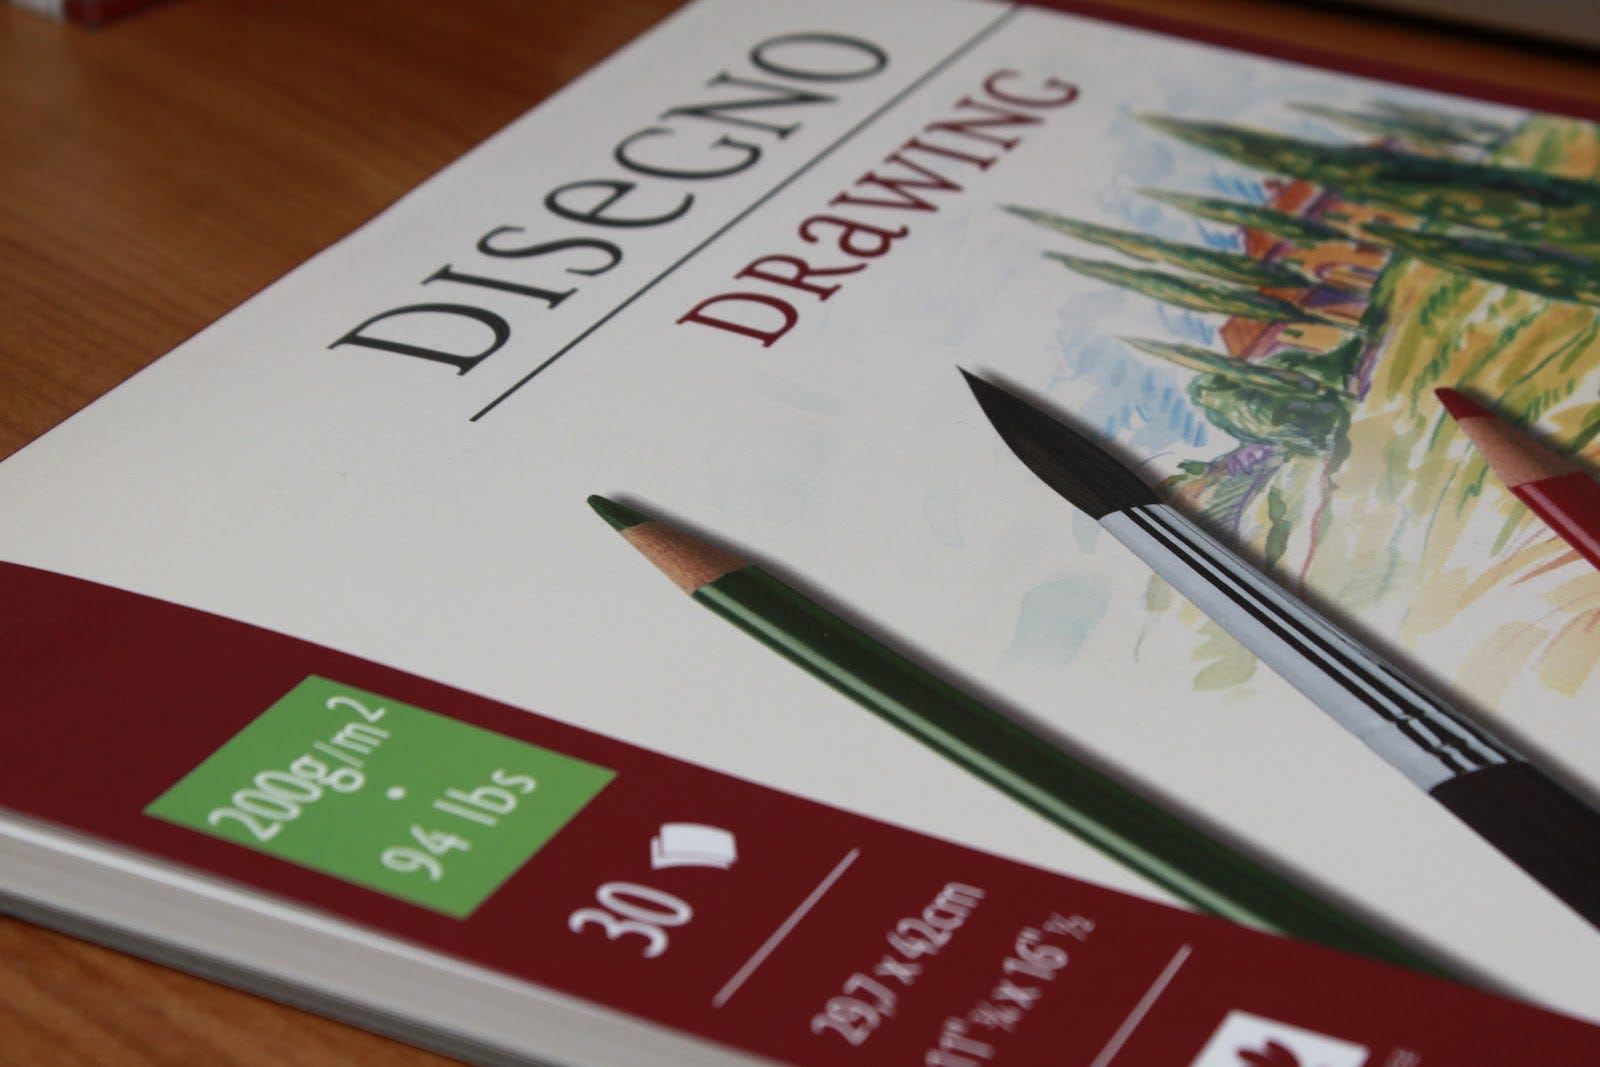
It's possible to feel with your fingers how different paper have more “tooth” than others. There are varying levels of texture, also known as "tooth." This texture refers to the roughness or smoothness of the paper's surface. One advantage of using textured paper for drawing is its ability to hold materials like water and acrylic paint. You could also rub textured paper to make it more flat.
Low gsm: Markers and pens.
Medium gsm: Pencils
Heavy gsm: Watercolour
My favourite papers are Canson 1557 dessin and Fabriano 1264.
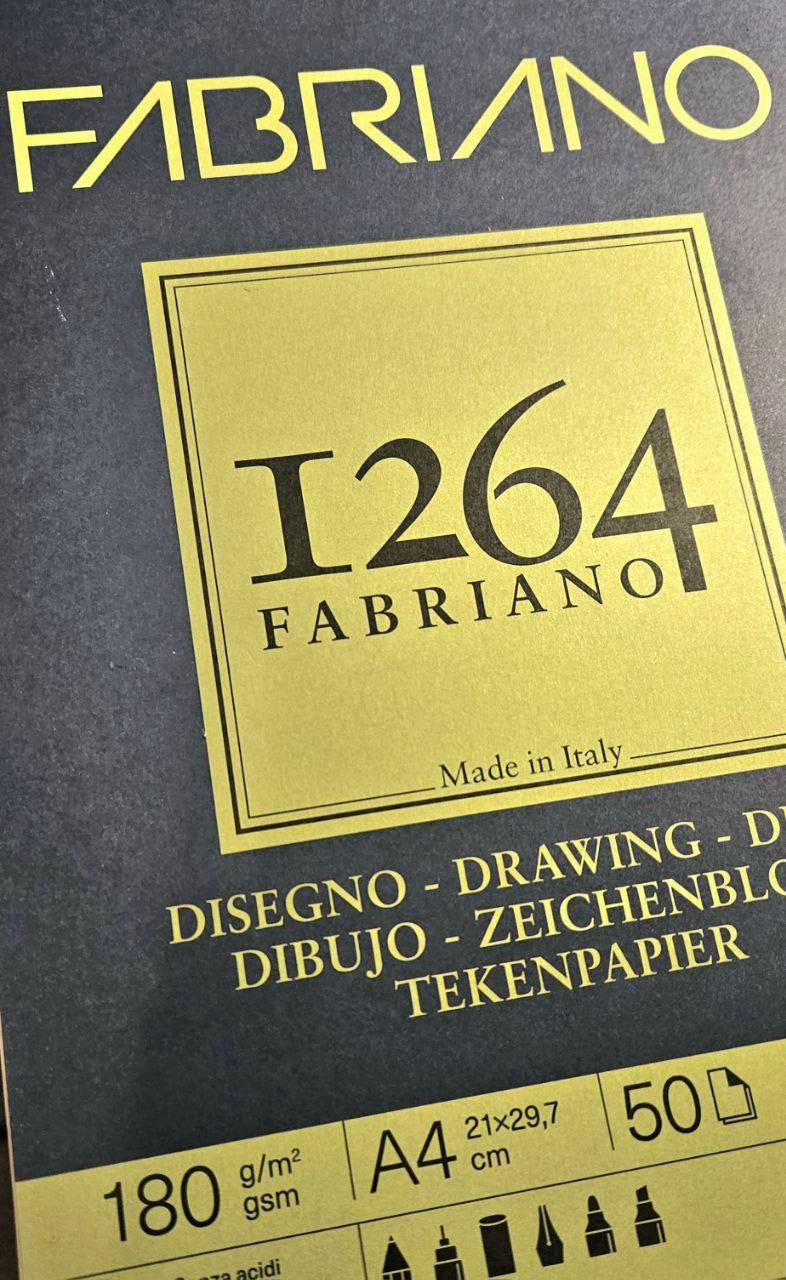
When it comes to drawing with graphite pencils, the choice of paper can significantly impact the outcome of your artwork. So make sure you invest money in good drawing paper.
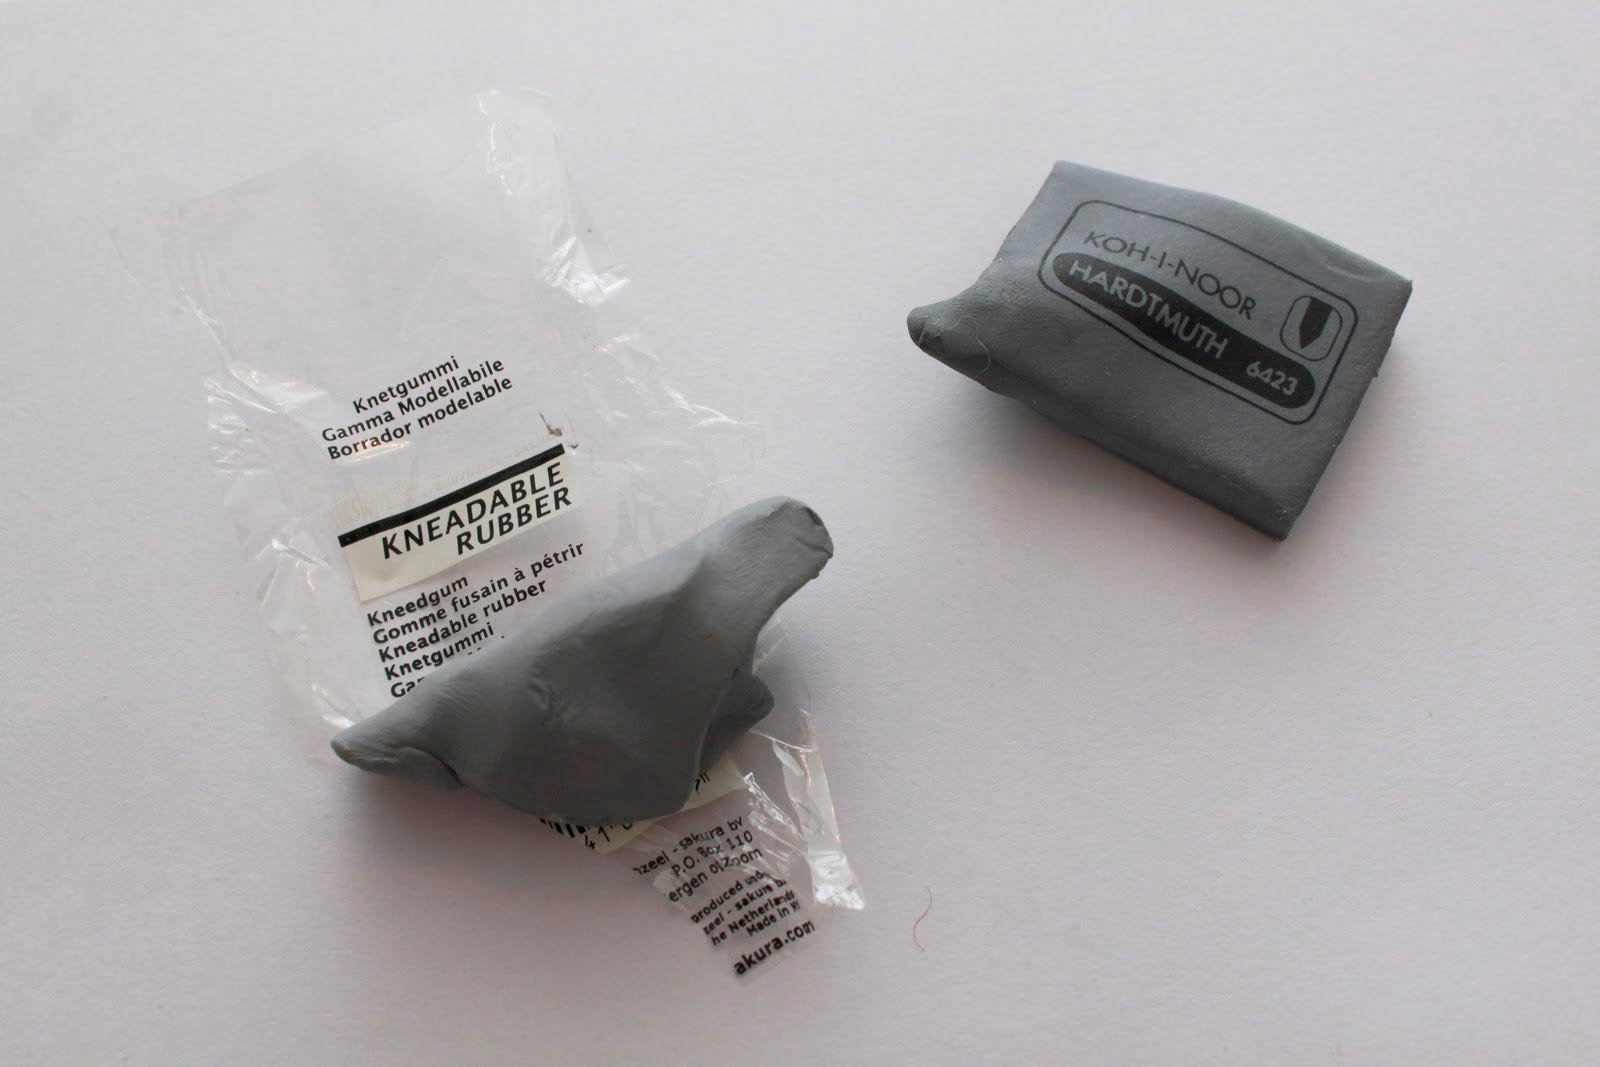
There are many types of erasers that can be good to use. I prefer using kneaded erasers, due to the possibility to shape it however you like. Mechanical clicker erasers are very handy for small details. You can buy refills for them. It’s also possible to buy electric erasers. Any eraser will do, but make sure to clean the eraser so you don’t transfer any dirt to your drawing. How do you clean it? Rub it on a piece of paper.
When creating a soft-looking drawing with graphite pencils, one technique you can use is blending. Blending helps to merge different values seamlessly, creating a smooth transition between light and dark areas in your artwork. However, it's essential to be mindful of how you blend your drawing. Avoid using your fingers as the natural oils on your fingertips can leave unwanted spots on your paper, which are challenging to remove. Instead, use rubber blenders, tortillions/paper blenders, brushes, or soft tissue paper for a more controlled and precise blending process.
Rubber blenders are a popular tool among artists for blending graphite pencils. They allow you to gently soften harsh lines and create gradients without smudging the surrounding areas. Brushes can also be used for blending, especially when working on larger areas or creating subtle textures in your drawing. Soft tissue paper is another effective option for blending. Just ensure that the tissue paper you use is free from any conditioner or ingredients that could potentially damage your artwork. By choosing the right blending tool, you can achieve the desired softness and smoothness in your graphite pencil drawings.
Mastering the art of blending in graphite pencil drawings requires practice and experimentation. Take the time to familiarize yourself with different blending techniques and tools to understand how they influence the overall look of your artwork. As you gain more experience, you'll develop a keen eye for when and how to effectively blend to achieve the desired effect in your drawings.
In classical drawing, it is customary to sharpen your graphite pencils with a knife rather than a pencil sharpener. This practice is rooted in the belief that using a sharp knife allows for more control over the sharpness of the pencil tip. A pencil sharpener can sometimes chew up the wood casing of the pencil or lead to breakage, potentially wasting the material inside. By sharpening with a knife, you can achieve a fine point that is consistent and reliable, enabling you to produce precise and detailed lines in your artwork.
When you sharpen your pencils with a knife, you can customise the angle and length of the tip based on your specific drawing needs. For example, a longer tip may be ideal for creating broad strokes or shading, while a shorter, sharper point may be more suitable for intricate details or hatching. This level of flexibility allows you to adapt your tools to different drawing techniques and styles, enhancing your overall creative capabilities and efficiency. Therefore, while using a knife may seem unconventional at first, it ultimately empowers you to work more effectively and achieve better results in your drawings.
While sharpening your pencils with a knife is a traditional technique, it is not a requirement. Some may find that using a pencil sharpener suits their needs just fine, and that is perfectly acceptable. However, for those looking to delve deeper into the world of classical drawing or wanting to refine their skills further, mastering the art of pencil sharpening with a knife can be a valuable skill to develop. Ultimately, the choice between a knife and a sharpener comes down to personal preference.
One essential tip when working with graphite pencils is to be mindful of how sharp they are. When you sharpen a pencil with a knife, it can create a very fine point that might dig into the paper too harshly, leaving unwanted deep marks. To combat this issue, gently slide your pencil on a sandpaper block after sharpening. This helps to slightly dull the tip of the pencil, preventing it from making overly sharp lines on your drawing surface. By incorporating this step into your pencil preparation routine, you can ensure a smoother and more controlled drawing experience.
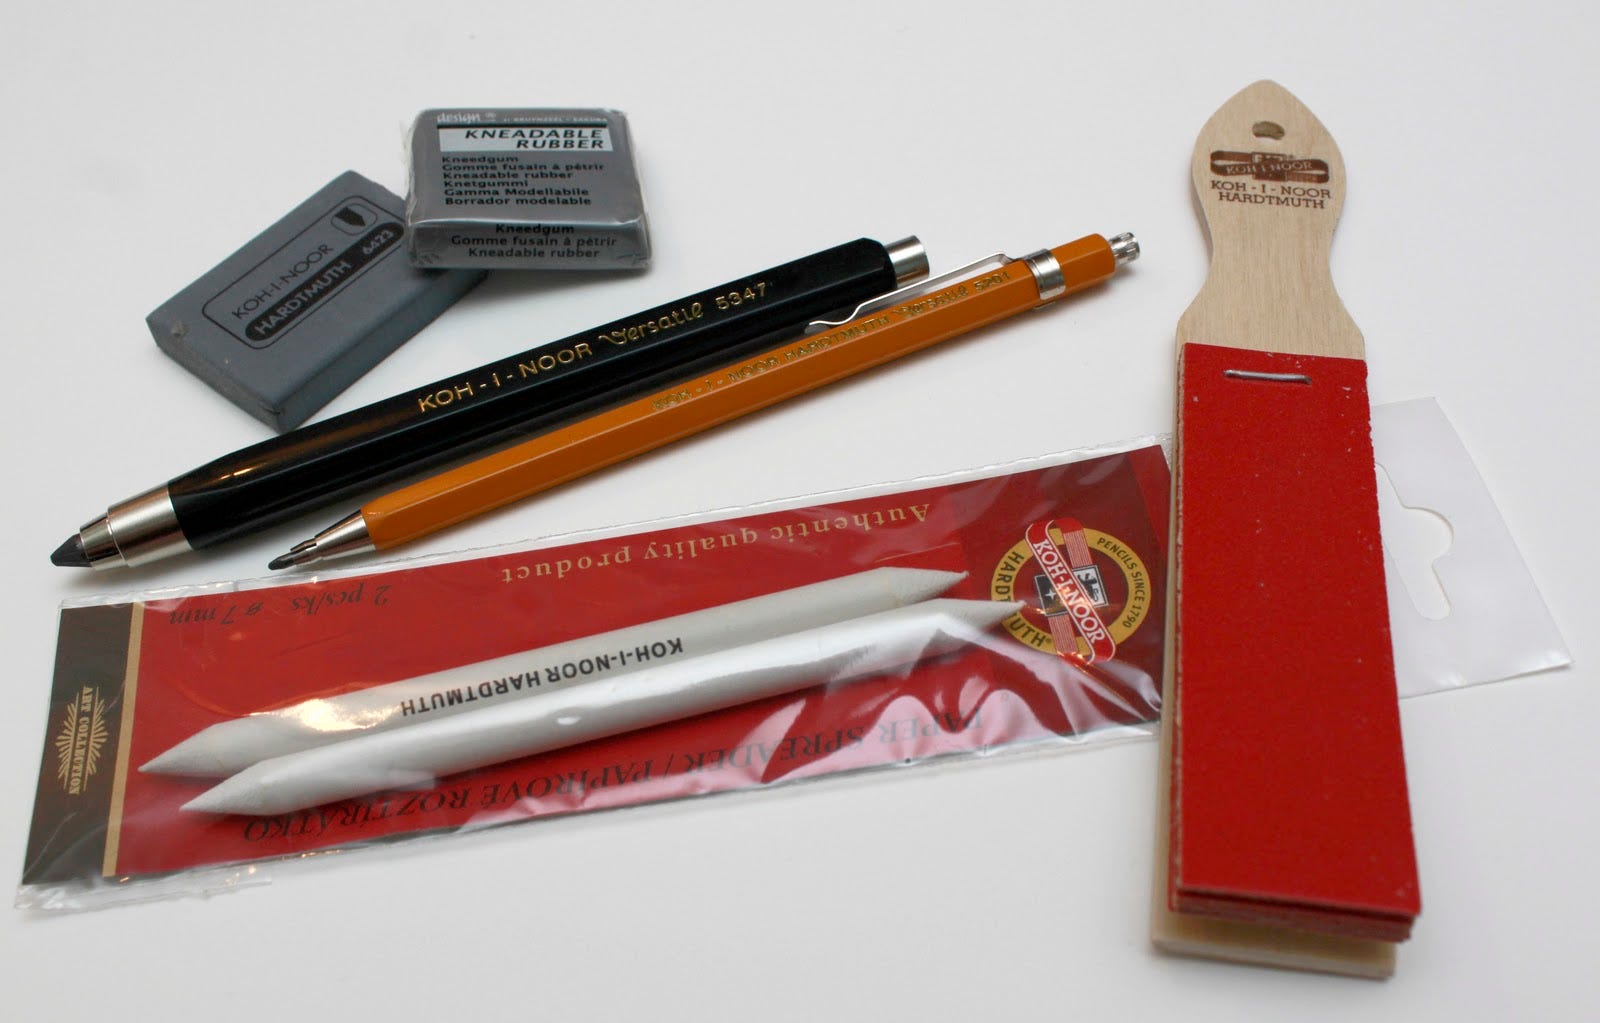
The pressure you apply while drawing with a graphite pencil can greatly impact the intensity of the lines drawn. By understanding how to control the sharpness of your pencil and how it influences drawing, you can improve the quality of your work!
When it comes to preserving your graphite pencil artwork, make sure you use fixative. By using fixative (especially) when you are finished with your artwork you can ensure that they remain a lasting masterpiece for years to come!
Fixative acts as a protective layer that helps prevent smudging and fading over time. It is especially beneficial for drawings that need to withstand the test of time or for those that are going to be displayed in areas exposed to sunlight. By using fixative, you can ensure that your artwork remains vibrant and intact for years to come. There are different types of fixatives available in the market, ranging from workable to permanent options.
Workable fixatives allow you to apply additional layers of graphite on top of the sprayed surface, making it ideal for artists who prefer to continue working on their drawings even after applying fixative.
On the other hand, permanent fixatives create a more robust protective layer that is resistant to smudging and fading. This is the type of fixative I would recommend for this course. There are different types of fixative depending on the medium you use, so make sure you get one that will work for graphite pencils.
When applying fixative, make sure to do so in a well-ventilated area and follow the manufacturer's instructions for the best results.
Keeping a ruler at hand can be a valuable tool, especially when working on perspective drawings. The ruler helps in creating straight lines, maintaining the accuracy of angles, and achieving proper proportions within your artwork. Whether you are sketching architectural details, cityscapes, or any subject with defined geometric elements, having a ruler nearby can significantly improve the quality of your work. It can aid in establishing vanishing points and ensuring realistic spatial relationships in your compositions. So, next time you embark on a drawing that involves depth and perspective, remember to grab your ruler to elevate the precision of your artwork.
While tools like light tracers or light boxes can be beneficial, especially when working from photo references, it is essential not to overly rely on them. These tools can assist in transferring images accurately onto your drawing surface, saving time and effort in the process. However, relying too heavily on them can hinder your development as an artist. It is important to hone your observational skills, practice hand-eye coordination, and train your ability to interpret and translate visual information independently. By relying on your own skills rather than tools alone, you can cultivate a deeper understanding of form, light, shadow, and perspective, ultimately leading to a more authentic and expressive artistic style.
While drawing tools like rulers and light tracers can offer convenience and accuracy, do not let them overshadow the development of your fundamental drawing skills. Using these tools sparingly and strategically, alongside regular practice of freehand drawing, will prove more helpful.
Using a lamp with daylight-like light and positioning it correctly can make a significant difference in how your artwork turns out. The quality of light directly affects how you perceive values, textures, and details in your drawings. A good quality lamp is essential. This type of light is most accurate for seeing true colours and details in your artwork. Placing the lamp on the opposite side of the hand you use when drawing is also important. For example, if you are right-handed, positioning the lamp on your left side will help to maximize the light shining onto your work. This setup not only reduces shadows cast by your hand but also provides consistent and even lighting across your drawing surface.
If you are used to graphite pencils, you may experience that charcoal pencils feel much more rough on the paper than you are used to. Charcoal pencils can feel much rougher and more abrasive compared to the smoothness of graphite. This change in texture can be initially off-putting, but with practice, you will discover that charcoal offers a unique quality to your drawings.
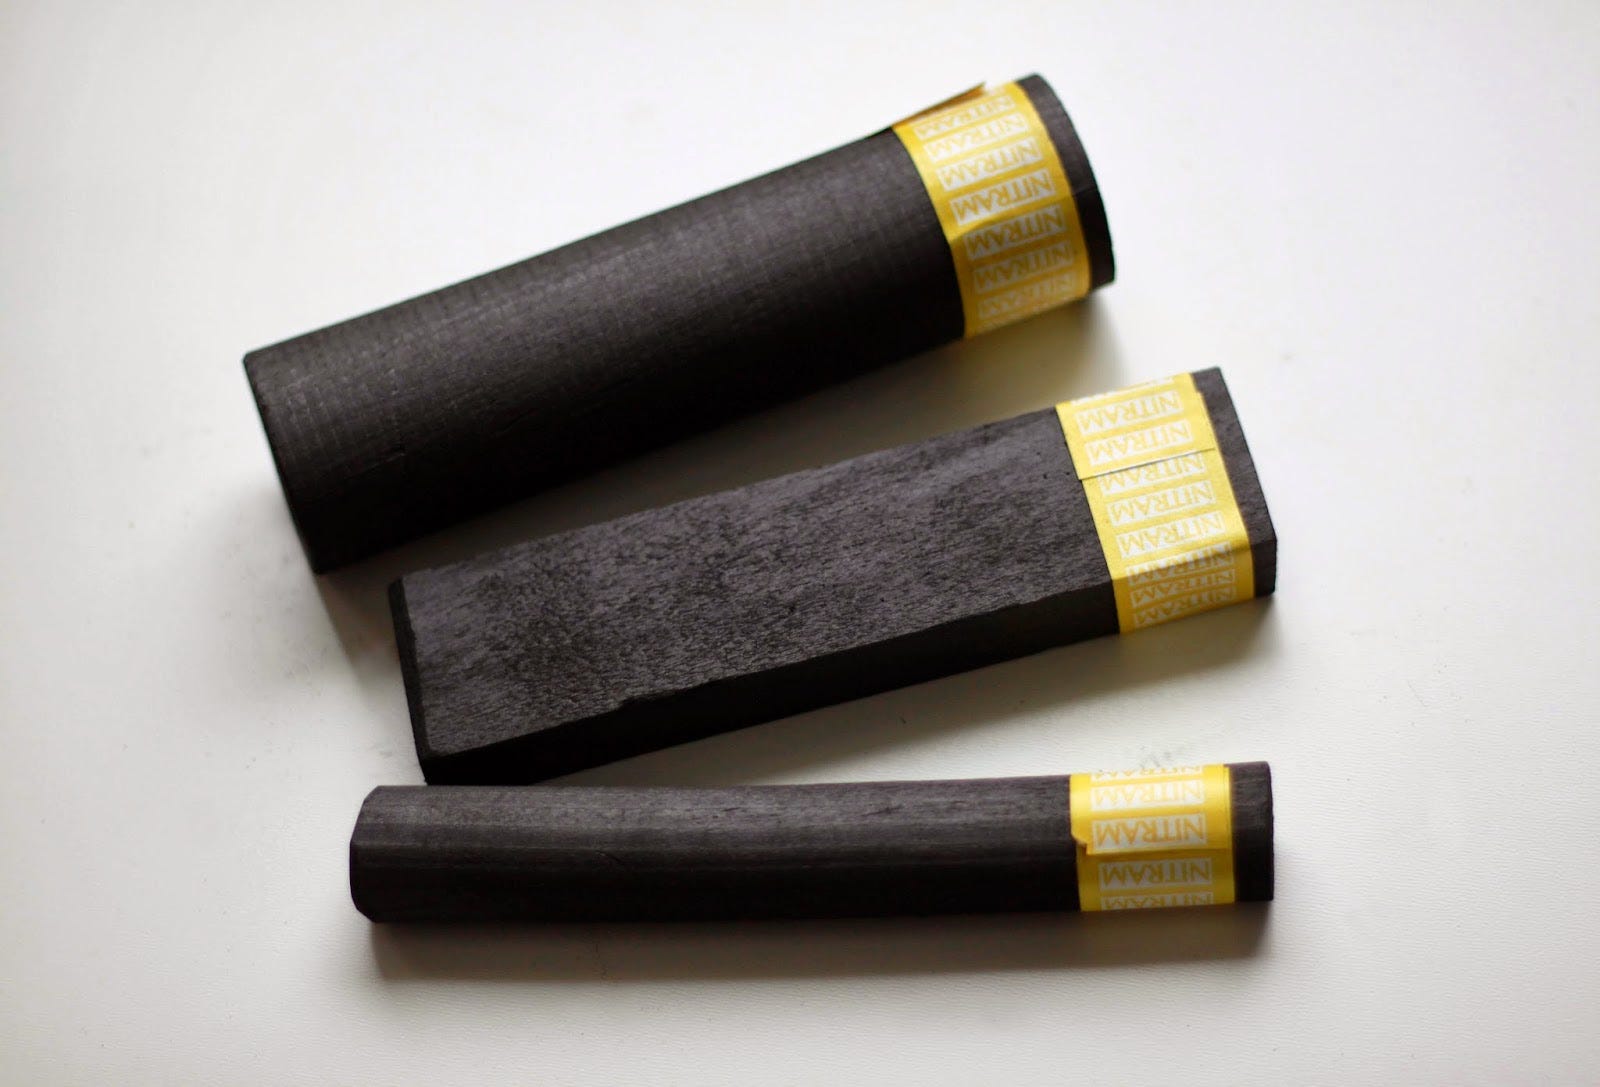
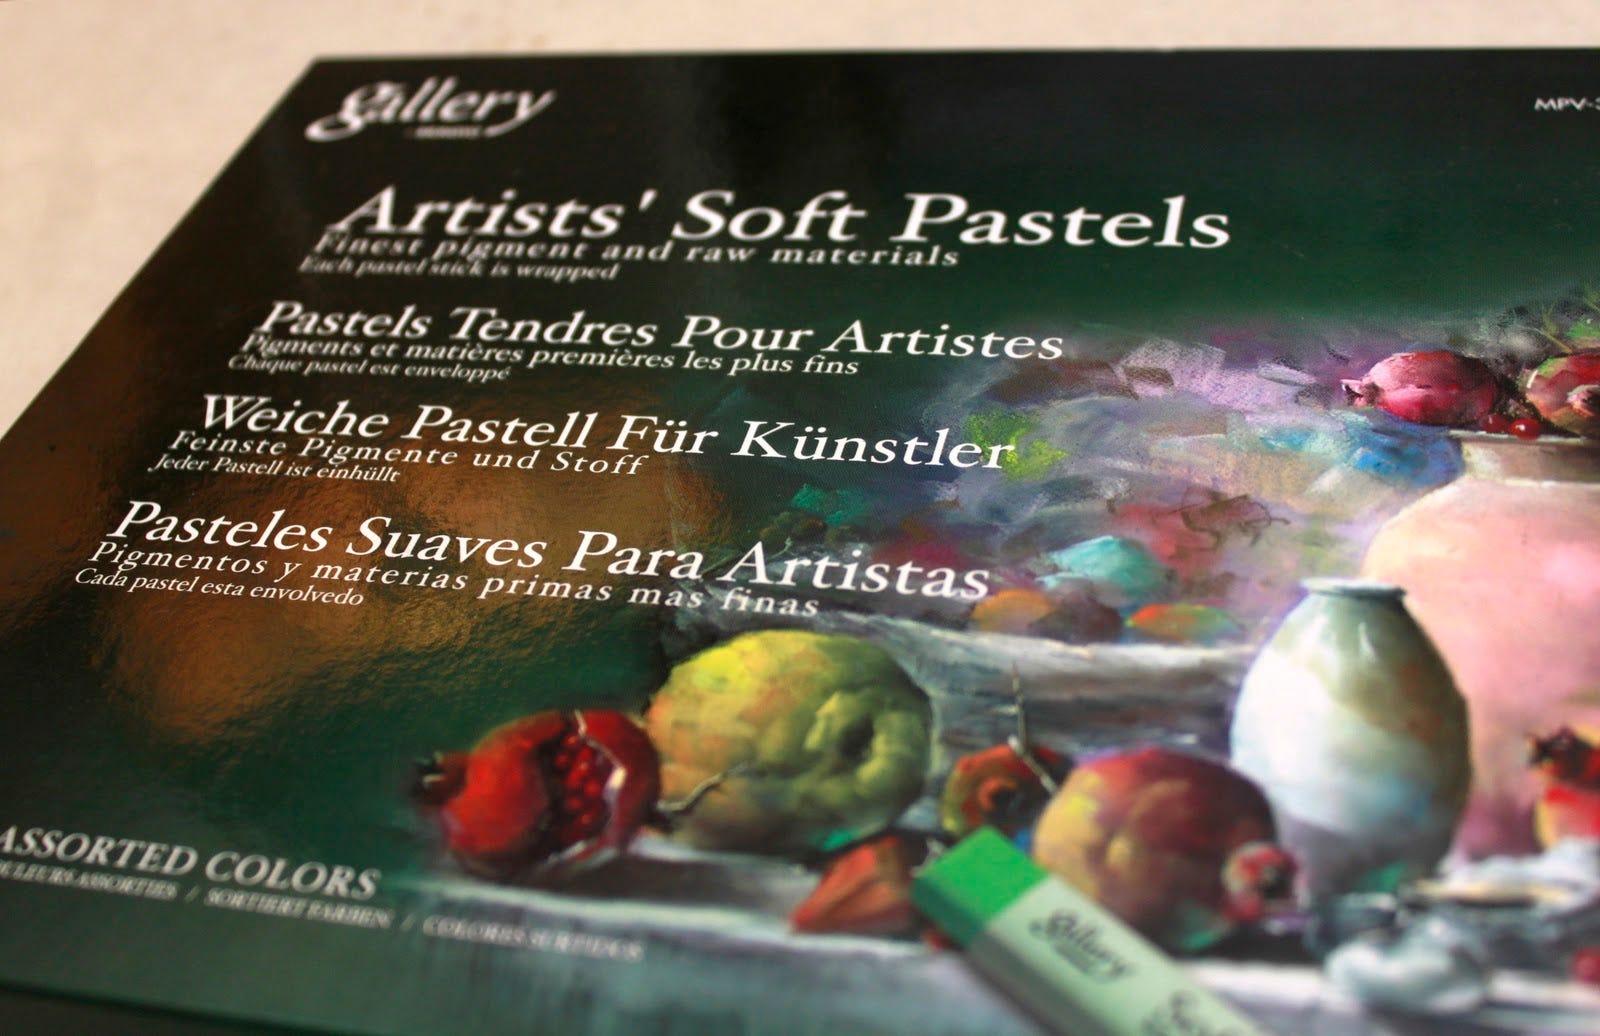
Soft pastels can be used in combination with charcoal. By mixing different mediums, you can achieve a richer and more dynamic artwork that captures the viewer's attention
Hopefully this article is of help when you would like to learn more about drawing! If you have any questions, don’t hesitate to ask in the comment section.
Good luck and have fun!
- Camilla
No posts
Comments
Nothing yet. Say the first thing.
Sign in to join the conversation.