
There is nothing I love more than a family vacation. A week together under one roof means sandy feet, grandchildren piling into bed for morning snuggles, late-night card games, and memories that somehow become family stories before the week is even over. But feeding 18 people for a week at a beach house doesn’t happen by accident.
Today, I’m sharing everything I made and packed before we left for our vacation house. Then be sure to check back tomorrow for a new Substack post, where I’ll share everything we actually made while we were on vacation.
Be sure to subscribe to What's on the Menu? on Substack and get a fresh collection of seasonal recipes, menus, and entertaining ideas delivered to your inbox each month!
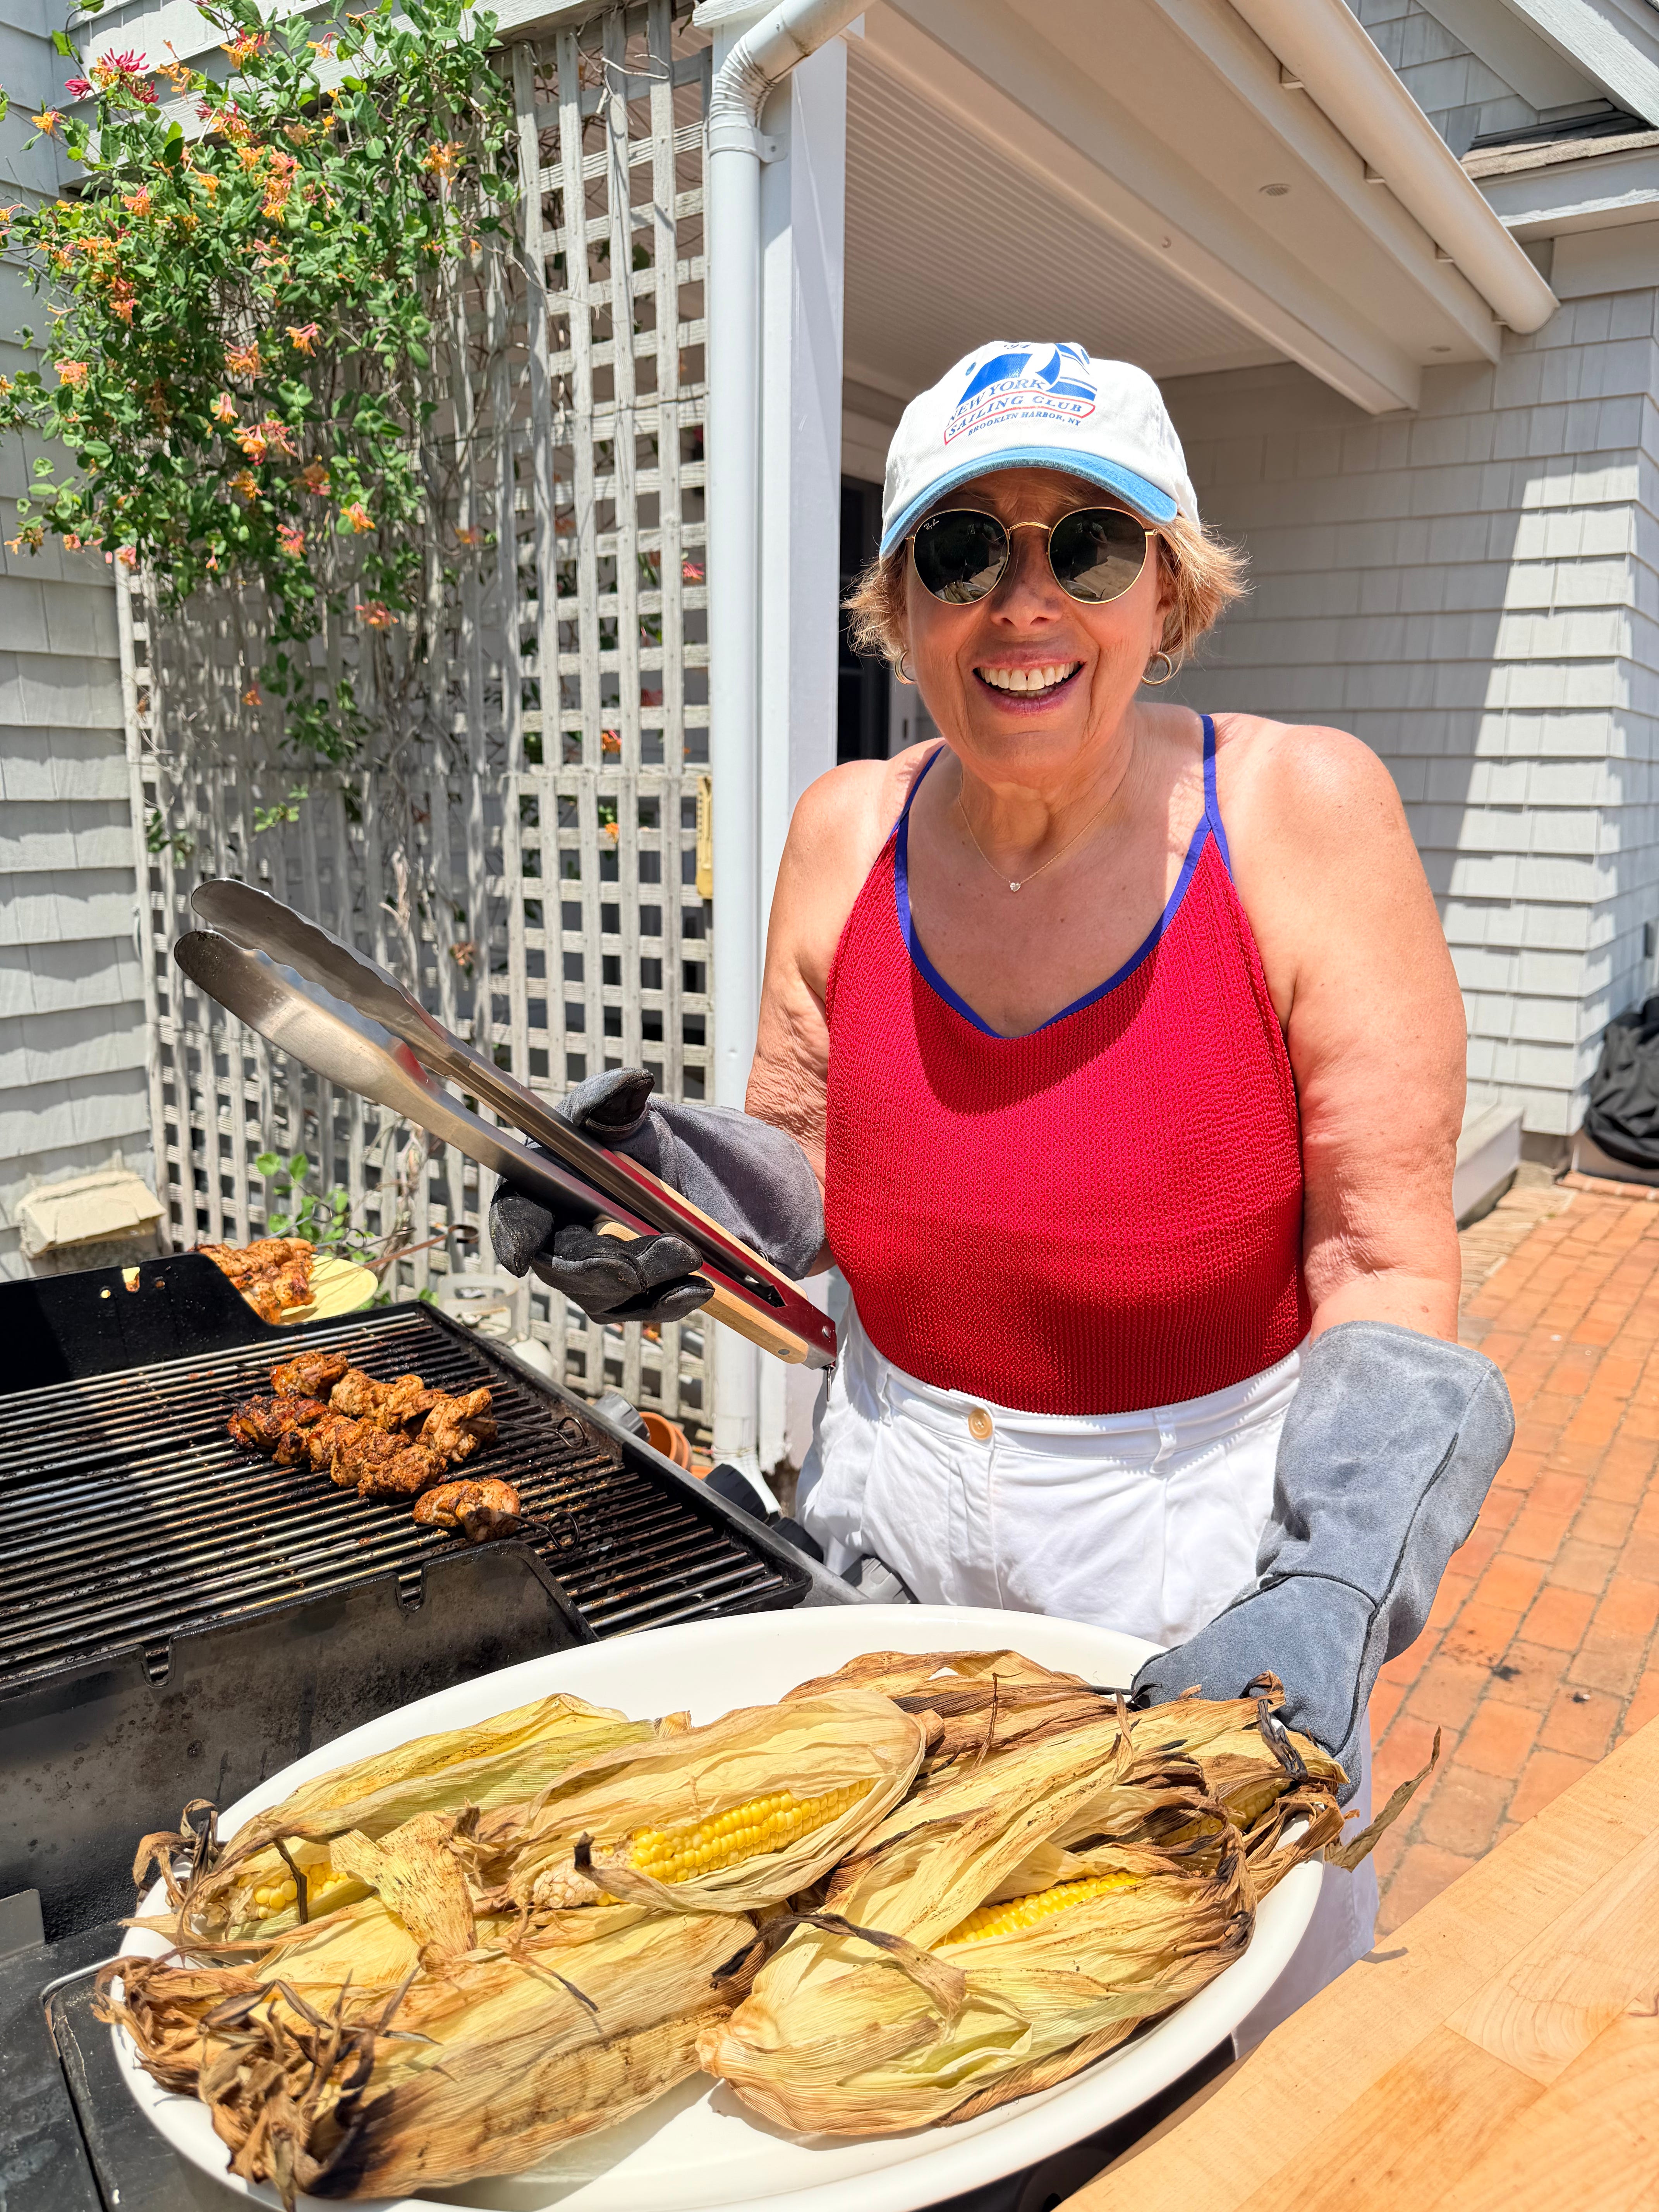
I tend to take the lead when it comes to our family vacations. I like to make sure some things are prepared before we leave so that, once we arrive, we can simply relax and enjoy our time together. It’s my love language.
Of course, my adult kids pitch in too, especially once we’re there. Each family takes responsibility for dinner one night during the week, which not only lightens the load but also creates some of our favorite vacation memories.
When taking a trip with a bunch of families or friends, it’s essential to divide and conquer. Vacation food isn’t about perfection. It’s about making sure everyone has plenty of options and nobody goes hungry.
Over the years, I’ve learned that a little planning before we leave home makes all the difference once we arrive. The goal isn’t to spend vacation cooking. The goal is to set things up so everyone can relax, eat well, and enjoy themselves without constant grocery runs, takeout orders, or the daily question of “What’s for lunch?”
When I plan a vacation, I break things into two categories: 1) What I can make ahead at home and 2) What we can prepare together once we’re there. Anything that travels well, reheats beautifully, or makes life easier gets done before we leave.
My golden rule? Stock like a grandma, not a caterer. You’re not hosting an event. You’re creating a home away from home. You don’t need to plan every meal.
You need:
Breakfast options
Easy lunches
Golden Hour snacks
Dinners on the Grill
Freezer food for when everyone suddenly gets hungry at once
The less thinking you have to do once you arrive, the more vacation you’ll actually enjoy.
If vacation prep had an MVP award, it would go to the cooler. Over the years, I’ve become something of a cooler-packing professional. Whether you’re transporting hot food, cold food, or a little of both, packing it the right way makes all the difference.
On our family vacations, we usually have at least four coolers in rotation: one for the beach, one dedicated to ice, one for adult beverages, and one smaller cooler for transporting hot food when we want to enjoy a warm lunch by the water.
The key is to label each cooler clearly. Leave the labels on all week, and everyone knows exactly where to find what they need. It’s a simple trick that keeps the coolers organized and makes life much easier for everyone.
As a bonus, those same coolers pull double duty during travel. We use them to pack and transport everything we’re bringing for the week, making the most of every bit of space.
Here are two old-school cooler tricks that have never let me down:
1. Make your cooler even colder. Sprinkle ½ to 1 cup of rock salt over the ice. The salt creates an extra-cold slush that chills drinks and keeps everything colder for longer. This old-school trick is especially helpful with inexpensive coolers that don't insulate as well.
2. Keep hot food hot for hours. While you’re grilling, wrap a few bricks in heavy-duty foil and heat them on the grill for 30 to 40 minutes. Line the bottom of a cooler with several layers of newspaper or brown grocery bags, carefully place the hot bricks inside, cover them with another layer of newspaper, then add your hot dishes. Close the lid, and the cooler becomes an insulated warming box that will keep food warm for hours.
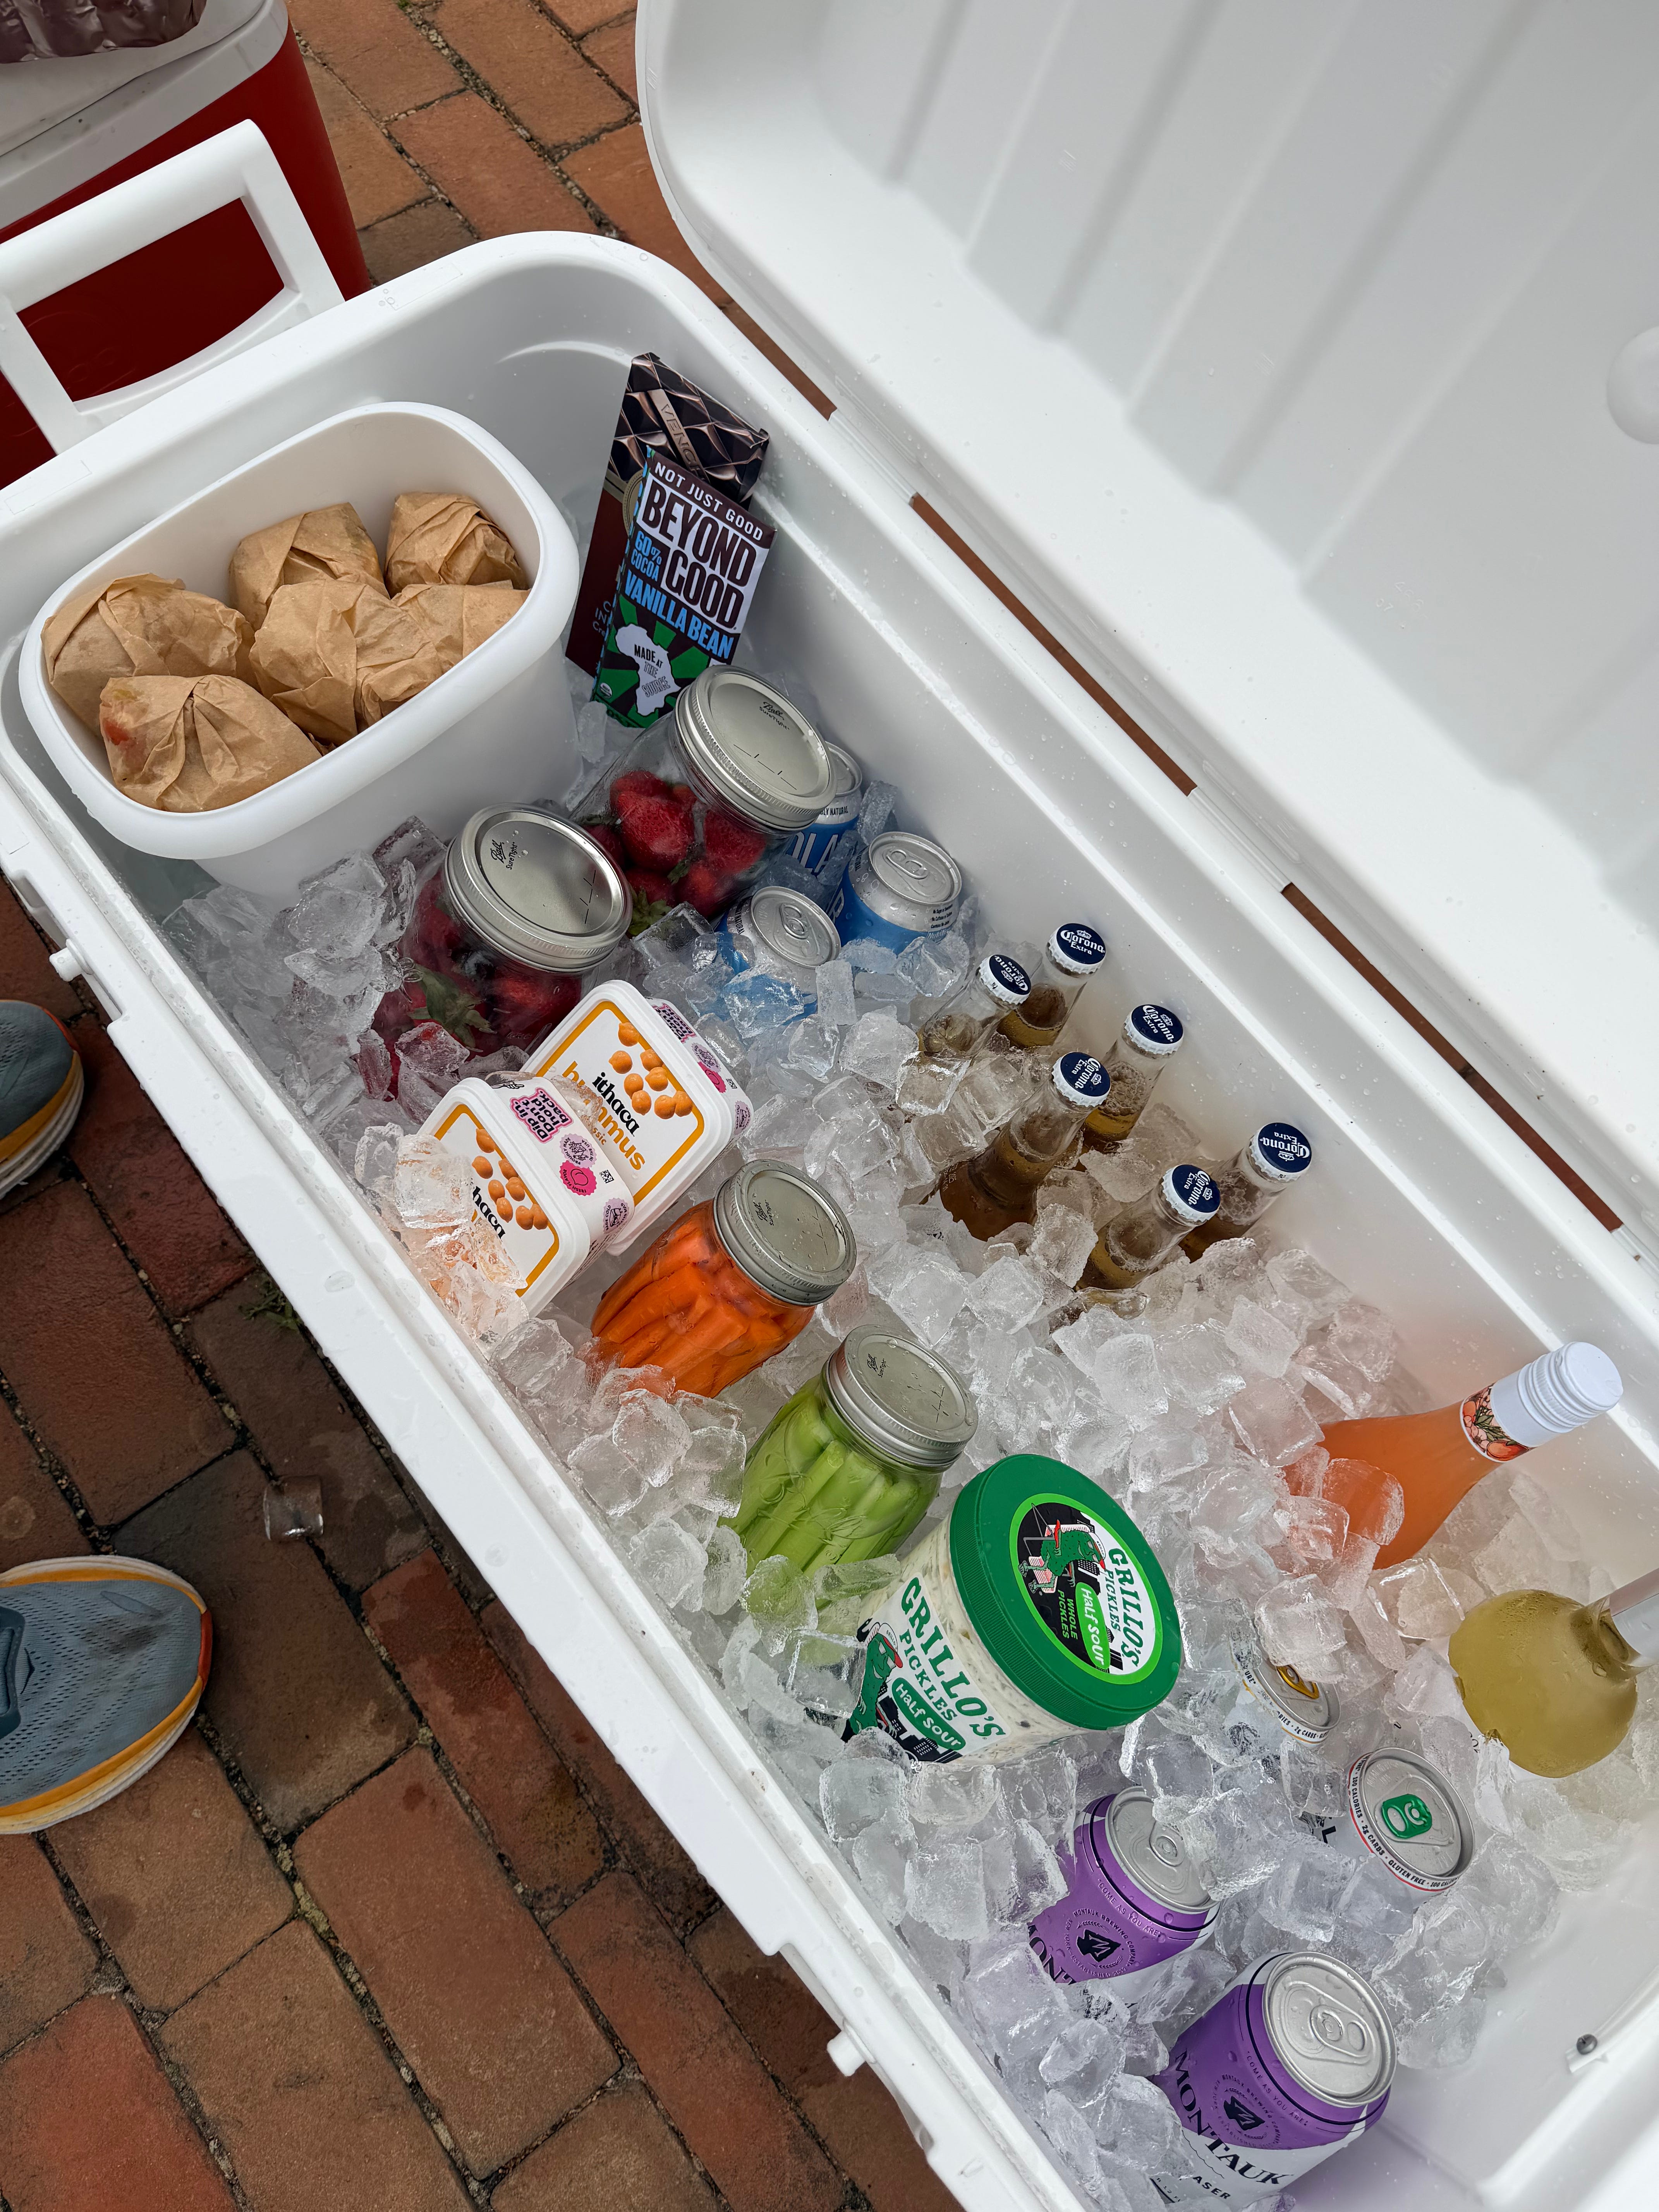
Before you arrive, check with your rental. Many houses already stock basics, and a quick phone call can save you money and luggage space. If they don’t have them, these are my non-negotiables:
Olive oil
Salt & pepper
Garlic
Onions
Sugar
Mustard
Mayonnaise
Ketchup
Hot sauce
These simple ingredients can rescue almost any meal.
I have a hard-and-fast rule: If they can see it, they will eat it. A refrigerator full of hidden ingredients becomes a refrigerator full of forgotten ingredients. A refrigerator stocked with washed fruit, prepared vegetables, deli meats, dips, and ready-to-eat snacks becomes lunch.
Over the years, I’ve developed a bit of a system for stocking our vacation fridge. Everything has its place, which makes it easy for everyone to find what they need without asking where anything is.
If you’ve followed me for any length of time, you know I love a mason jar. They’re sturdy, stack beautifully, travel well, and go straight from storage to serving. Before we leave, I wash and prep as much produce as possible.
To wash produce, mix one part white vinegar with three parts water and soak fruits and vegetables for 1–5 minutes. The vinegar helps remove residue and can discourage mold growth, helping the produce stay fresh a little longer. Dry everything thoroughly, then store it in mason jars with a paper towel at the bottom to absorb excess moisture.
We also go through mountains of lettuce for sandwiches and salads, so having it washed, spun dry, and ready to use saves an enormous amount of time throughout the week. Once it’s completely dry, I pack it into large mason jars with paper towels layered between the lettuce to absorb moisture and keep it crisp.
I rely heavily on prepared salads. If I have time, I make them myself. If I don’t, I’m happy to support a local deli. Egg salad, chicken salad, and tuna salad all get stored in mason jars so they’re ready whenever someone gets hungry.
For some reason, when food is visible, organized, and easy to grab, people actually eat it.
One of my favorite vacation hacks is creating what I call a deli basket. I dedicate an entire basket or disposable pan in the refrigerator to sandwich ingredients. Cheese, deli meats, condiments, pickles, and sliced vegetables all live together in one spot.
No one has to hunt through drawers or dig behind leftovers. And if all else fails, everyone knows they can always make themselves a sandwich.
Some in the family may say that Golden Hour is our favorite time of day on vacation. It’s that magical time when everyone wanders in from the beach or pool before dinner. It tends to be the calmest time around our rental house each day. The kids are showered, everyone is relaxing, and ready to sit back and relax.
I also create a dedicated section of the refrigerator and stock it with our favorite cheeses, cured meats, olives, dips, crackers, and anything else that can quickly become an effortless snack board. Everything is together in one place, making it easy for anyone to pull out a beautiful spread with almost no effort. It’s one of my favorite parts of the day.
If possible, stop at a local farmers’ market once you arrive. Fresh local produce instantly elevates every meal.
I also like to keep a few “vacation insurance policies” on hand:
Smoked salmon
Pesto
Hummus
Fresh mozzarella
A great loaf (or more) of bread
A few good hard cheeses
These simple staples can become breakfast, lunch, appetizers, or even dinner with very little effort. On vacation, flexibility is everything.
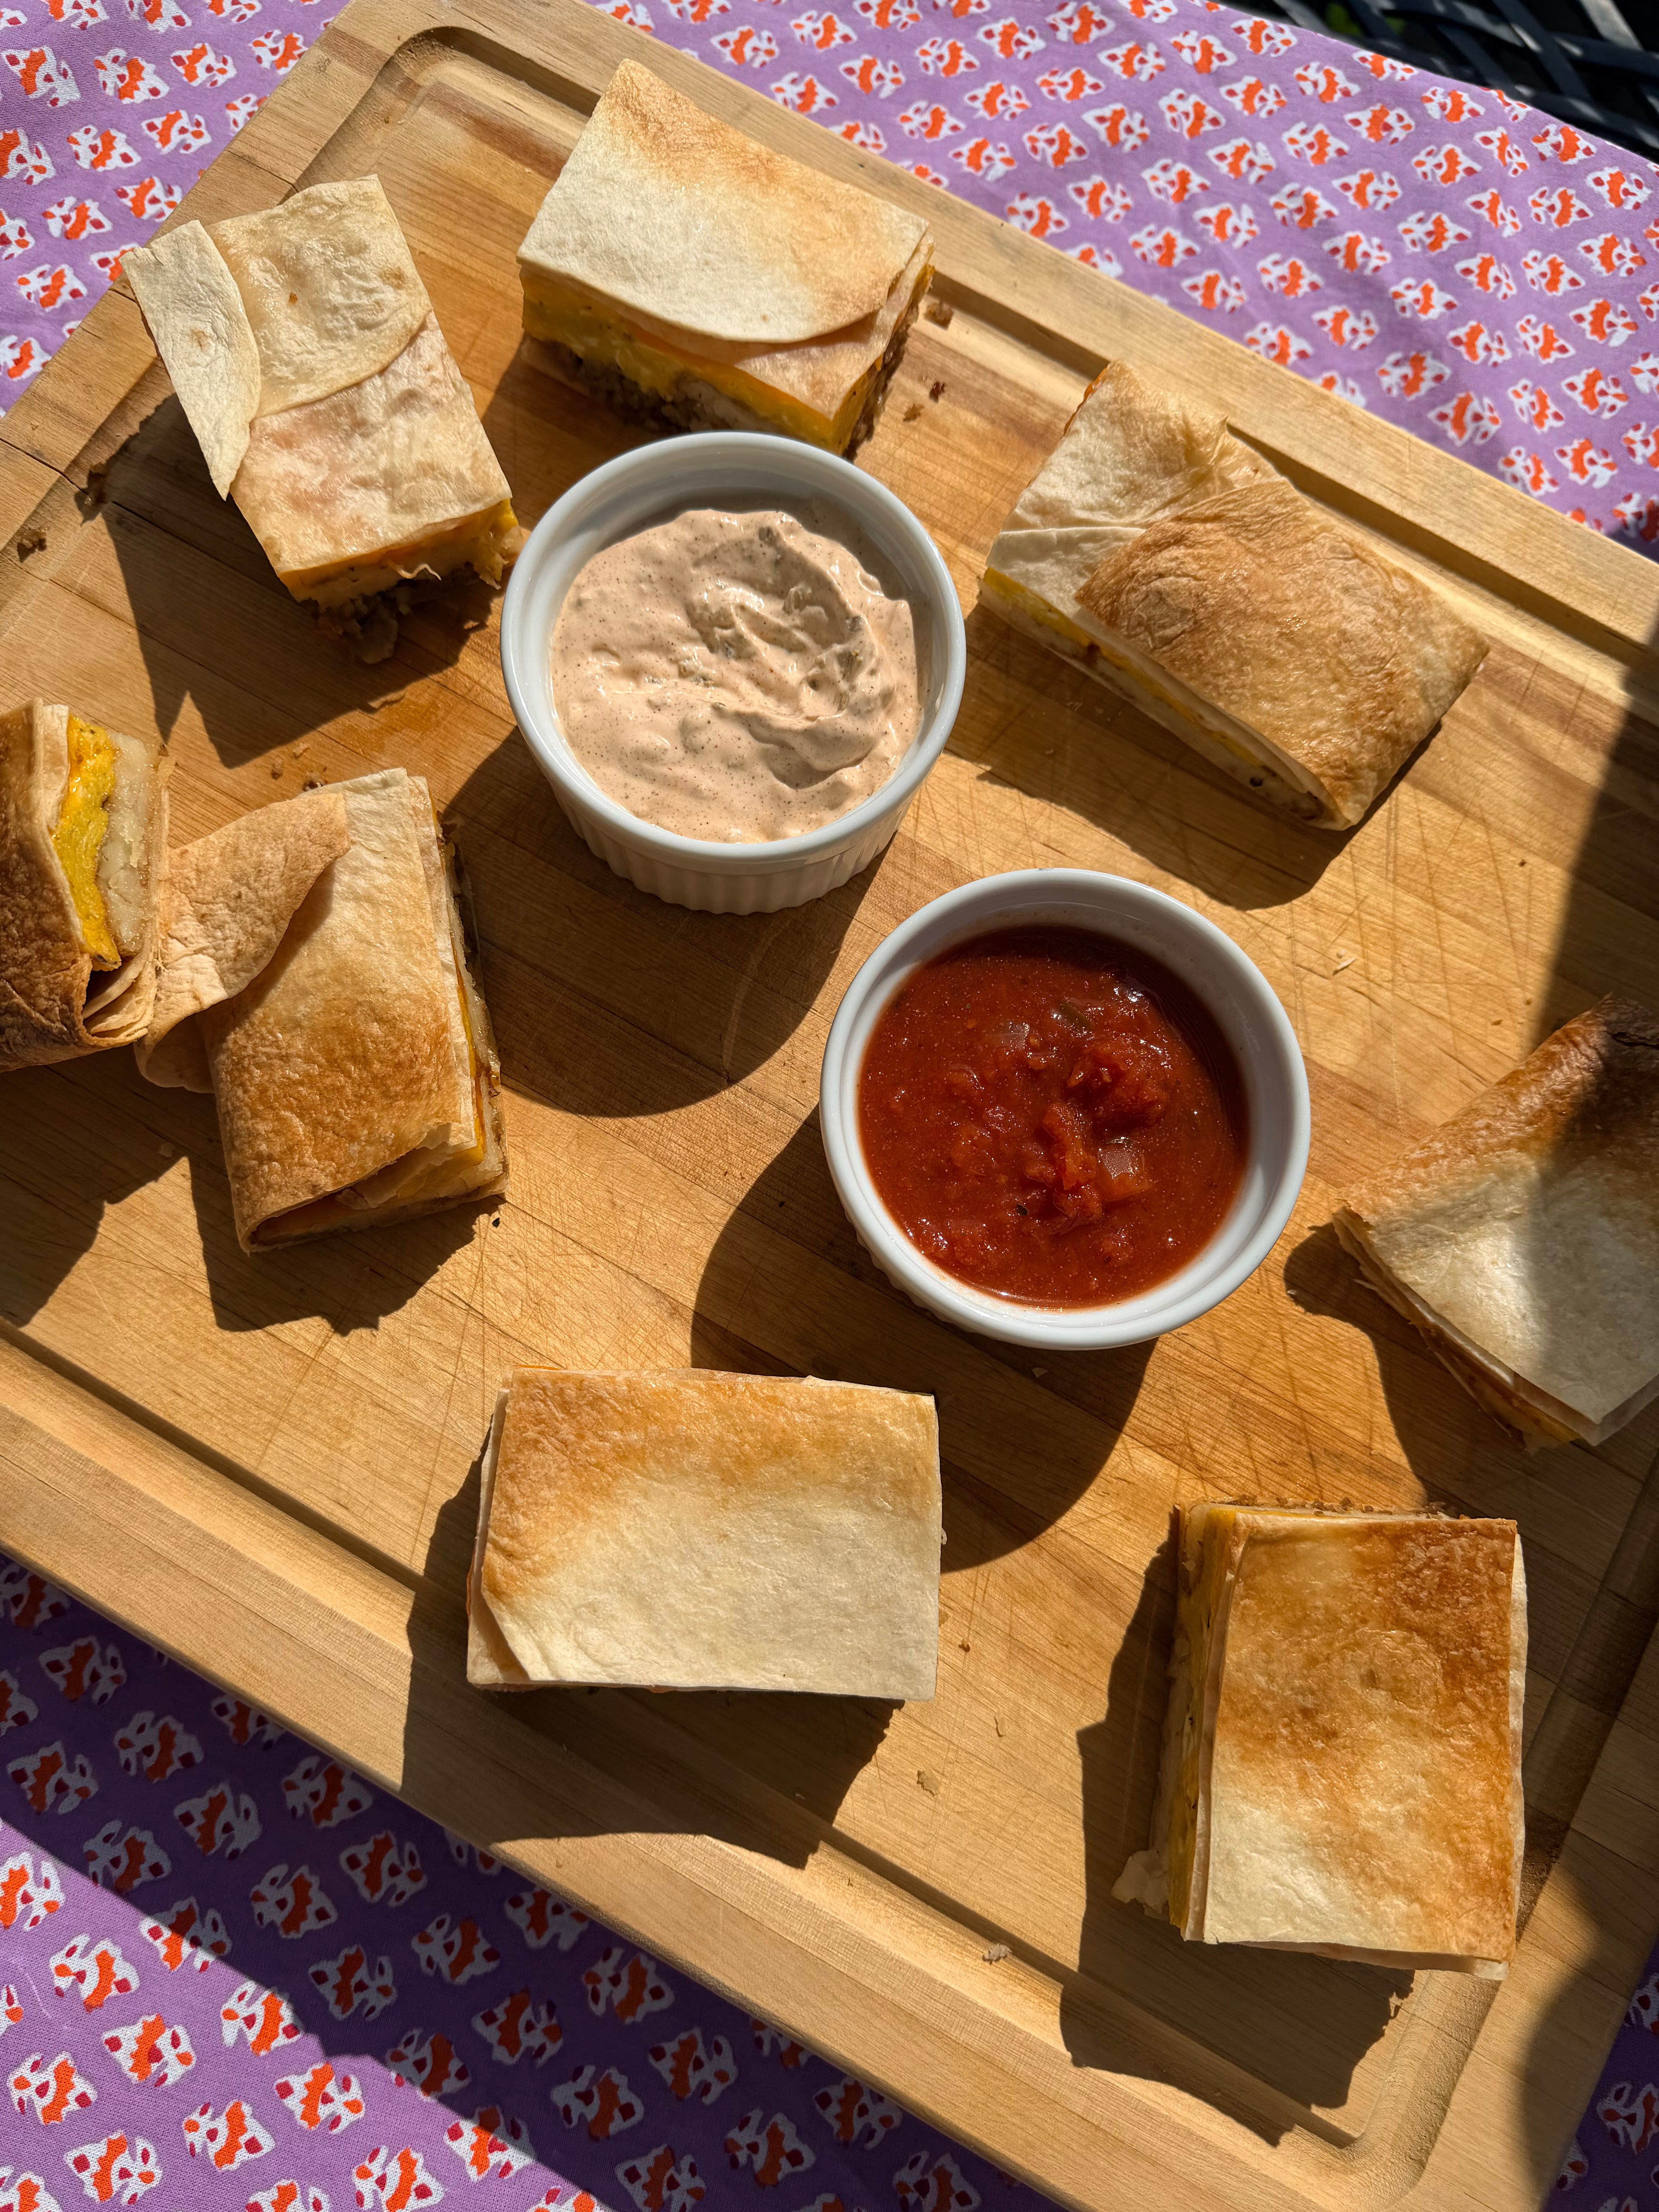
I love having breakfast ready to go before anyone wakes up. Having breakfast made in advance is one of my favorite vacation hacks. This year, I made one giant Breakfast Crunchwrap, packed it whole, and sliced it into individual servings in the morning. Everyone simply reheated a piece whenever they were ready to eat—no cooking required.
INGREDIENTS:
8 frozen hash brown patties
1 pound breakfast sausage
1 tablespoon butter
12 large eggs, lightly beaten
Salt, to taste
6 burrito-size flour tortillas (10-inch)
1 cup shredded cheddar cheese
For the Creamy Jalapeño Sauce:
2 tablespoons mayonnaise
6 tablespoons sour cream
2 tablespoons diced pickled jalapeños
2 teaspoons juice from the jar of pickled jalapeños
½ teaspoon garlic powder
½ teaspoon onion powder
¼ teaspoon chili powder
¼ teaspoon smoked paprika
¼ teaspoon cumin
Salt, to taste
INSTRUCTIONS:
Crunchwrap Filling:
Cook hash browns according to package directions until crispy. While the hash browns cook, cook the sausage in a skillet over medium heat, breaking it into crumbles. Drain excess grease and set aside. In the same skillet, melt butter over medium-low heat. Add eggs, season with salt, and cook, stirring frequently, until just set.
Generously grease a sheet pan with olive or avocado oil. Arrange 6 of the tortillas along the sides of the prepared sheet pan, allowing half of the tortilla to hang over the sides (the center of the pan will not be covered). Layer 2 more tortillas overlapping in the center to cover the bottom of the pan. Space out the hash browns on the tortillas, followed by the sausage, eggs, and cheddar cheese. Place the remaining 2 tortillas overlapping in the center. Fold the overhanging tortillas over towards the center of the pan to cover the filling, making sure to tuck in any corner pieces.
Spray or brush the tops of the tortillas with oil and place a sheet pan on top to weigh them down. Bake for 20 minutes, then remove the top sheet pan and continue baking until the top is golden brown, 10 to 15 minutes. Allow Crunchwrap to cool. Cover tightly and store until ready to serve.
When ready to serve, use a large knife or pizza cutter to cut the crunchwrap into individual serving squares. Heat individual servings in the oven or toaster oven at 325 degrees until warm and crispy, about 5 minutes.
Creamy Jalapeño Sauce:
In a small bowl, combine mayonnaise, sour cream, pickled jalapeños, jalapeño juice, garlic powder, onion powder, chili powder, smoked paprika, cumin, and salt. Mix until smooth and set aside.
I rarely take a family vacation without packing my Freezer Breakfast Sandwiches. A fully stocked freezer is one of the most underrated tools for a vacation.
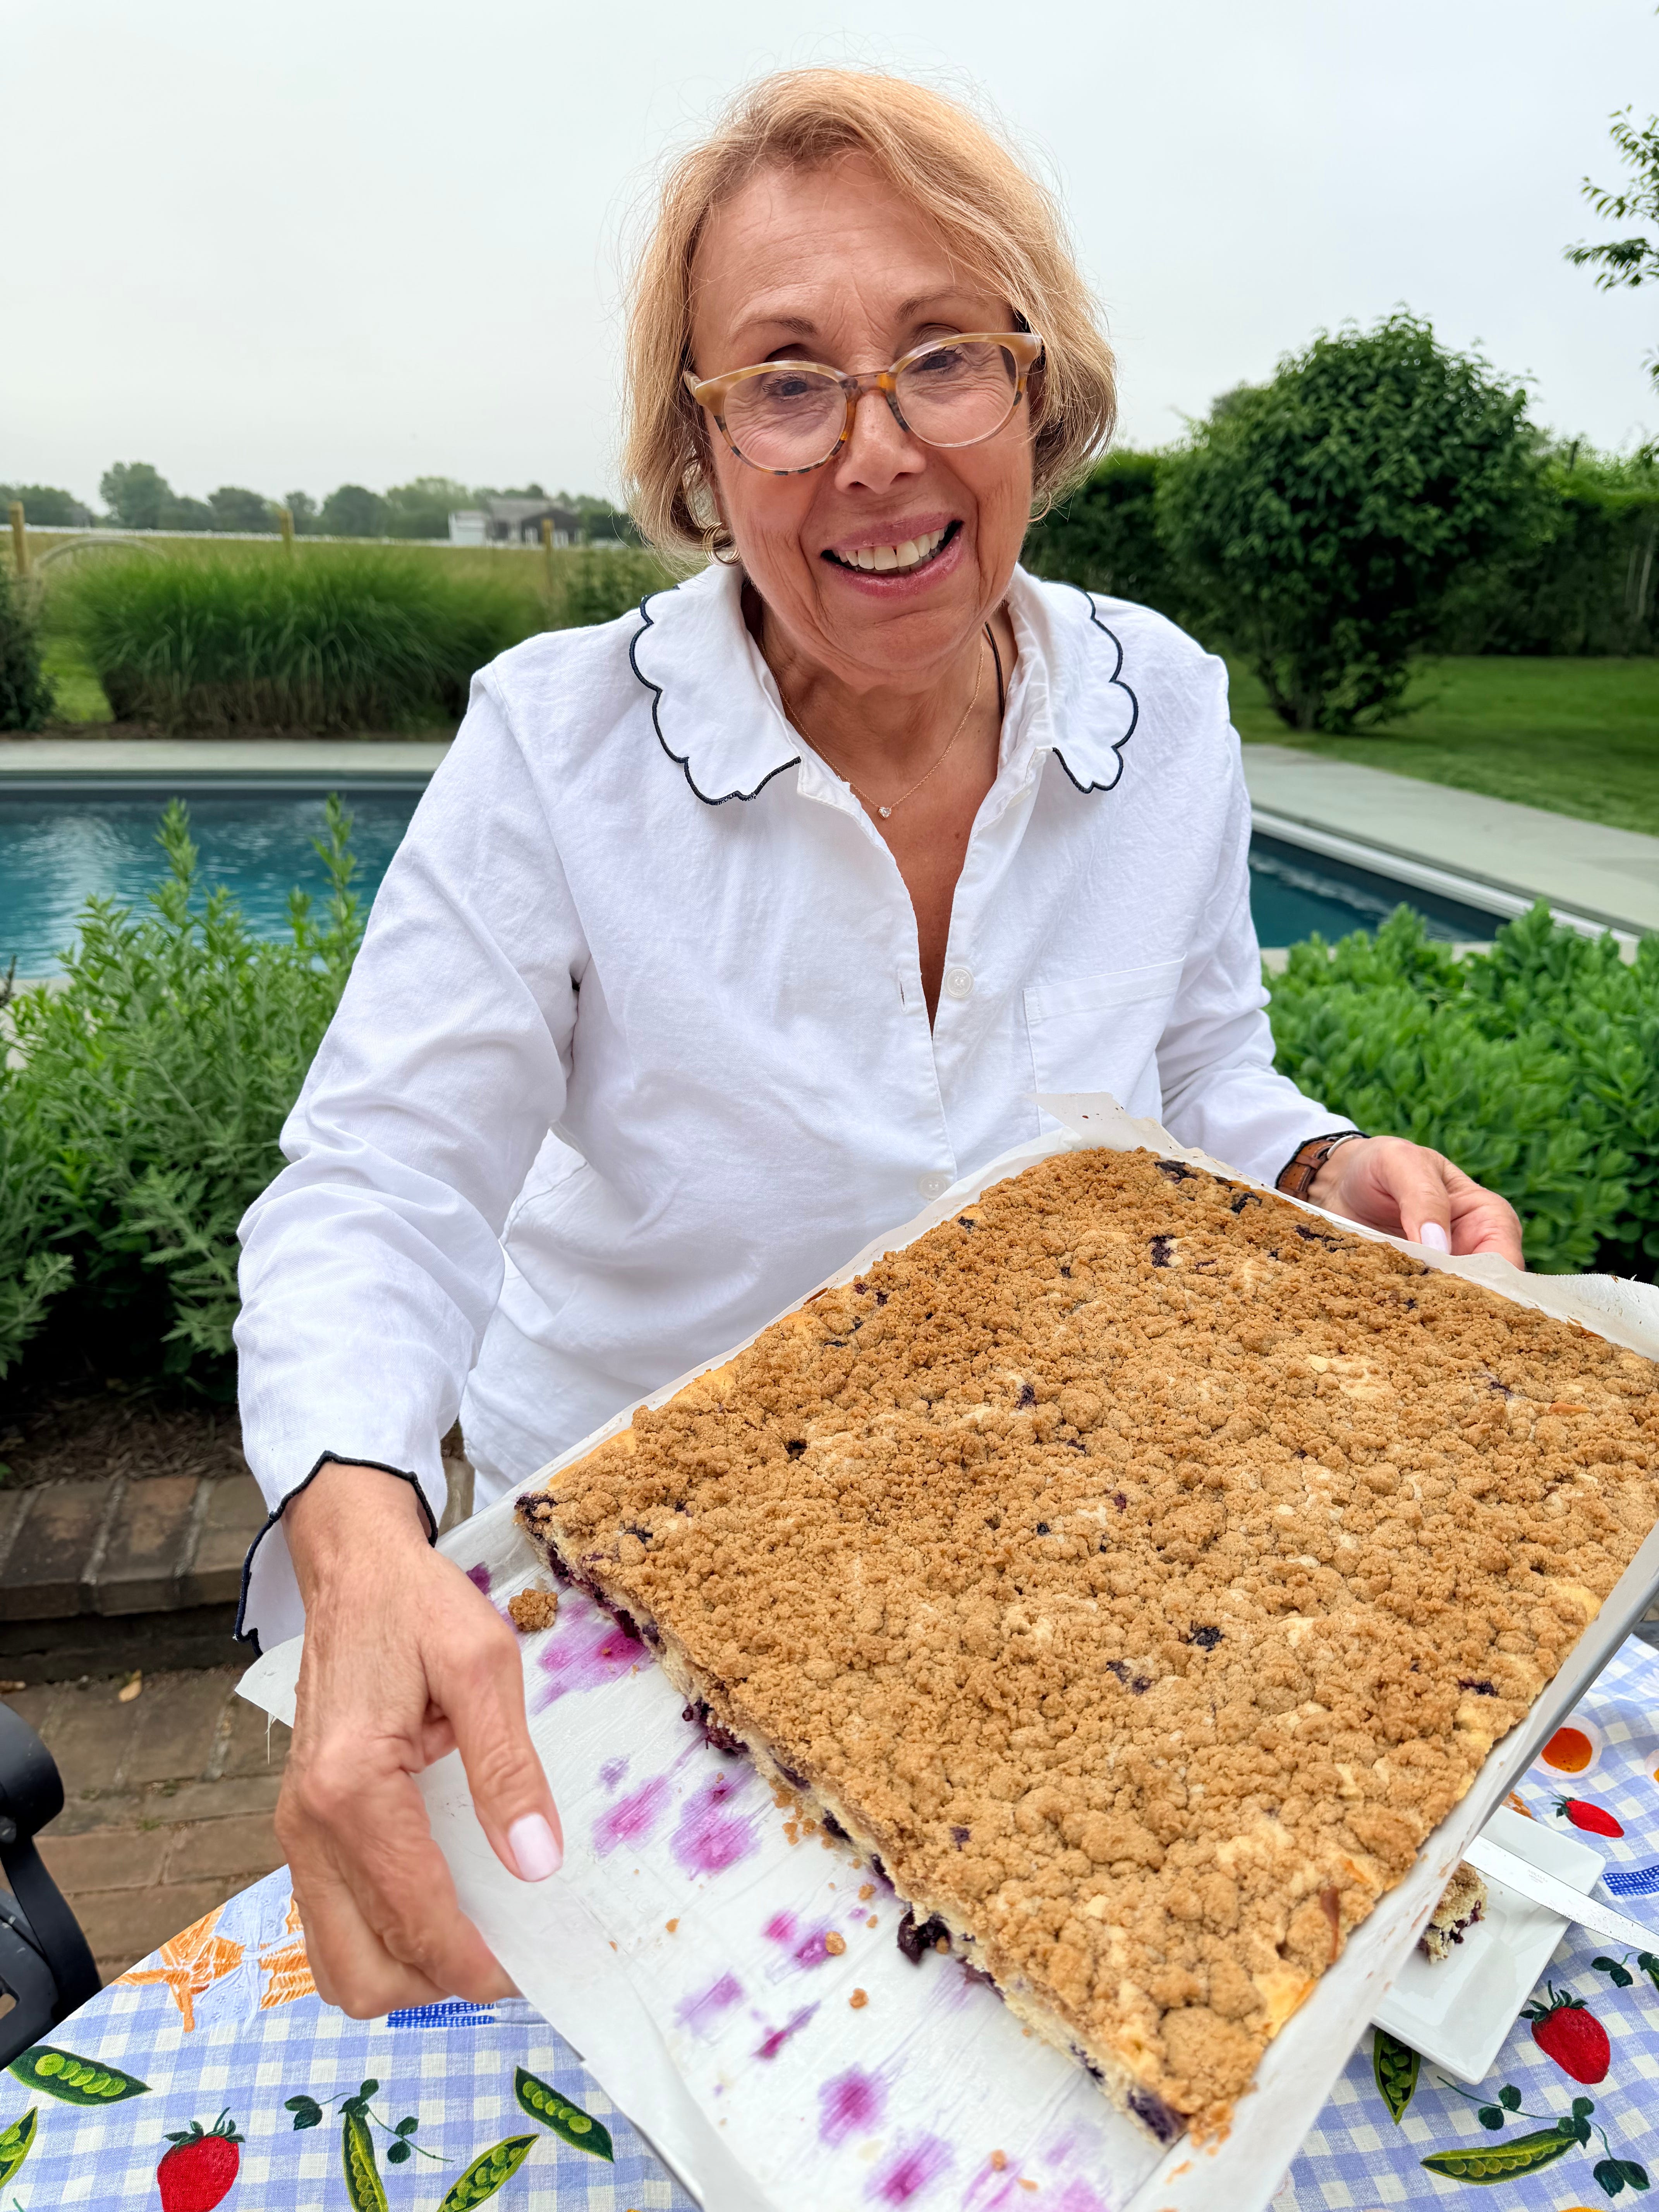
You already know how much I love a sheet cake. This year, I transformed my classic Blueberry Buckle into a sheet cake, and I don’t think I’m ever going back. The beauty of it is that it sits covered on the counter all week while people sneak slices morning, noon and night.
INGREDIENTS:
For the Cake:
1 cup unsalted butter, softened
2 cups granulated sugar
4 large eggs
1½ cups milk
2 tablespoons baking powder
1 teaspoon kosher salt
4½ cups all-purpose flour
6 cups fresh blueberries
For the Crumb Topping:
2 cups packed dark brown sugar
1 cup unsalted butter, softened
1½ cups all-purpose flour
2 teaspoons cinnamon
INSTRUCTIONS:
Preheat oven to 350°F. Grease or line a 13 x 18-inch sheet pan with parchment paper.
For the cake batter, in the bowl of a stand mixer fitted with the paddle attachment, cream together the butter and granulated sugar until light and fluffy, about 3–4 minutes. Add the eggs one at a time, mixing well after each addition. Add the milk, baking powder, and salt and mix until combined.
Gradually add the flour and mix just until incorporated. Fold in the blueberries with a spatula. Spread the batter evenly into the prepared sheet pan.
For the topping, combine the brown sugar, butter, flour, and cinnamon in a large bowl. Using your hands or a pastry cutter, mix until large crumbs form. Sprinkle evenly over the batter. Bake for 35–40 minutes, or until the center is set and a toothpick inserted into the cake comes out clean. Allow to cool for at least 20 minutes before slicing and serving.
Snacks are a must on vacation. What can I say? You just need them! So I came prepared with my Honey Buffalo Pretzels, the viral Loaded Grillo’s Pickle Dip, and my S’mores Granola. Every single one was a huge hit.
One of the biggest stars of the entire vacation was the Loaded Grillo’s Pickle Dip. I made it on a whim before the trip, and it completely stole the show. I kept it right in the Grillo’s pickle container in the refrigerator, and people were constantly opening the fridge to sneak just one more bite. It disappeared so quickly that I ended up making a second batch while we were there.
And the S’mores Granola? Whether it was breakfast, an afternoon snack, or a little something sweet after dinner, my grandkids would have happily lived on it all week.
Comments
Nothing yet. Say the first thing.
Sign in to join the conversation.