
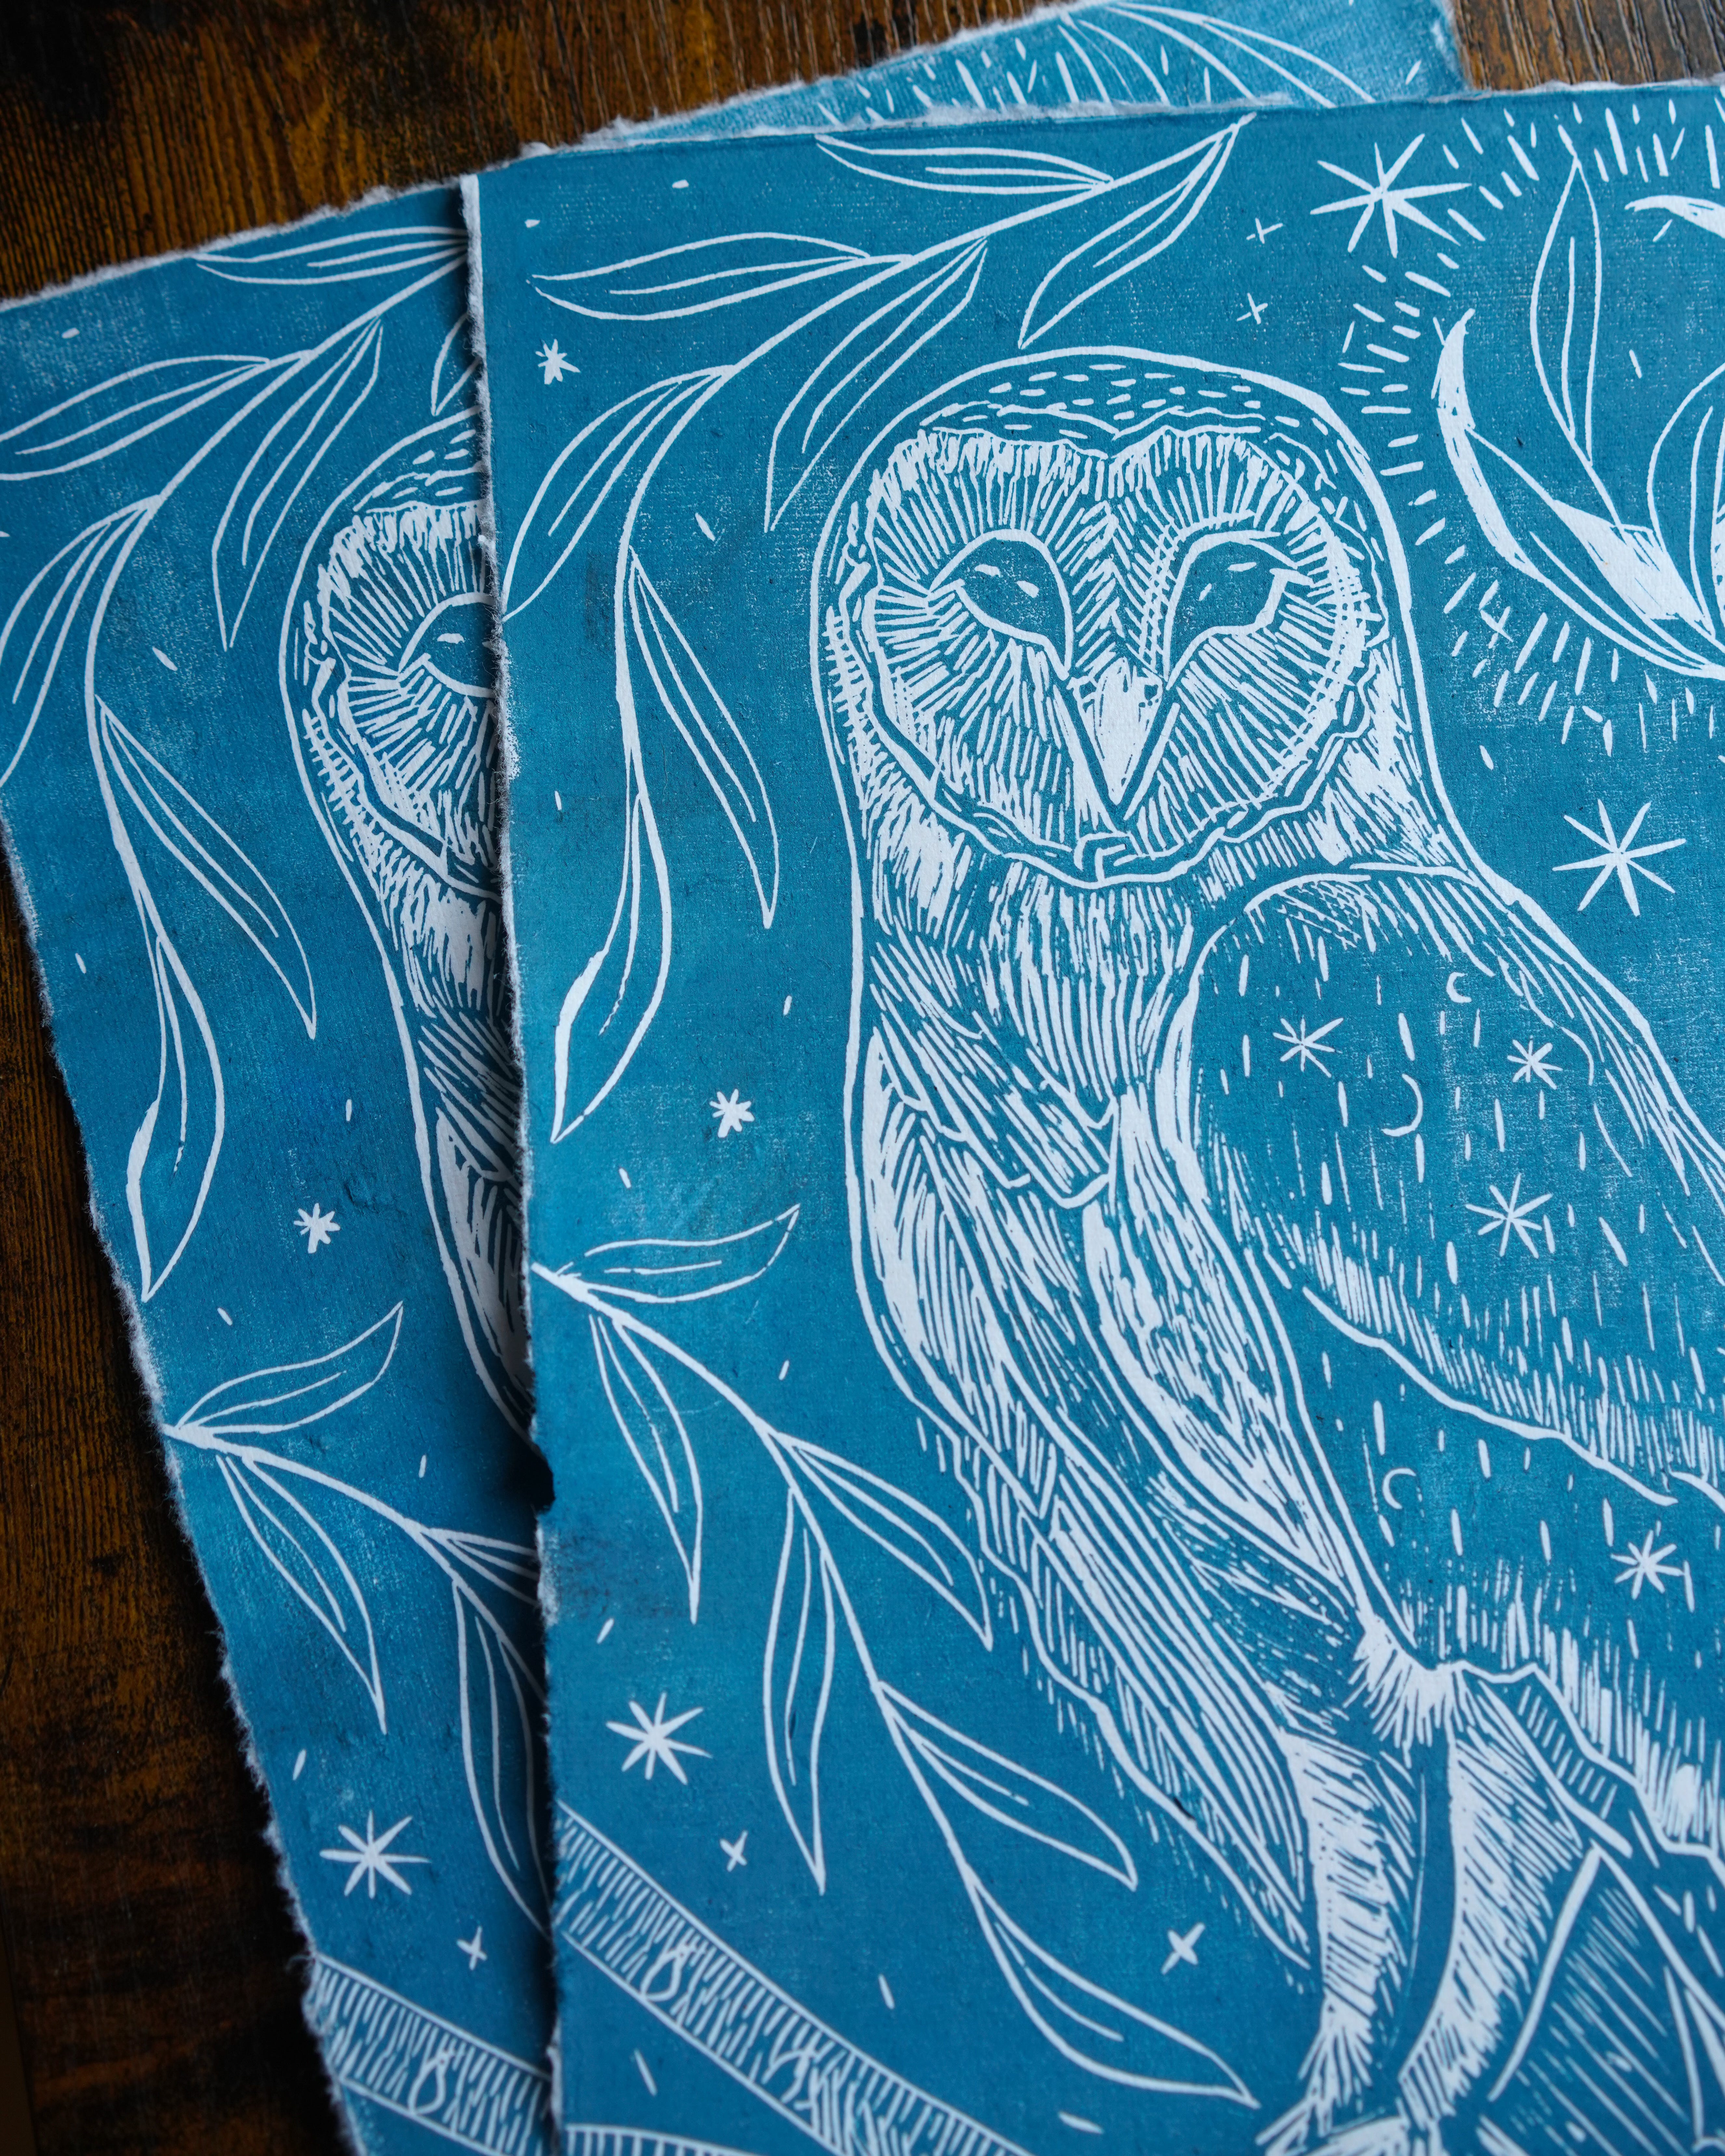
The Art of Linoleum Block Printing: Carving Stories in Ink
Suppose you're like me and find yourself weak-kneed whenever you stumble upon a block print. Have you ever dreamed of being a printmaker yourself? Today’s post aspires to inspire you to dip your toes and get started.
Linoleum block printing—often called linocut—is a beautifully hands-on, expressive medium that's both accessible and deeply satisfying. Over the weekend, I carved little curls and twirls of linoleum from blocks and covered myself with ink. It was… healing?
I pretended it was 2014 again, aptly put on an old playlist (shared below) and started carving.
After an afternoon stationed at my kitchen table, I had a wolf print at-the-ready to tuck into a card for a friend’s birthday celebration later that night. I was hooked and immediately set out to carve an owl.
Whether you're a curious beginner or a seasoned creative, there's something meditative and magical about carving your design into a block and revealing it, reversed and inked, on paper. It had been over a decade since I last cut my teeth in printmaking, and it came back to me like swimming.
Why had I waited so damn long to do something that historically brought me so much joy? Here’s your nudge to start.
The inspiration?
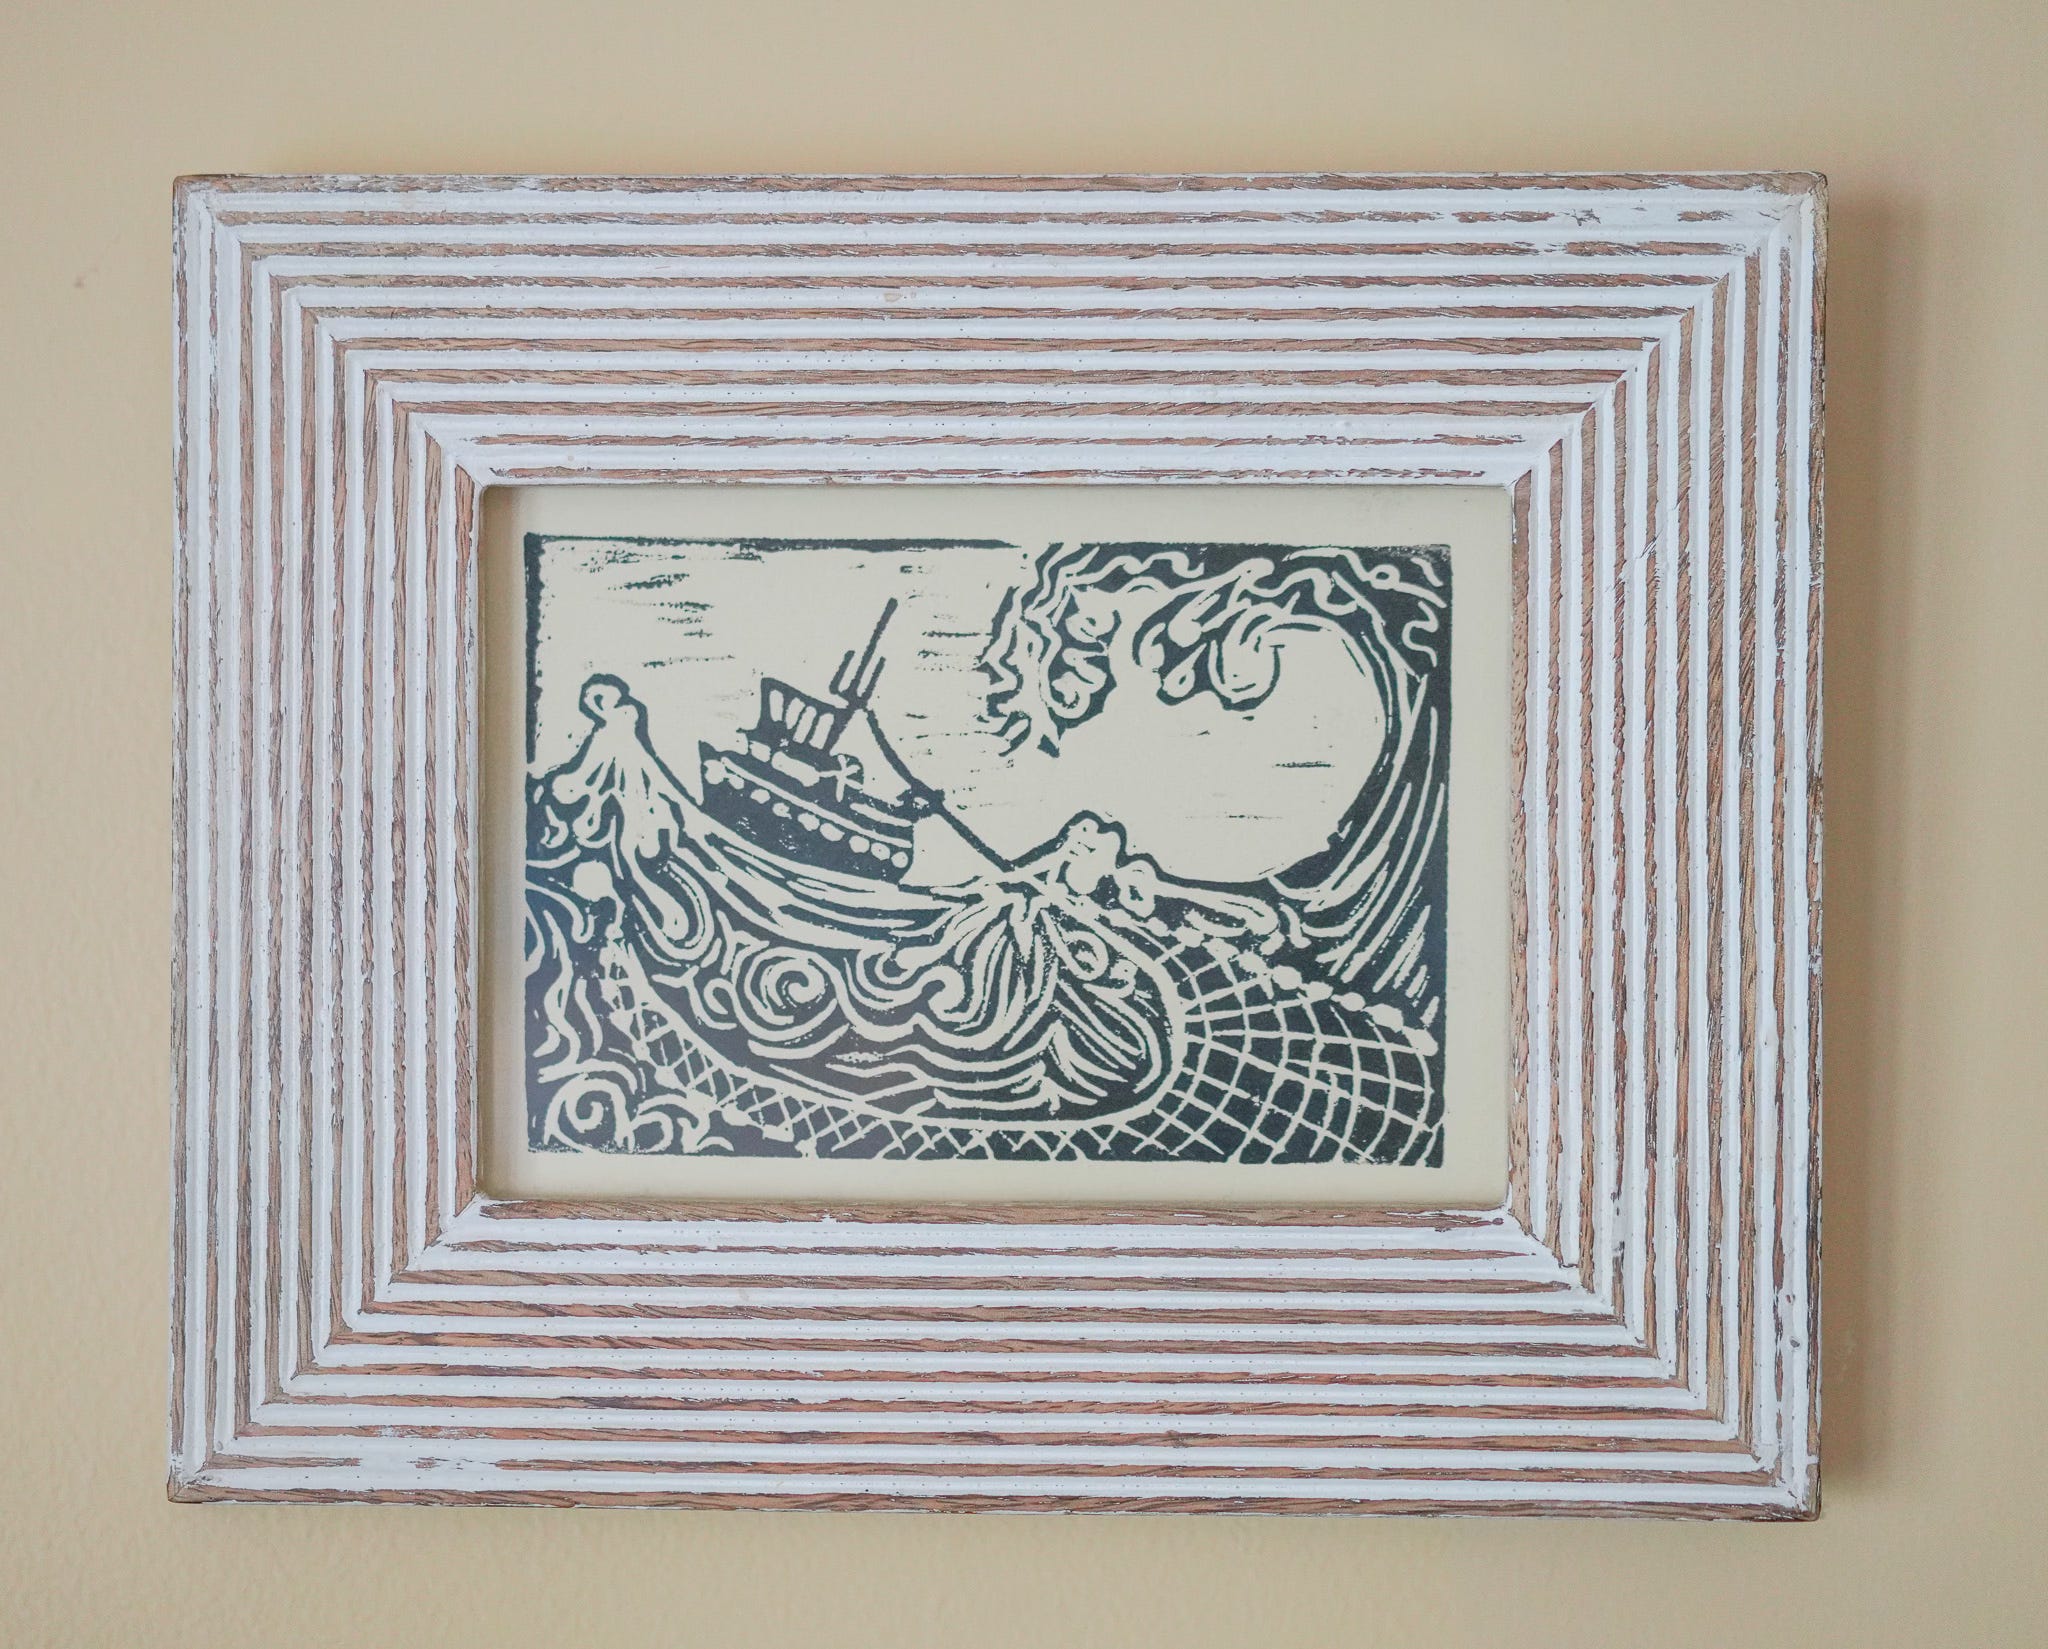
My college friend Jess sent me this print a few years ago. It is of her fishing boat for her sustainable salmon business, Slipstream Sockeye. On the back is a thank you note— how clever!
What a treasure it is to collect art made by people who have left an impression on your life. I hope this post inspires you to create pieces for your loved ones to cherish. Her print inspired me to get back into printmaking and to write this post!
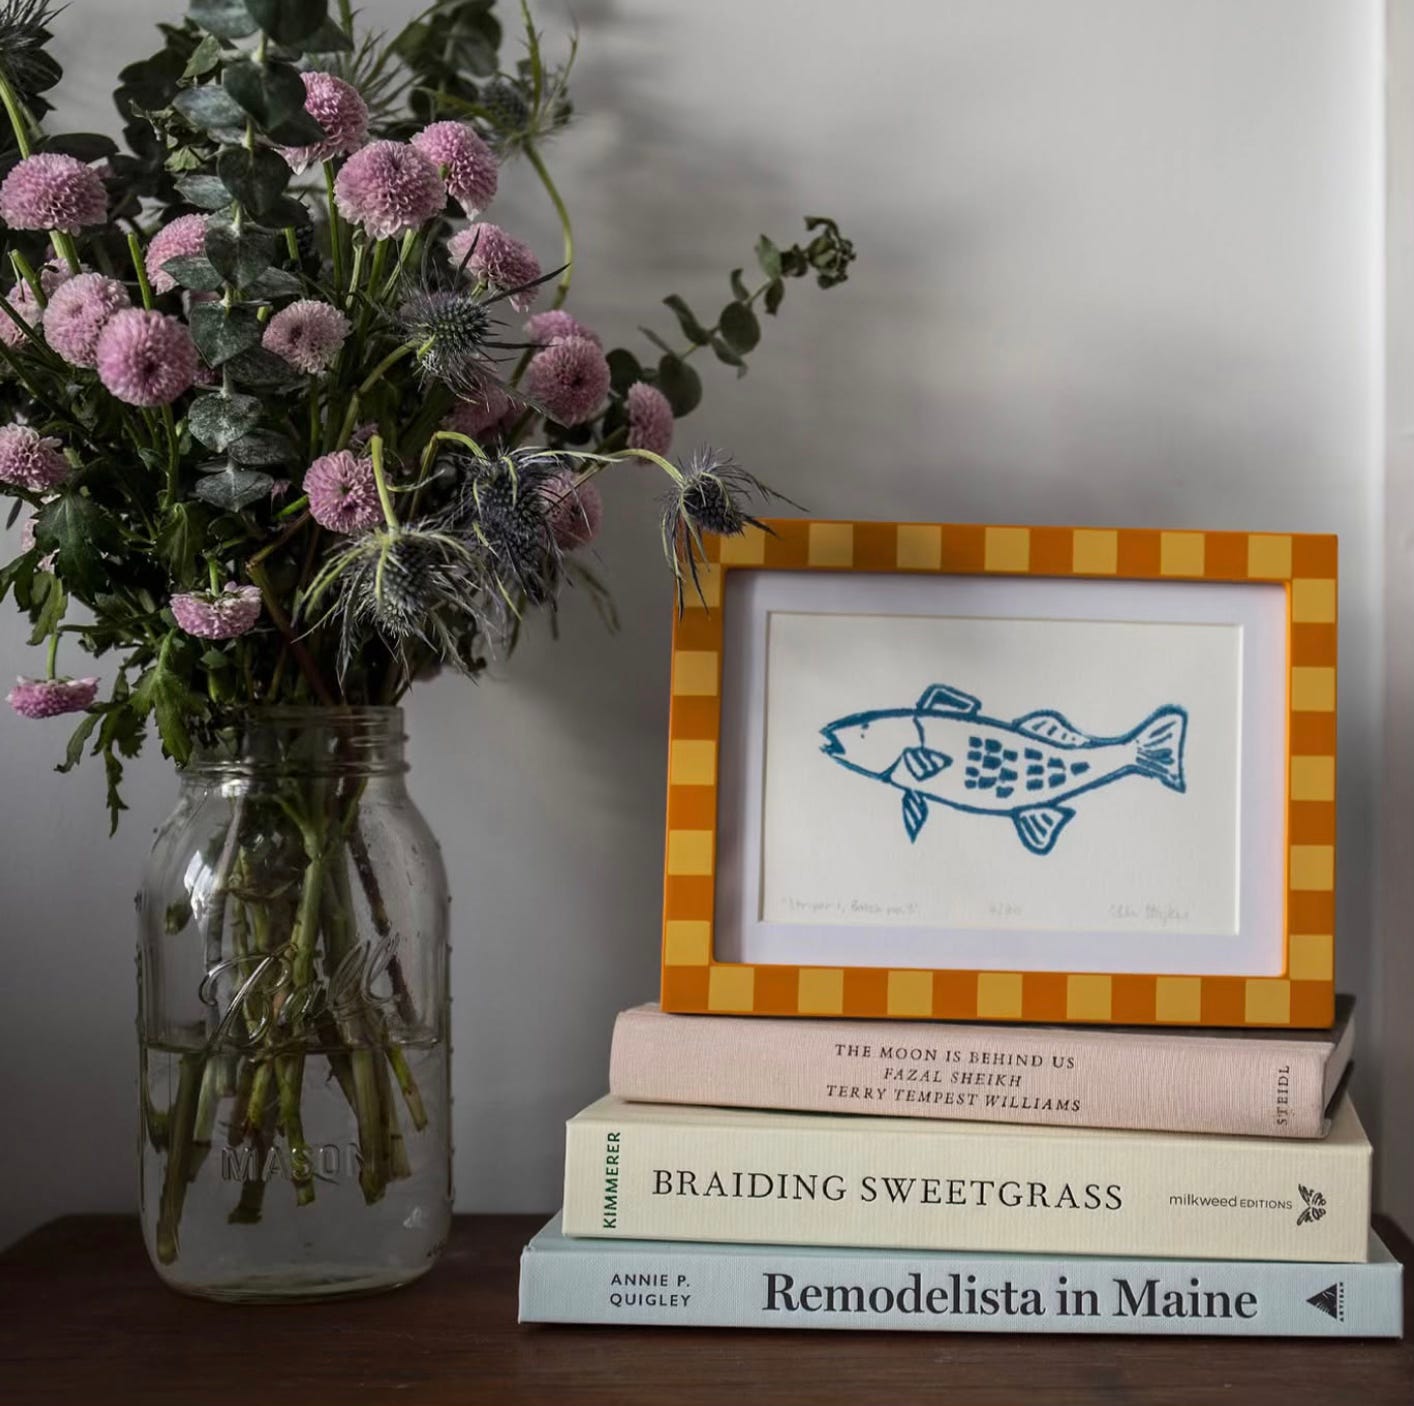
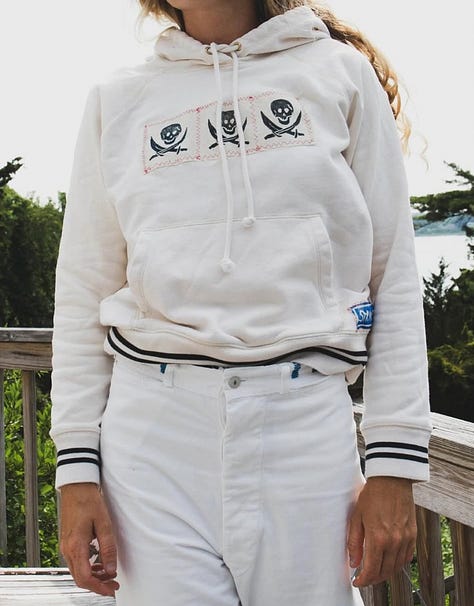
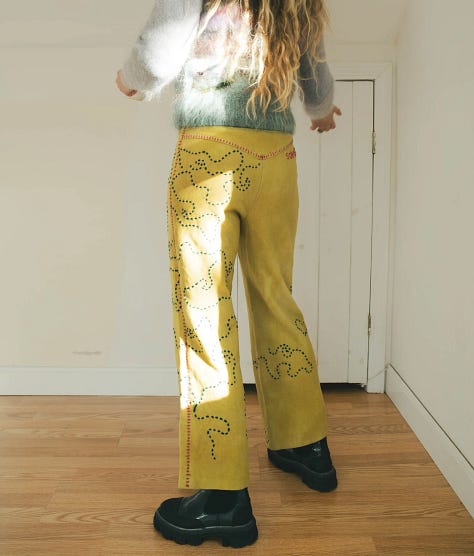
Another beautiful thing about carving linocuts is that the surface opportunities are expansive. Another old friend, Ellen Stryker, is a sea goddess of a printmaker who uses her designs on paper and hand-dyed/embroidered garments—really anything that inspires her. She’s known to split her time on The Cape, in Burlington, VT and Jackson, WY. These nature and adventure havens influence her work.
View her work here (IG) and here (website).

Linoleum block printing is a form of relief printmaking in which you carve a design into a sheet of linoleum, roll ink over the surface, and then press it onto paper or fabric to create a print. The areas you carve away remain white (or the color of your paper), and the remaining raised surface is inked.
It’s a close cousin to woodblock printing but generally smoother and easier to carve—making it a popular choice for classroom settings, illustrators, and fine artists alike. It is a perfect kitchen table activity.
Some printers create one-and-done blocks, some create a series of blocks that are printed on top of one another, and some tap into a reductive process that limits the printing run. I’ll elaborate on those a bit later.
Getting started doesn't require a massive investment. Here’s a basic list of tools and materials:
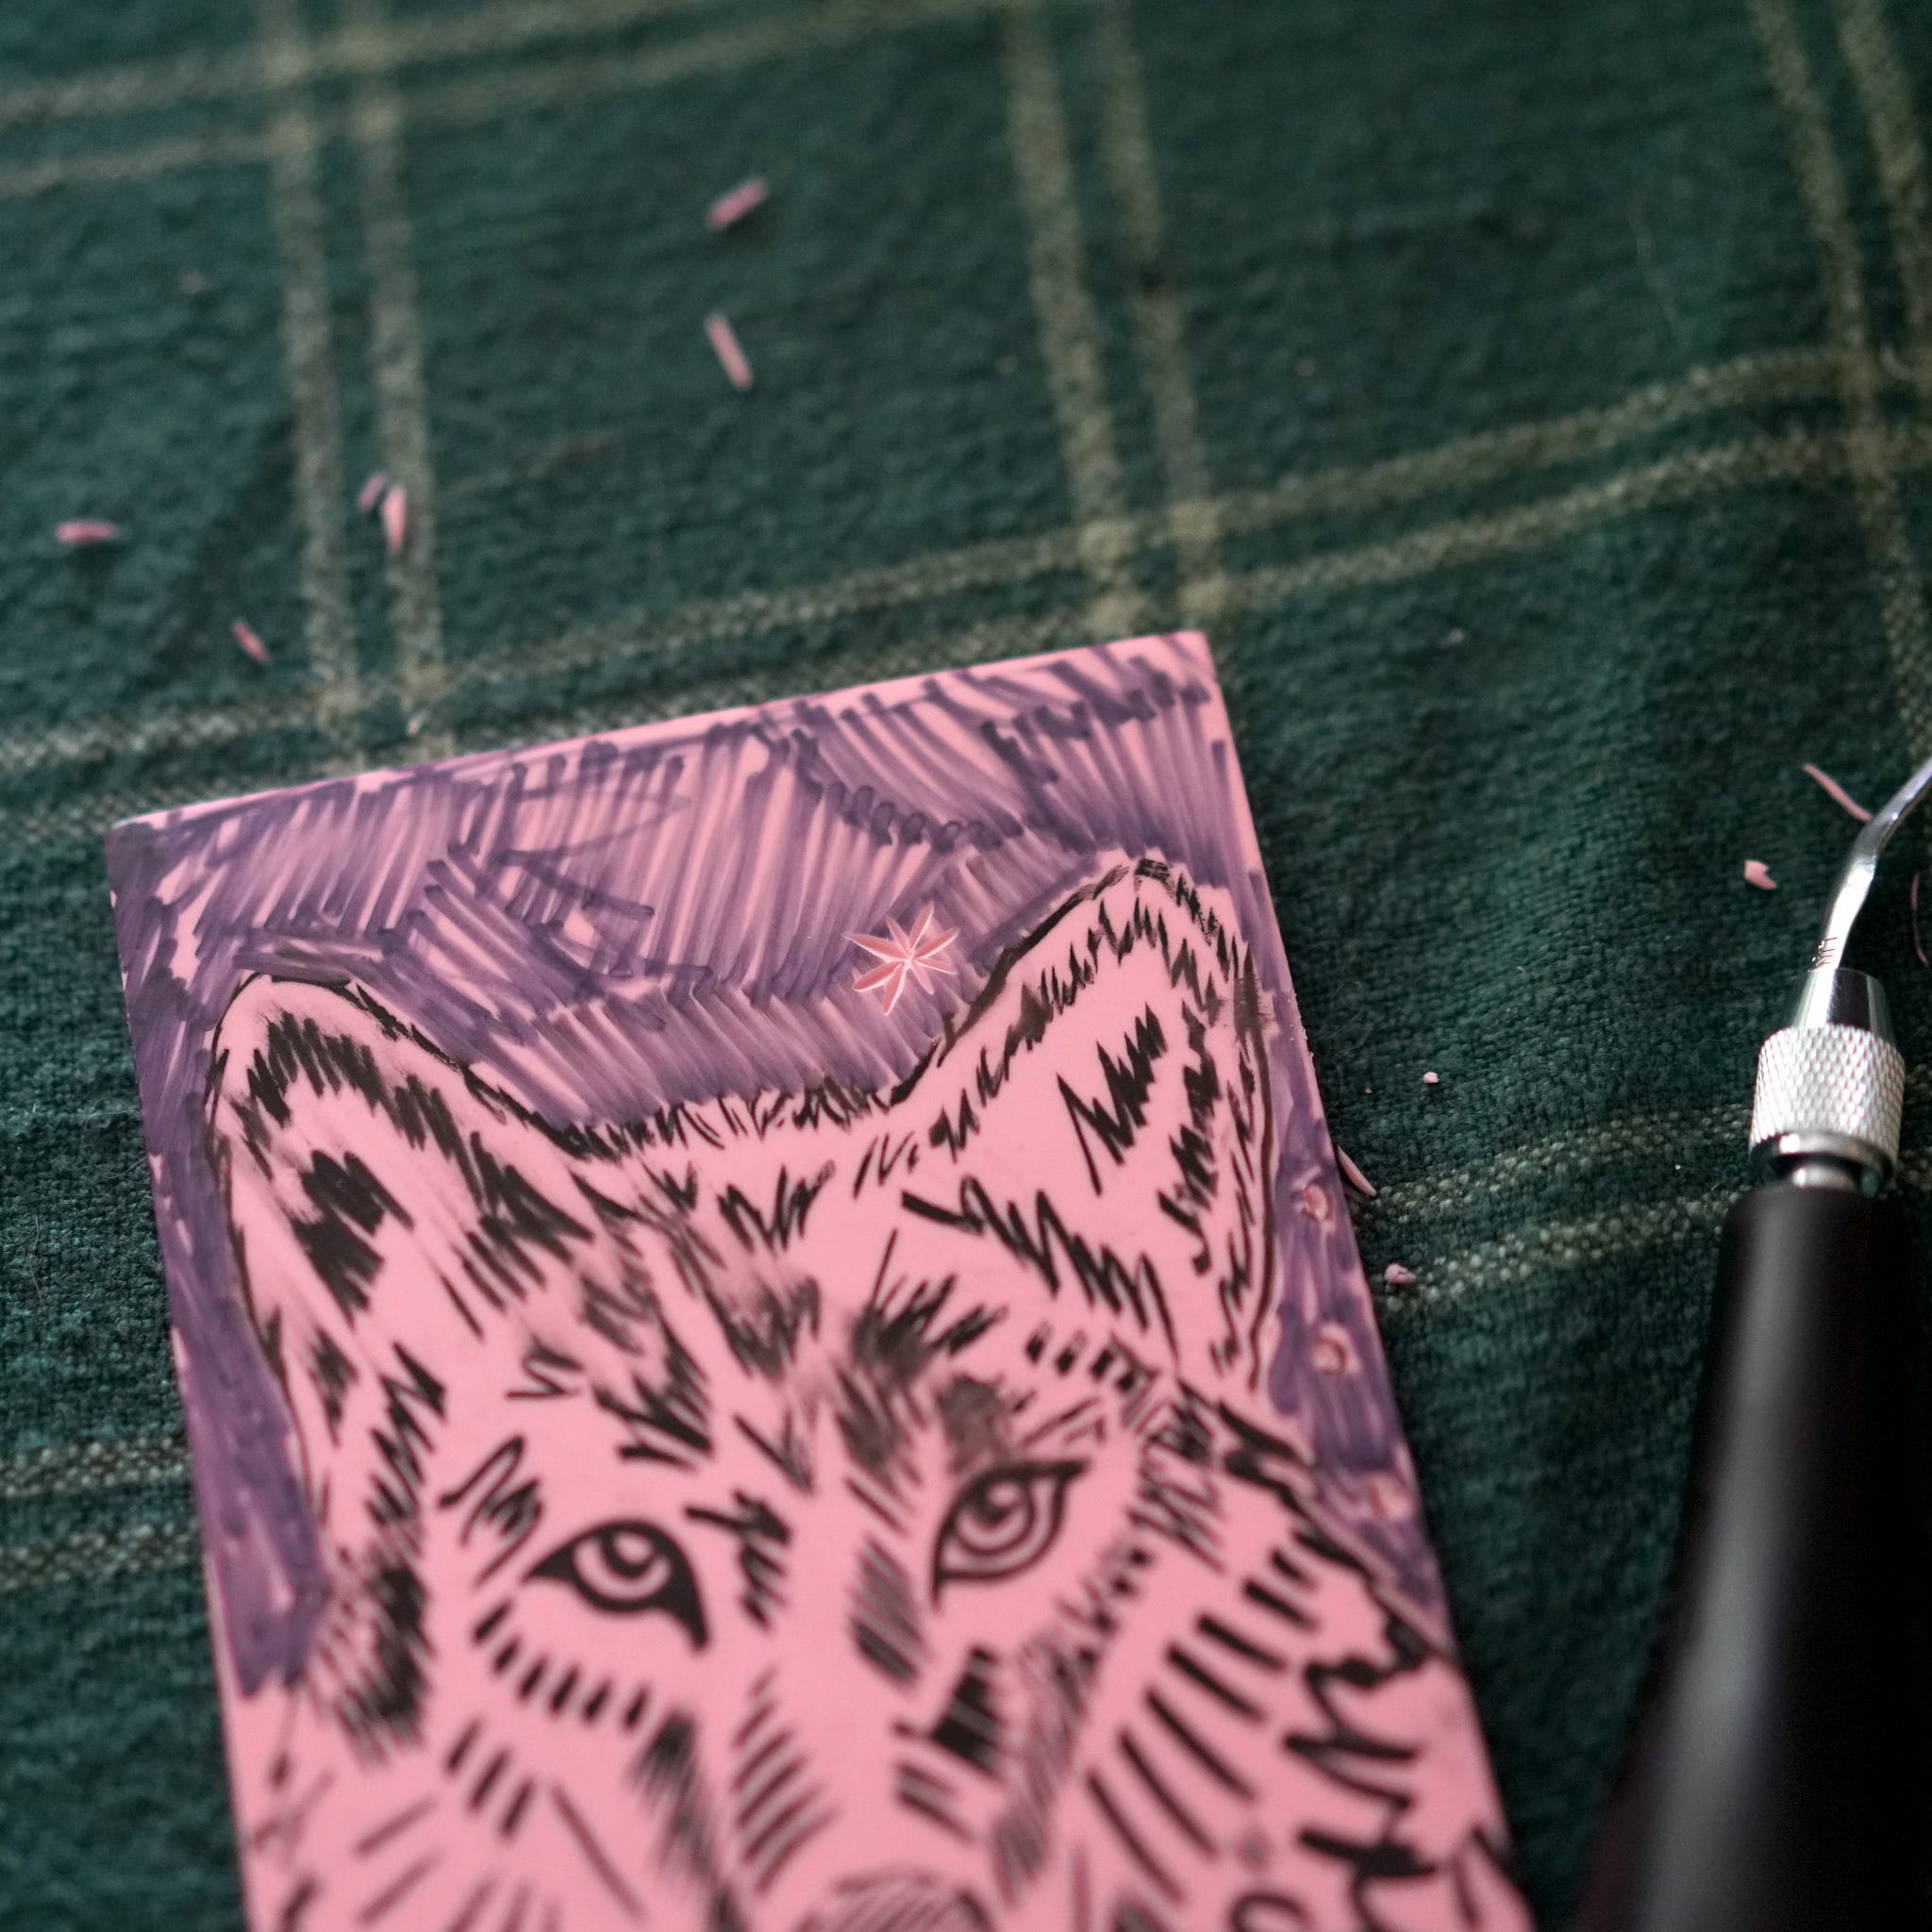
Linoleum block: Traditional gray linoleum or easy-cut (soft-cut) alternatives for beginners. I prefer the pink version! Choose a size that best fits your vision. 2” x 3” is great for DIY greeting cards, 4” x 6” are great for popping in a card to a loved one, etc.
Carving tools: These typically come as a set with various gouge tips for different types of lines and textures. The Speedball set is a great beginner option.
Brayer: A small roller used to apply ink evenly to your block. I prefer a softer one.
Sheet of glass: For rolling out your ink
Ink: Depending on your preference, you can use water-based or oil-based block printing ink. Water-based ink is very easy to clean and is best for beginners.
Baren or spoon: This is used to hand-burnish and press the paper onto the block (unless you have access to a printing press). I use a wooden spatula.
Paper: Anything from lightweight Japanese paper to heavyweight printmaking paper. Strathmore and Arches are excellent sources for beginners and come in a pad of twenty or so. Choose a paper larger than your design if you want to sign and number it. Keep standard framing sizes in mind so your customers or gift recipients don’t have to have custom frames made.
Rag or paper towel: For cleaning up or touching up blocks before printing.
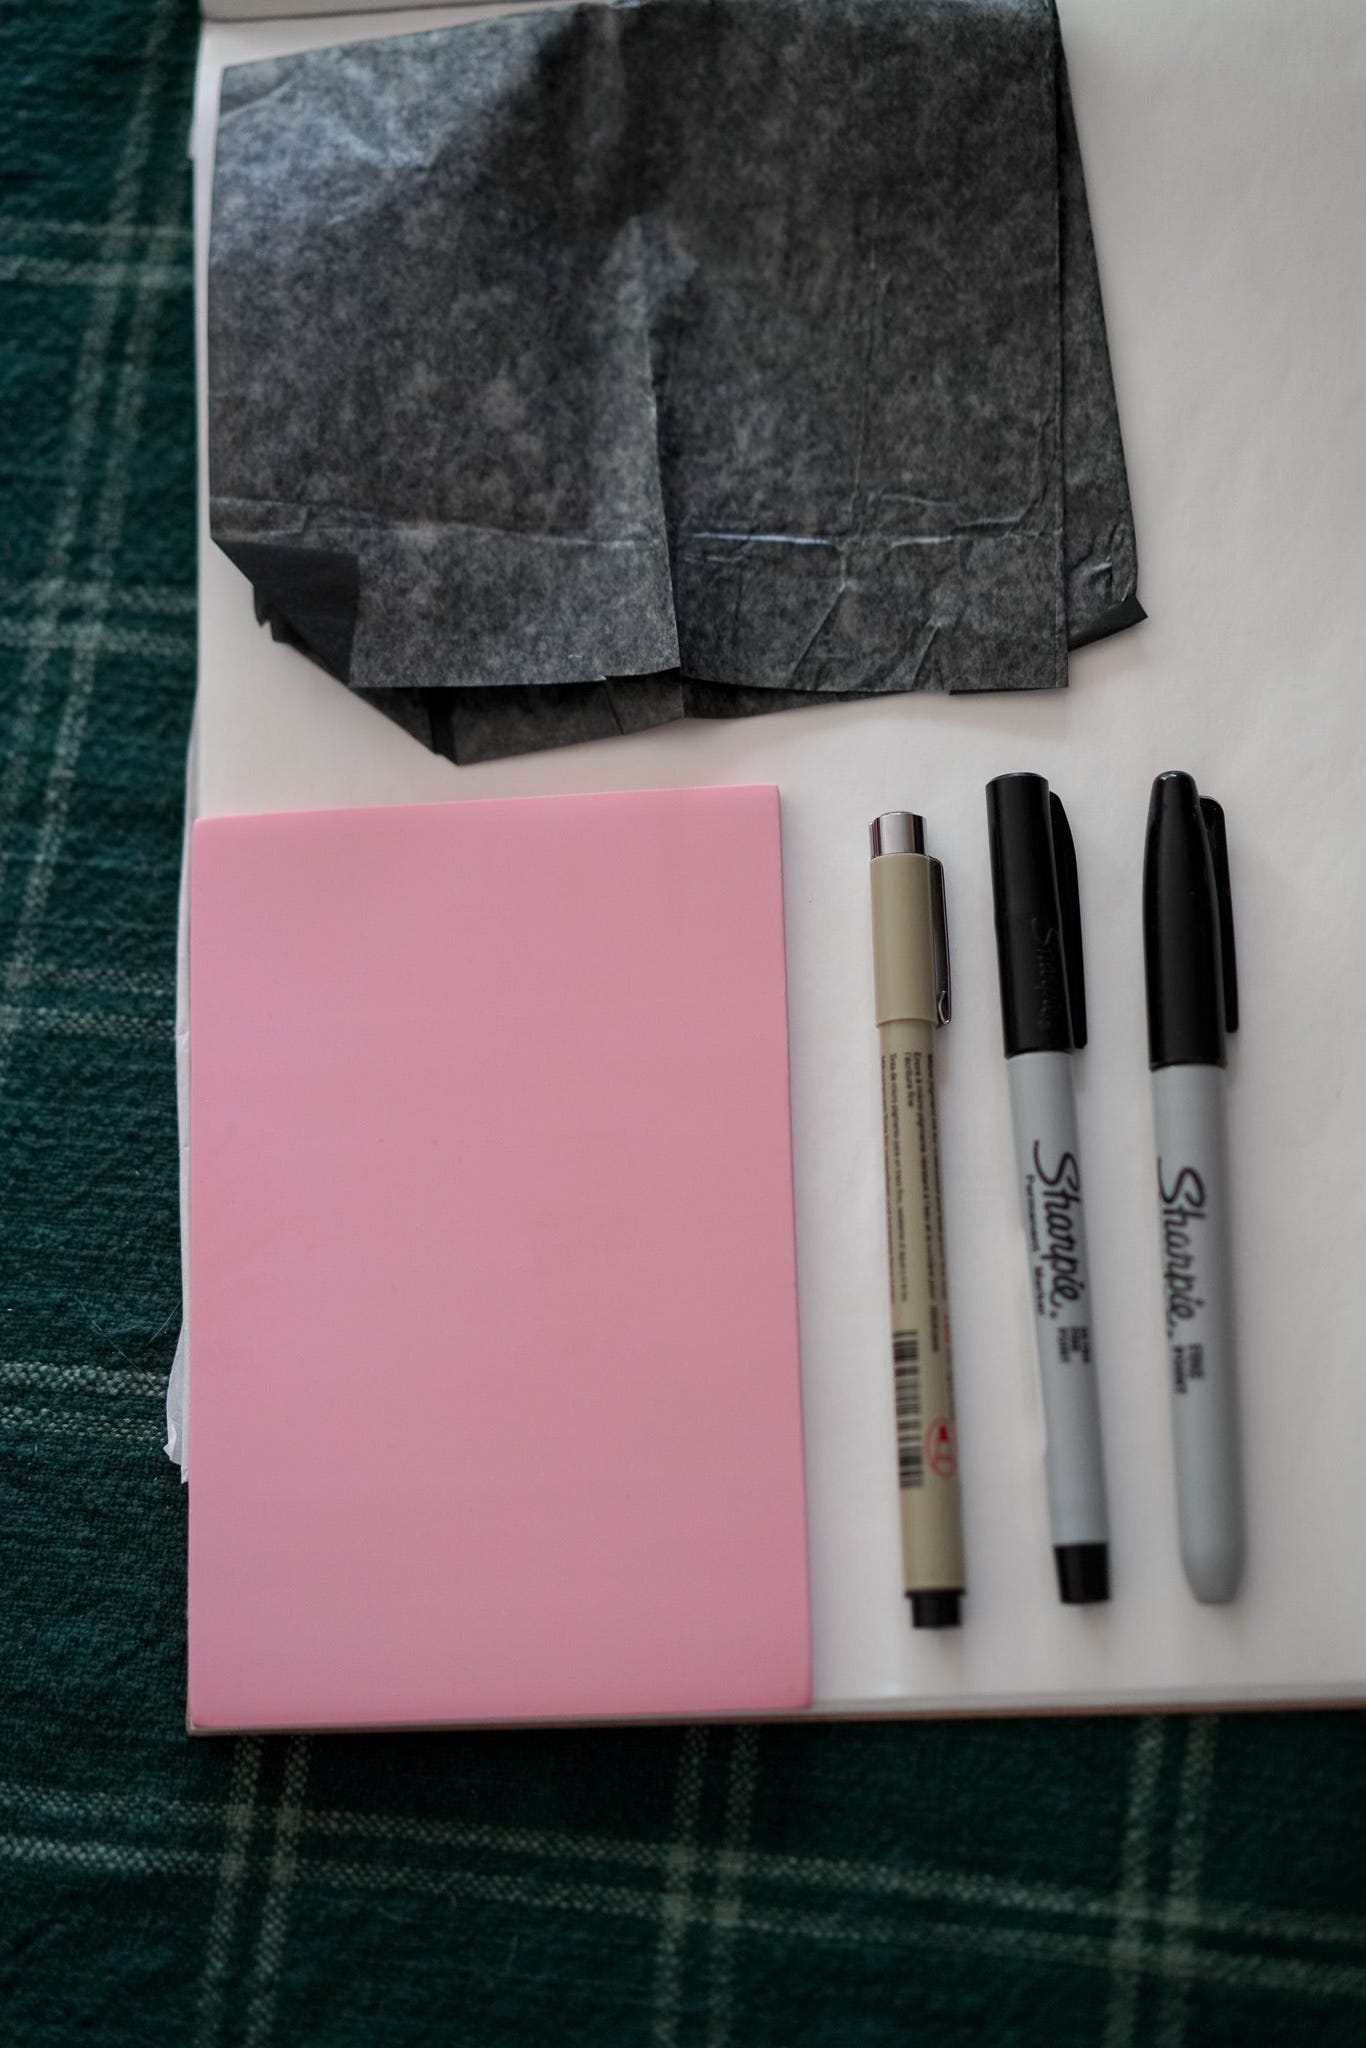
Optional:
Tracing paper: To sketch your design and flip it over to view the mirrored version.
Transfer paper: A graphite or carbon-coated paper that allows you to transfer your design onto the surface by tracing over it.
Sharpies of various sizes: For sketching out your design. I also like massive Sharpies to cover the surface to emulate what my print will look like.
White paint pen: This also lets you predict what will be visible when you print.
Pencil: For signing and numbering your work. It’s nostalgic and doesn’t take away from your work.
Paintbrush and jar for water: If you make a mistake or overcarve your block, you can slightly water down your ink and paint over your mistakes.
*In my examples, you’ll see that I like to use a variety of writing implements. Just be careful not to use writing utensils that will accidentally disrupt the surface where you do not intend to cut.
Below, you will find a brief how-to/refresher. For a more in-depth process, I’ll leave it to the professionals and am sharing a video below by EHollingsheadArt
Design & Transfer: Sketch your design on paper, then transfer it to the linoleum block—either by tracing with transfer paper or drawing directly with pencil or sharpie. Remember, your print will come out in reverse!
Carving: Using your tools, carve away the negative space (the parts you don’t want to print). Start shallow and be mindful—once it’s carved, it’s gone!
Setting up your registration key: A registration key is a guide or system that helps align your paper with the carved block, ensuring each print (or each color layer in multi-block or reduction prints) lines up accurately. This is especially important when working with multiple colors or layers, where even a slight shift can distort the final image. Common methods include using corner guides made from cardboard, T-shaped frames, or hinged setups with tape or pins. I typically use an old box and make markings where the paper lines up and then where the block is supposed to go to make the printing process aligned and prevent too much paper trimming.
Inking: Roll out a thin layer of ink with your brayer and apply it to the raised surface of your block.
Printing: Place your paper over the inked block and apply even pressure with a baren, spoon, or press. Carefully peel the paper to reveal your print! When lifting your print, if the ink didn’t transfer properly, slowly place it back down and scrape it again with your baren. Sometimes, this takes me a few times— so be patient.
Repeat: You can create a whole edition of prints from the same block—great for cards, zines, or framed art.
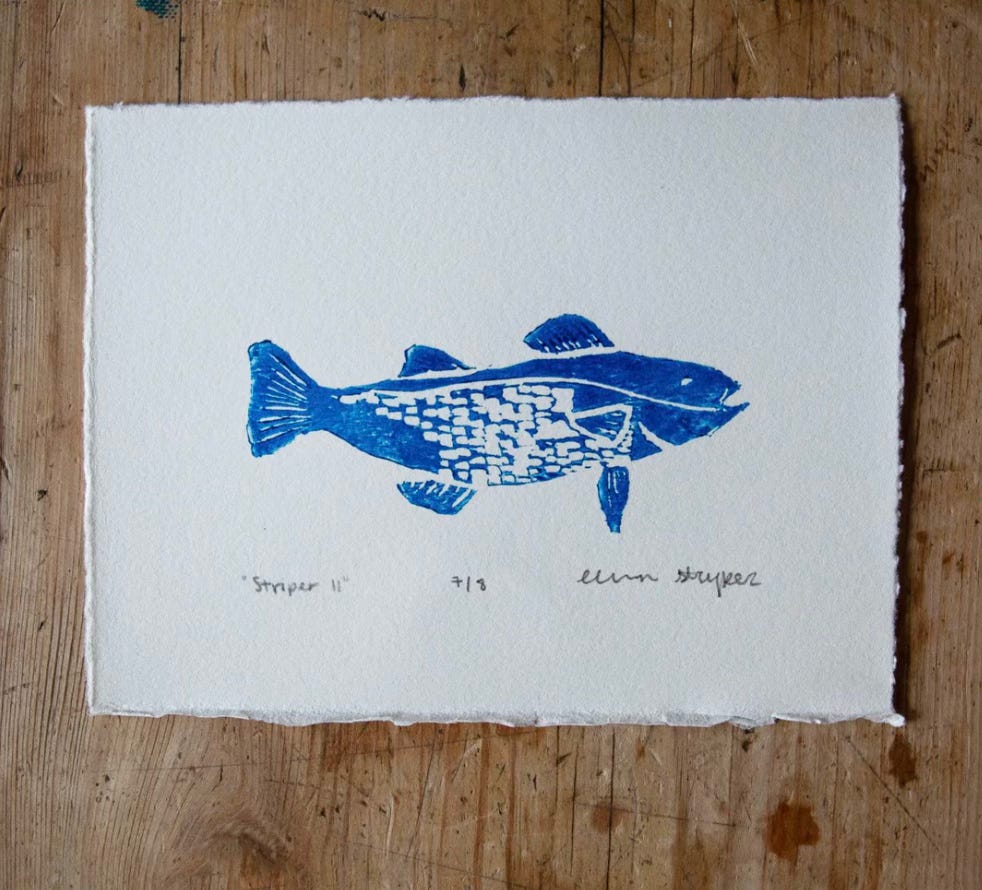
Sign and number your work! Printmakers are known for signing, titling, and numbering your work. If you are the type to print exclusive runs, it informs your art collector that they have a unique print in a finite series— creating intrinsic value in the work. I’m sharing an example of one of Ellen’s below.
Tactile tranquility: The carving process is almost meditative.
Bold expression: Linocut prints are known for their striking lines and strong contrast.
Affordable art-making: Once you have the tools, you can keep printing with minimal materials.
Eco-friendly options: Water-based inks and recycled paper make this a sustainable choice for many.
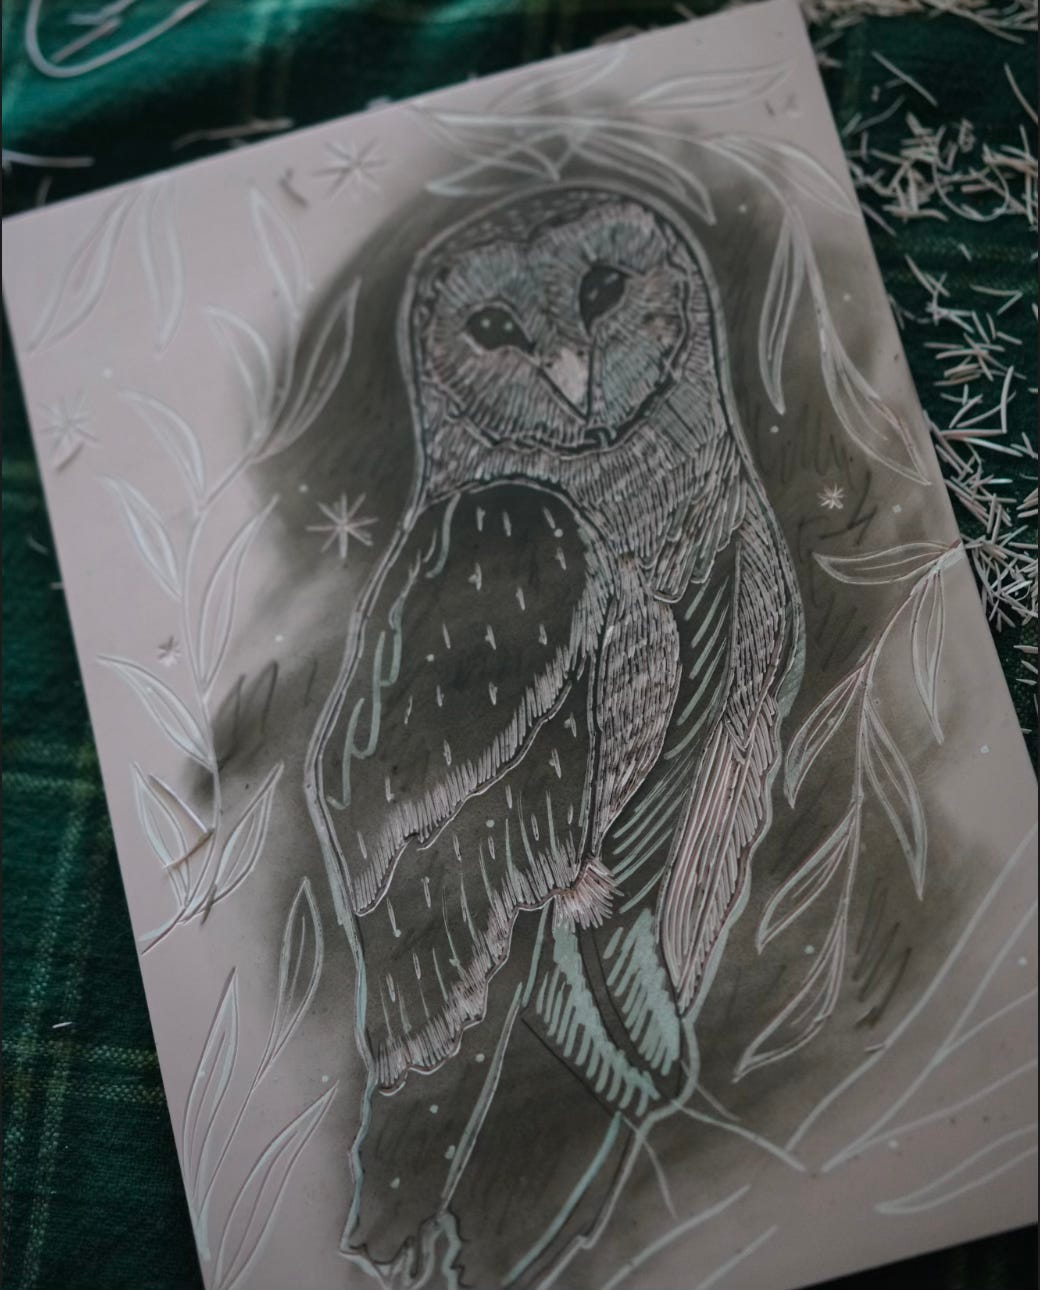
Sketch your design first, but be open to real-time inspiration.
Start simple—bold shapes and clear contrast work best for your first few blocks.
Always carve away from your hands—safety first!
Take a photo of your block and flip it in your editing app to see how it will print.
Go slowly. You can’t uncarve your block, but you can go back and touch it up with ink.
Color the top of your block with a big, chisel-tipped Sharpie so you can see where you’ve carved.
Experiment with different inking techniques and paper types.
Don't worry about perfection—imperfections add charm and character.
Check out my mark-making post to familiarize yourself with different hatching techniques.
Art Lessons: Vol. IV Mark Making
·
June 21, 2024
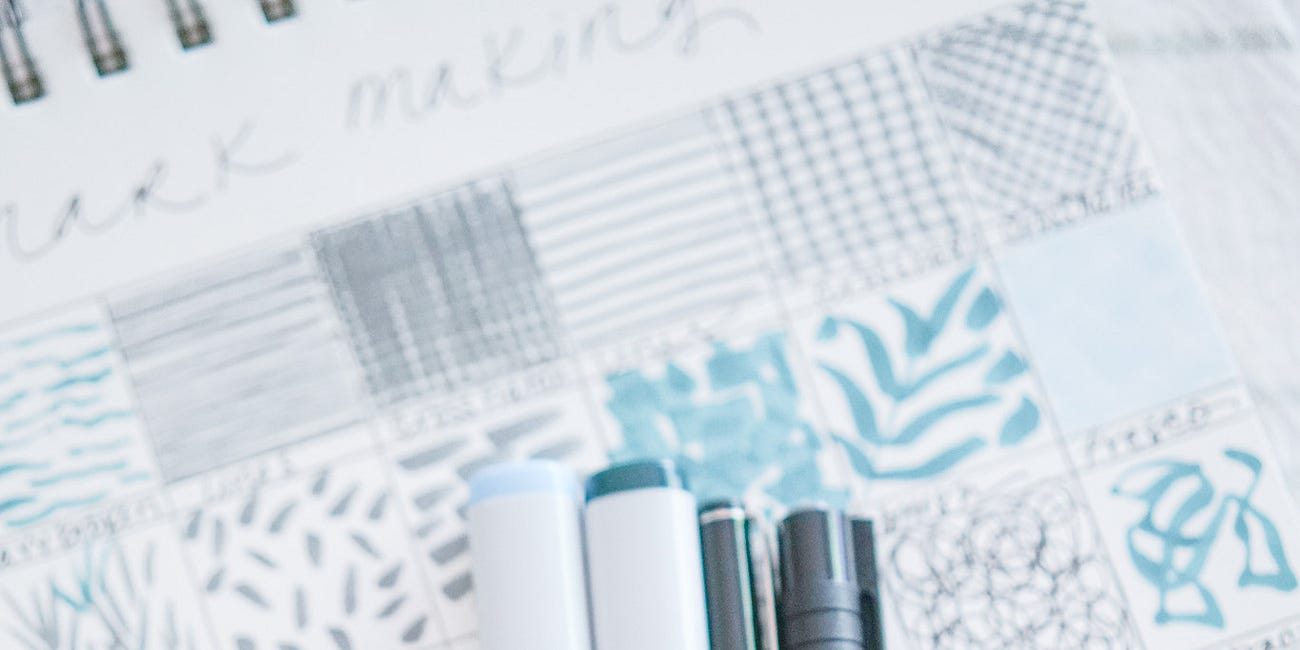
Mark-making is a fundamental underpinning for all drawing and doodling. It's the process of creating various lines, dots, and shapes on a surface - the basic vocabulary of visual art. Whether you're an aspiring artist or just enjoy casual sketching, understanding mark-making can elevate your work or add more depth to your doodling!
Linoleum block printing may seem straightforward at first glance, but there are actually several different methods and styles artists use to create dynamic, layered, and textured linocuts. Each approach brings its own charm and complexity.
This post taps into specifically one-color linocuts, but I’ll share some more techniques below.
Whether you love the drama of black-and-white single blocks or the complexity of reduction layers, linoleum printing invites experimentation and tactile exploration. It’s a medium that rewards both precision and play!
Even if you make a mistake, every carved line tells part of your story.
Here’s a breakdown:
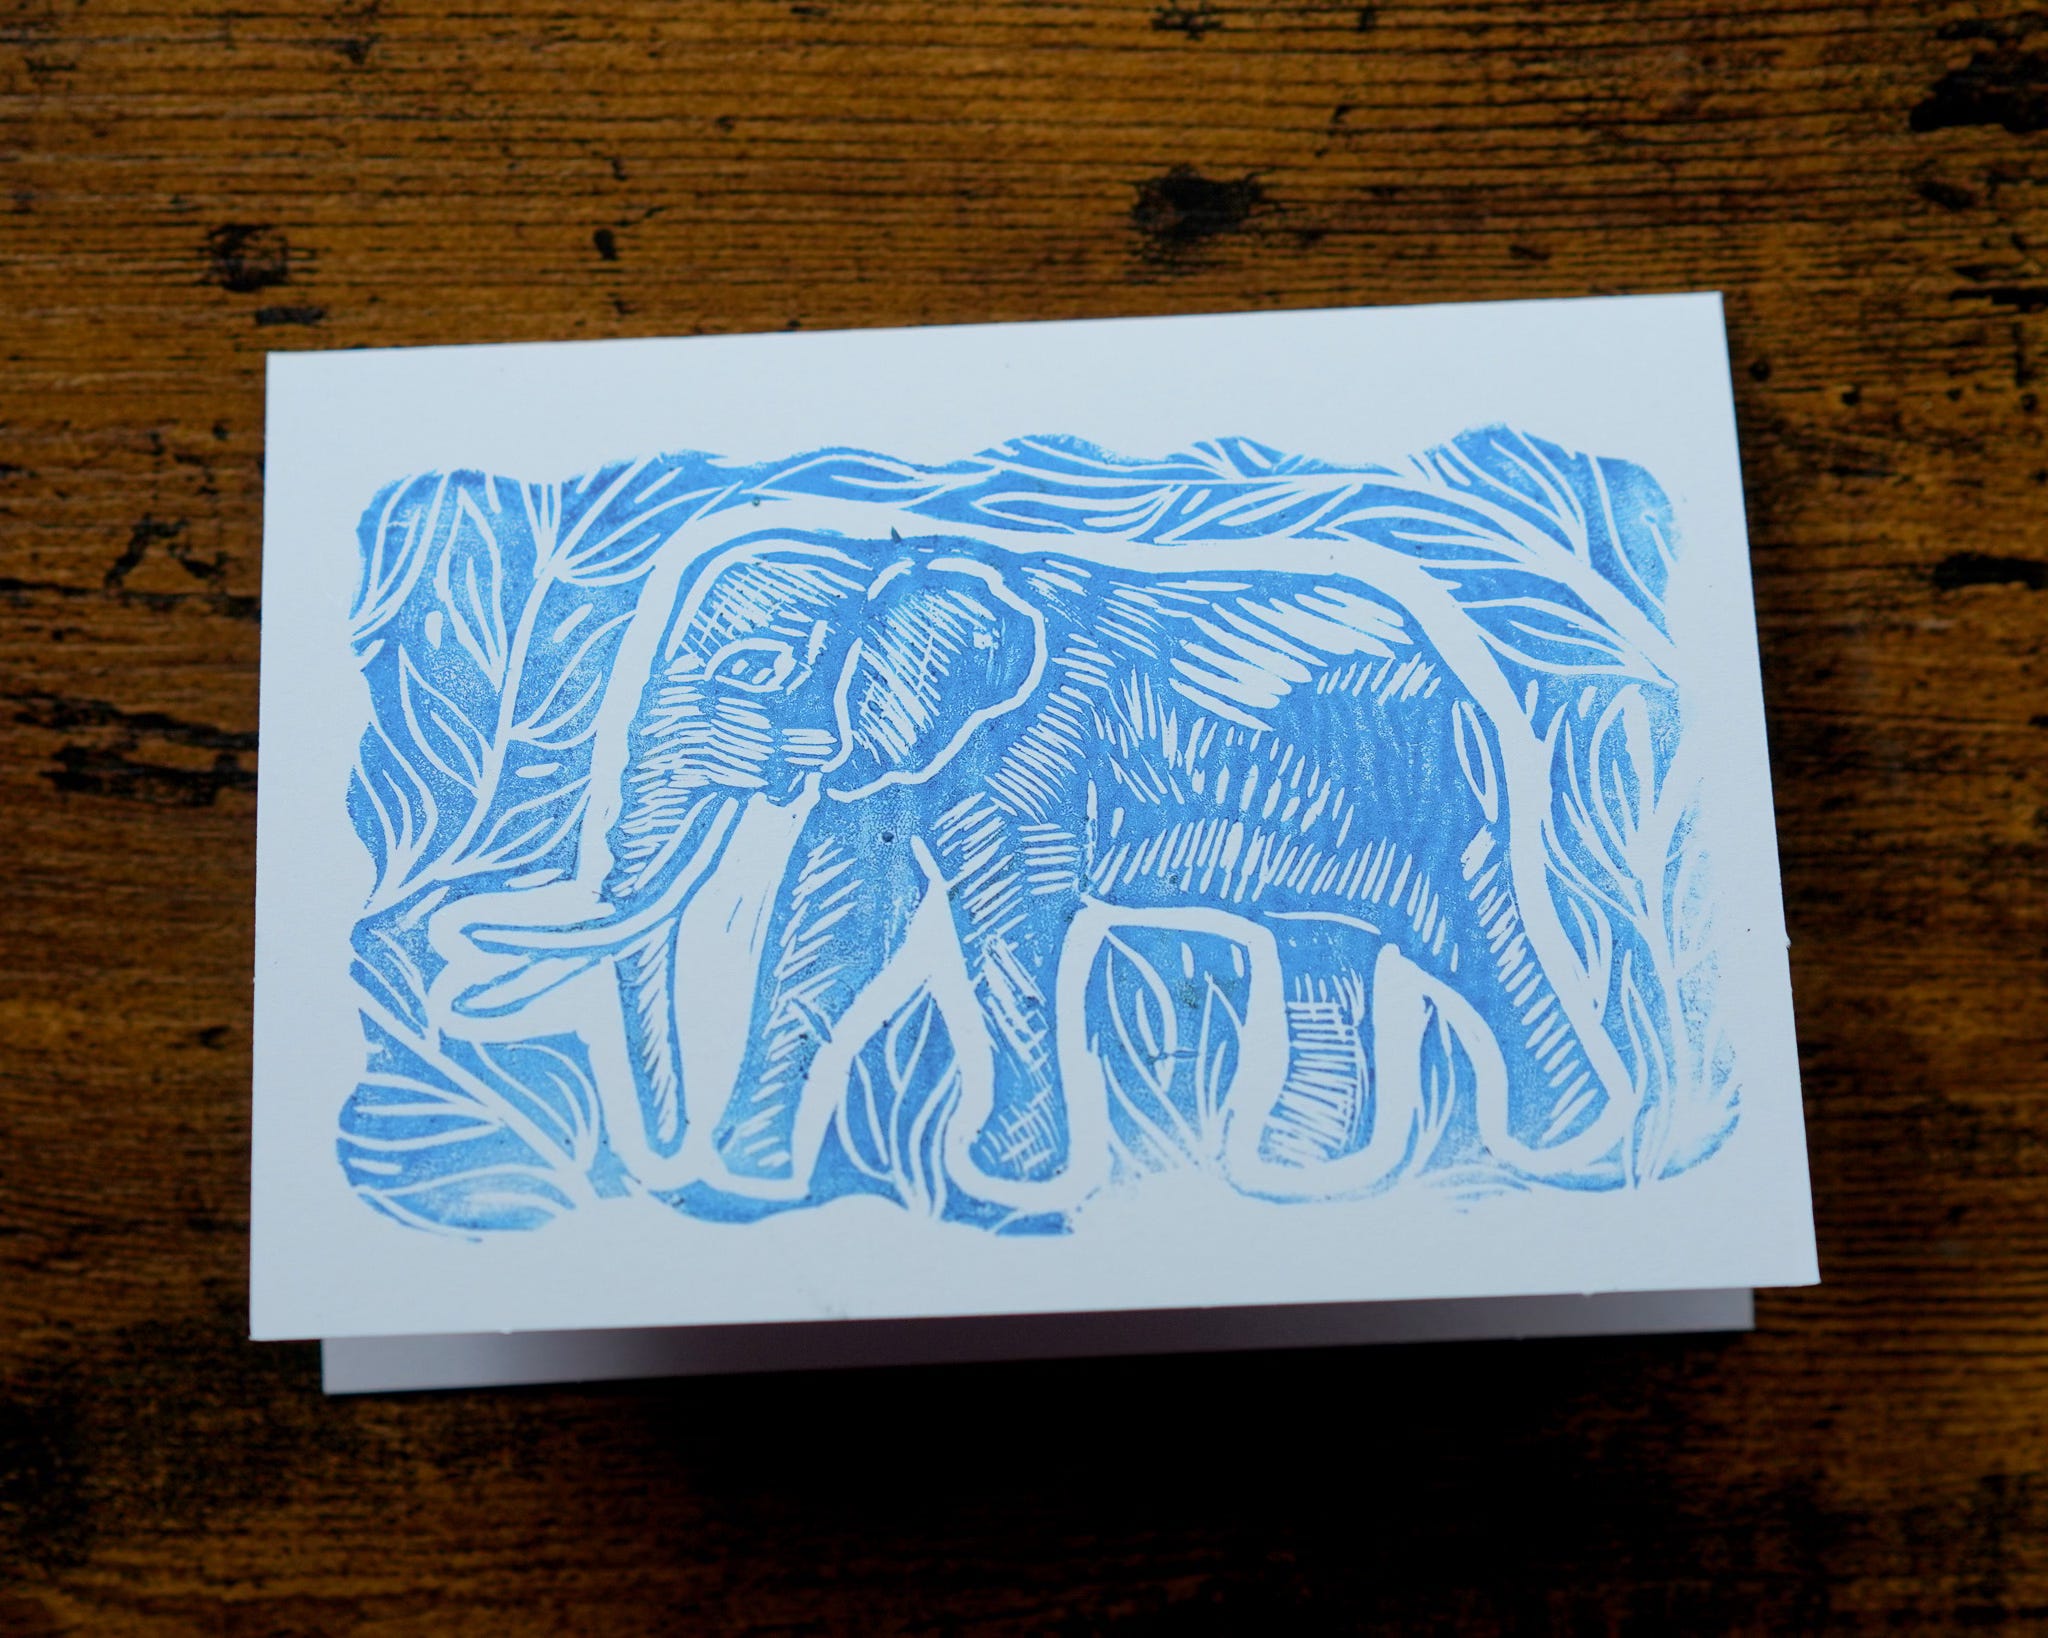
A little test elephant print I made to decorate blank note cards. I need to do some more barening in the bottom right.
This is the most basic method and is perfect for beginners. You carve one block, ink it with a single color, and print it—an excellent option for greeting cards, posters, and art prints with strong contrast. I personally love the aesthetic of a one-color lino!
Pros:
Simple and effective.
Great for bold, graphic designs.
Easy to learn and repeat.
It can absolutely be done using the “hand press method” without a professional printing press.
This technique uses a single block to print multiple layers of color. After printing the lightest color, you carve away more of the block and print the next darker color over the first layer—repeating until the darkest layer is printed, and the block becomes reduced to details in the process. As a result, the print run is finite and limited to how many copies you make and line correctly in each stage. This is a gorgeous technique for fine art prints with a painterly, layered effect.
Pros:
Creates rich, layered multi-color images with only one block.
Cons:
You can’t go back and reprint earlier layers. Best to make more than you think you need in the event of errors.
Requires careful planning and registration.
For this method, each color is printed from a separate block. You carve each block with the parts of the design corresponding to that color. This is an excellent technique for easily distinguishing a composition's foreground and background.
Pros:
You can easily reprint editions compared to reduction printing.
More flexibility with layering and color mixing.
Cons:
Requires precise registration so the blocks align perfectly.
It is more time-consuming to prepare than one-color prints.
You cut your linoleum block into pieces (like a jigsaw puzzle), ink each section a different color, reassemble the pieces, and print the block as one. Think of leaves being separate blocks from a flower bud. This is great for abstract prints, graphic art, or bold colorwork.
Pros:
No need for multiple blocks or layers.
Great for strong, colorful designs with visual impact.
Cons:
More delicate handling required when inking and assembling.
Not ideal for very intricate designs.
Technically a printmaking technique often combined with linocut, Chine-collé involves adding delicate, colored paper to the print surface during the printing process. The image is printed over the paper, which adheres to the base layer. It can also be used with drypoint, etching, intaglio, collagraph, monoprint, and other printmaking techniques. This gives your work a mixed-media aesthetic.
Pros:
Adds texture, depth, and color variation.
Allows for mixed media effects.
Cons:
Slightly more advanced and fiddly to set up.
Instead of using ink, you press the carved block into paper to create a raised, textured impression—like a reverse stamp. Wedding invitations, fine art prints, and stationery are examples; however, typically, you would want to use a harder surface than softer forms of linoleum.
Pros:
Elegant, subtle finish.
Great for minimalist or decorative work.
Cons:
Not as visible from a distance.
Best used with thick, soft paper.
Can’t be done with the handpress method.
Artists often combine linocut with other techniques such as:
Monoprinting: Adding painterly effects with brayers or brushes before printing.
Mixed media: Printing on top of watercolors, acrylic backgrounds, or collages.
Digital enhancement: Scanning linocuts and editing or layering digitally.
These hybrid styles break traditional boundaries and let you explore endless possibilities.
From fine art studios to home kitchen tables, linoleum block printing continues to inspire artists and storytellers worldwide. Each print is a little different, a reminder of the human touch behind the image. No matter what you choose to create, linocut offers a powerful way to bring your ideas to life.
So, grab a block, roll some ink, and let your creativity leave its mark.
xo,
Brooke
Help fund the writing of my first novel
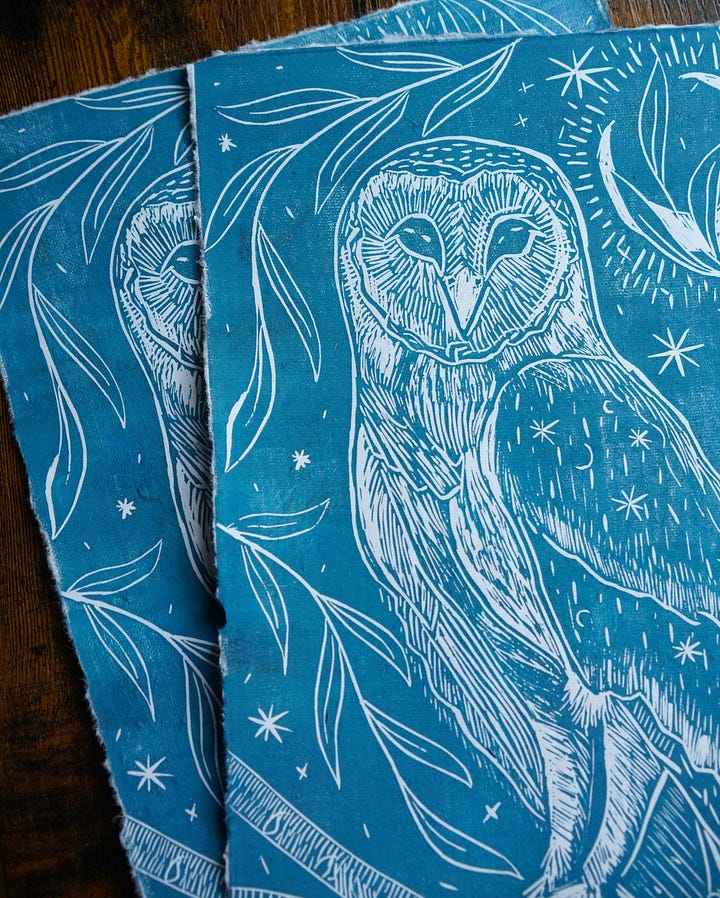
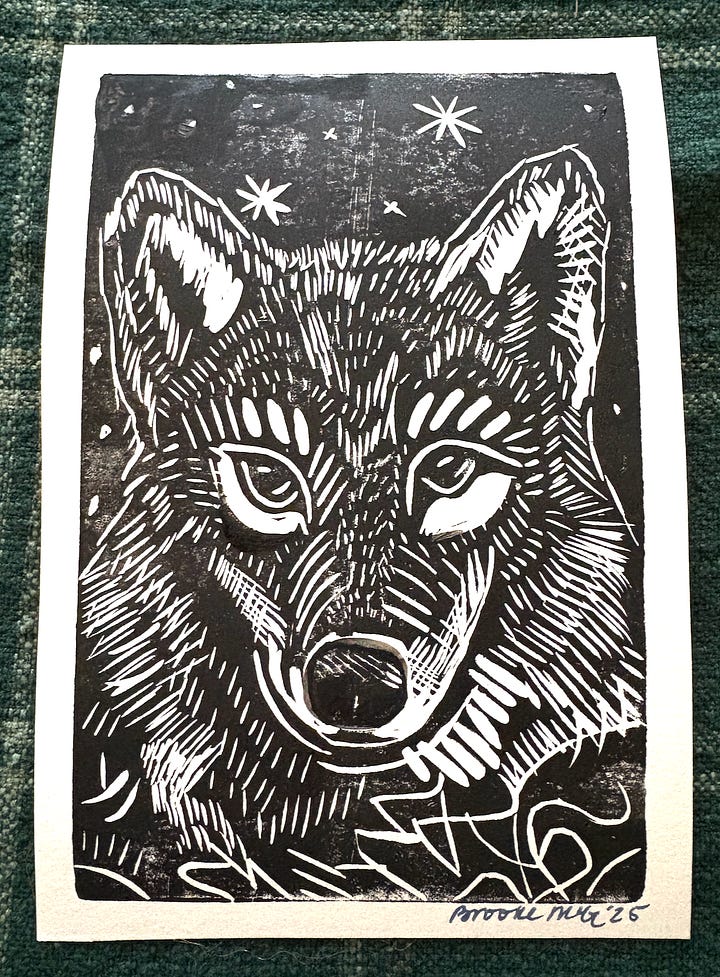
While I do not have a paywall on The Renderie, I do have paid subscriber options to help crowdfund the creation of these posts and serve as a reader-supported grant for writing my first novel. All Annual Subscribers (monthly and one-time annual) will receive a wolf print as a thank you, and all Art Collector Subscribers will receive both a wolf print and an owl. You will receive a new exclusive print each year you continue your support.
Thank you for being here and for supporting my art!
Comments
Nothing yet. Say the first thing.
Sign in to join the conversation.