
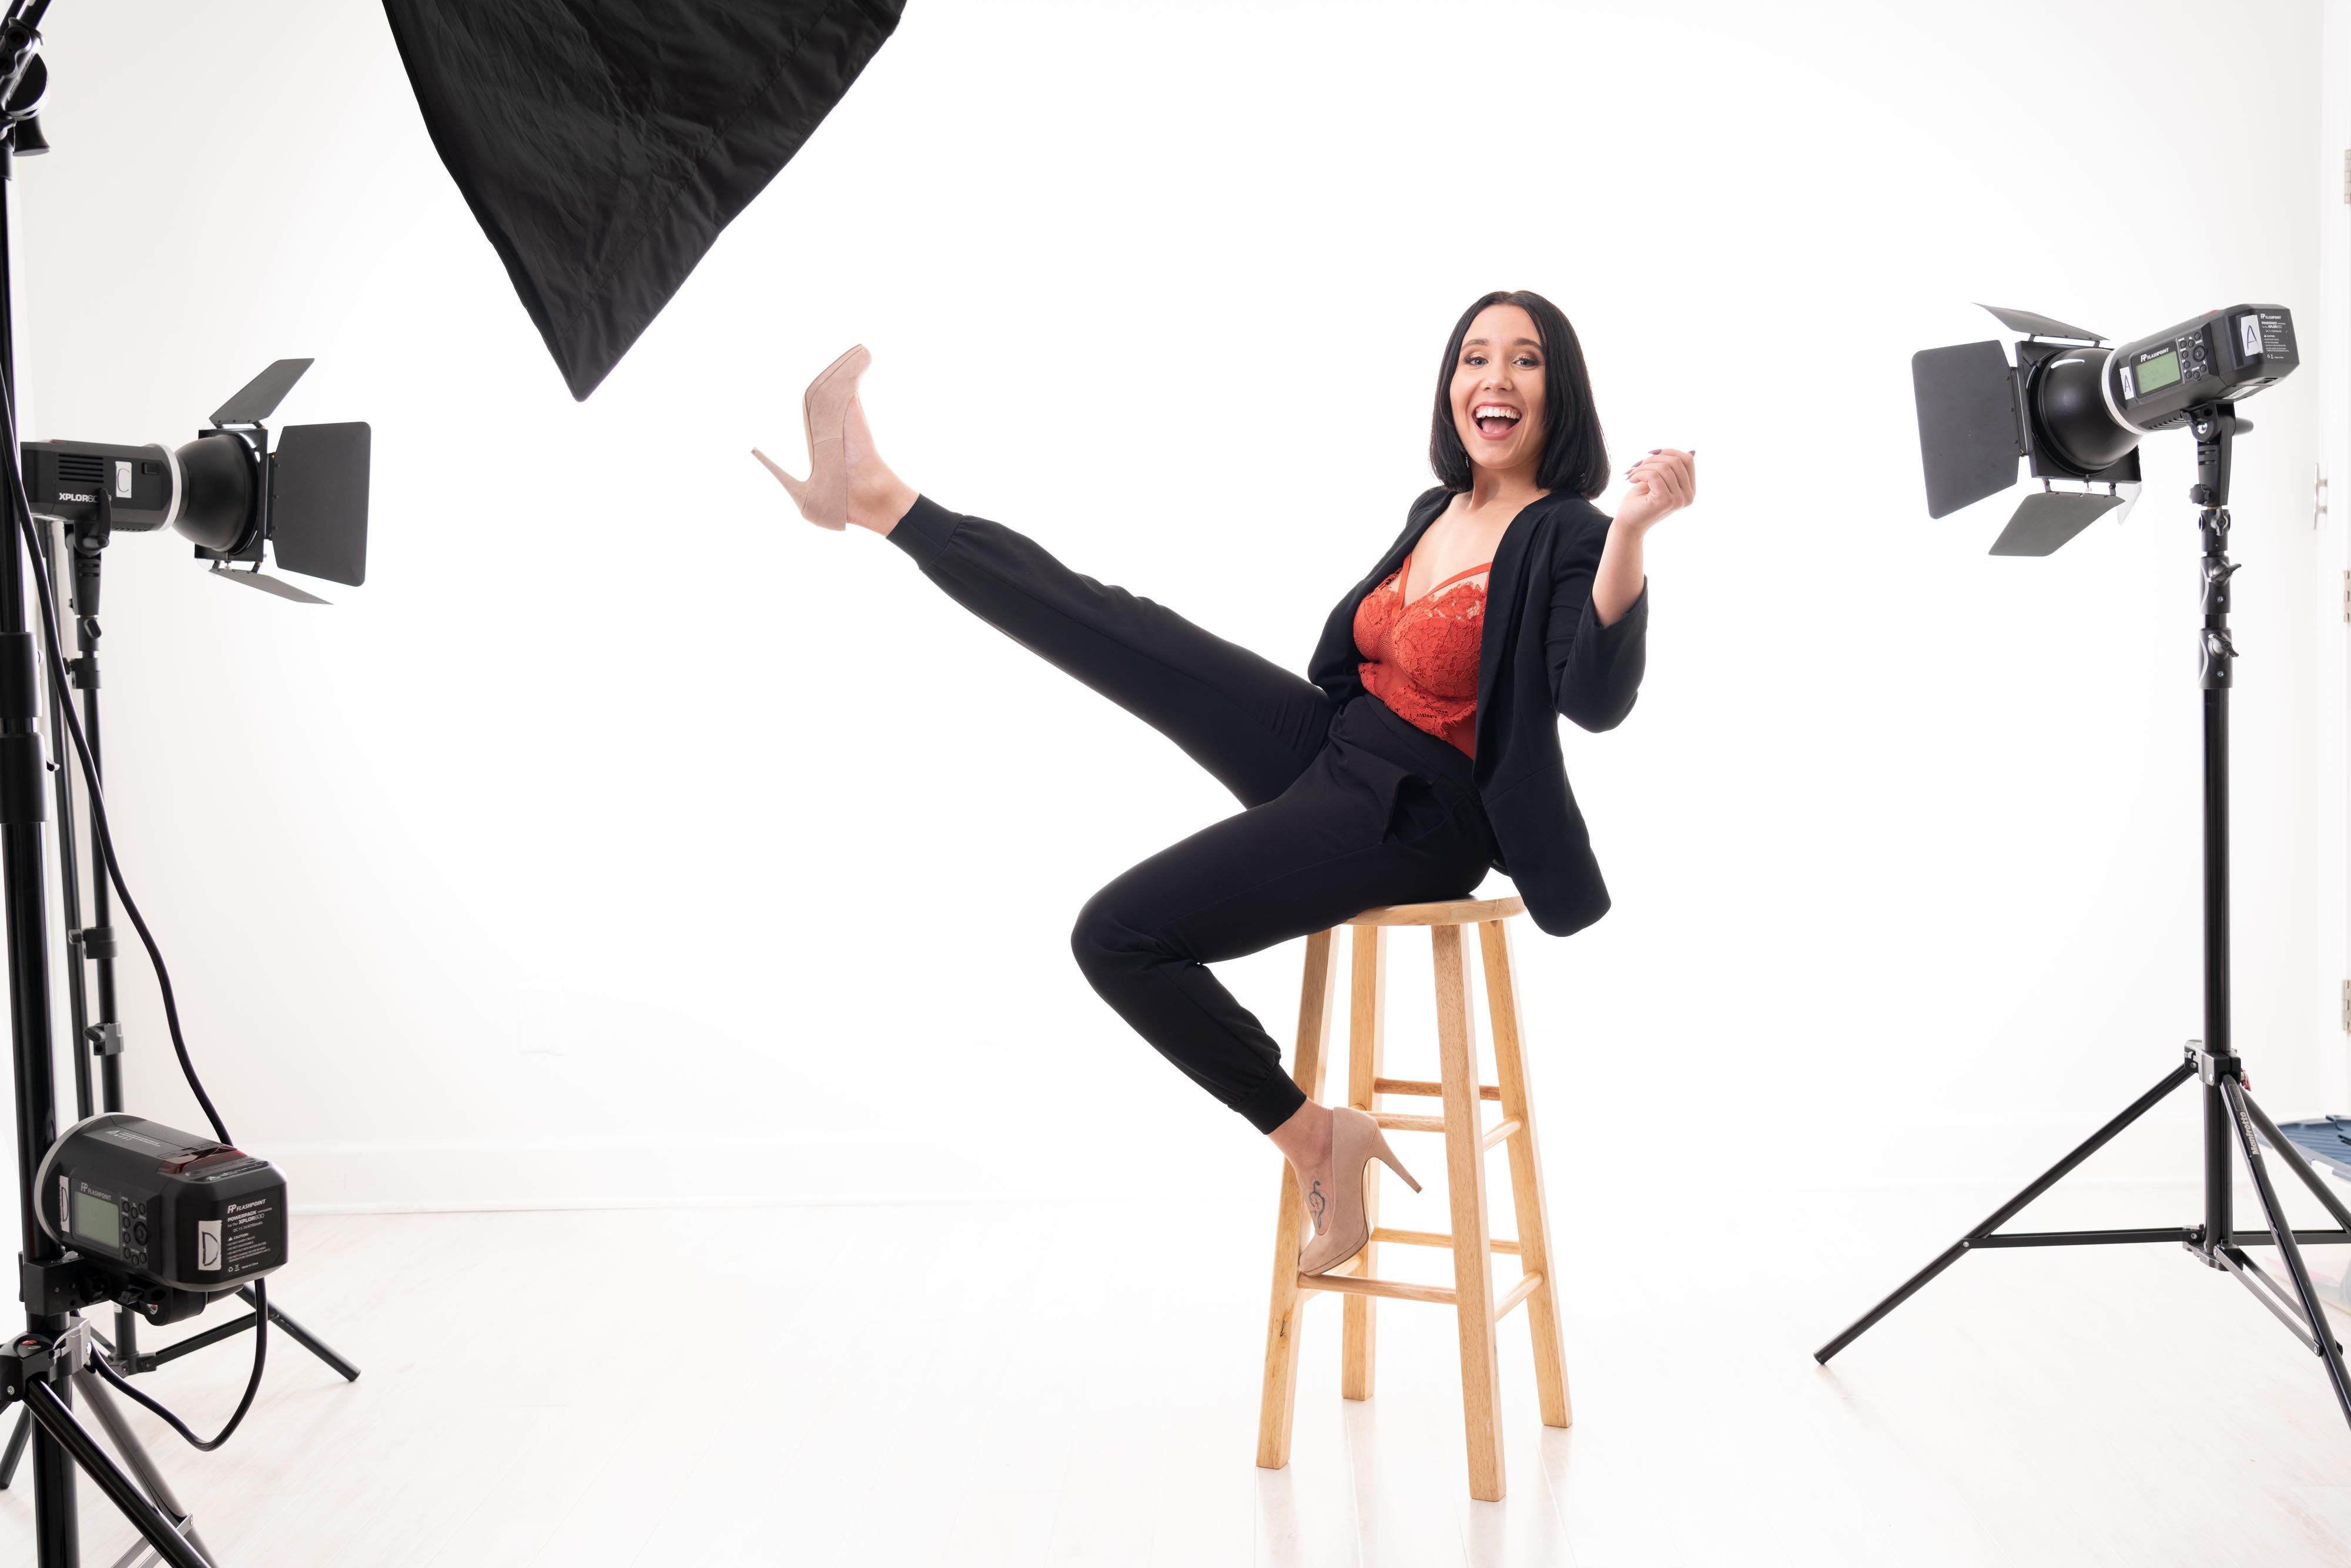
When working with studio lighting, you typically have more control over your lighting than you do when working with ambient light outdoors, especially when it comes to color. When shooting outside, color can be affected by the time of day/position of the sun, reflective surfaces near your subject, cloud cover that can change, and other factors. In the studio, you’d think your lighting would be pretty consistent, but this may not be the case.
Most light modifiers like softboxes, umbrellas, and such are going to create some degree of color shift. The materials used may be of high quality, but over time and exposure to light, most translucent materials used for diffusers in softboxes can start to shift towards yellow. Also, reflective materials that typically line modifier interiors (and umbrellas) can lean a bit towards blue.
As you can imagine, even small variances can create problems when you want consistent and accurate skin tones. The same goes for product photography, where color accuracy is very important. When you have one light, this can be easy enough to correct in your raw processing. Working with two, three, or more lights, in one scene can create a nightmare when the color of these light sources don’t match.
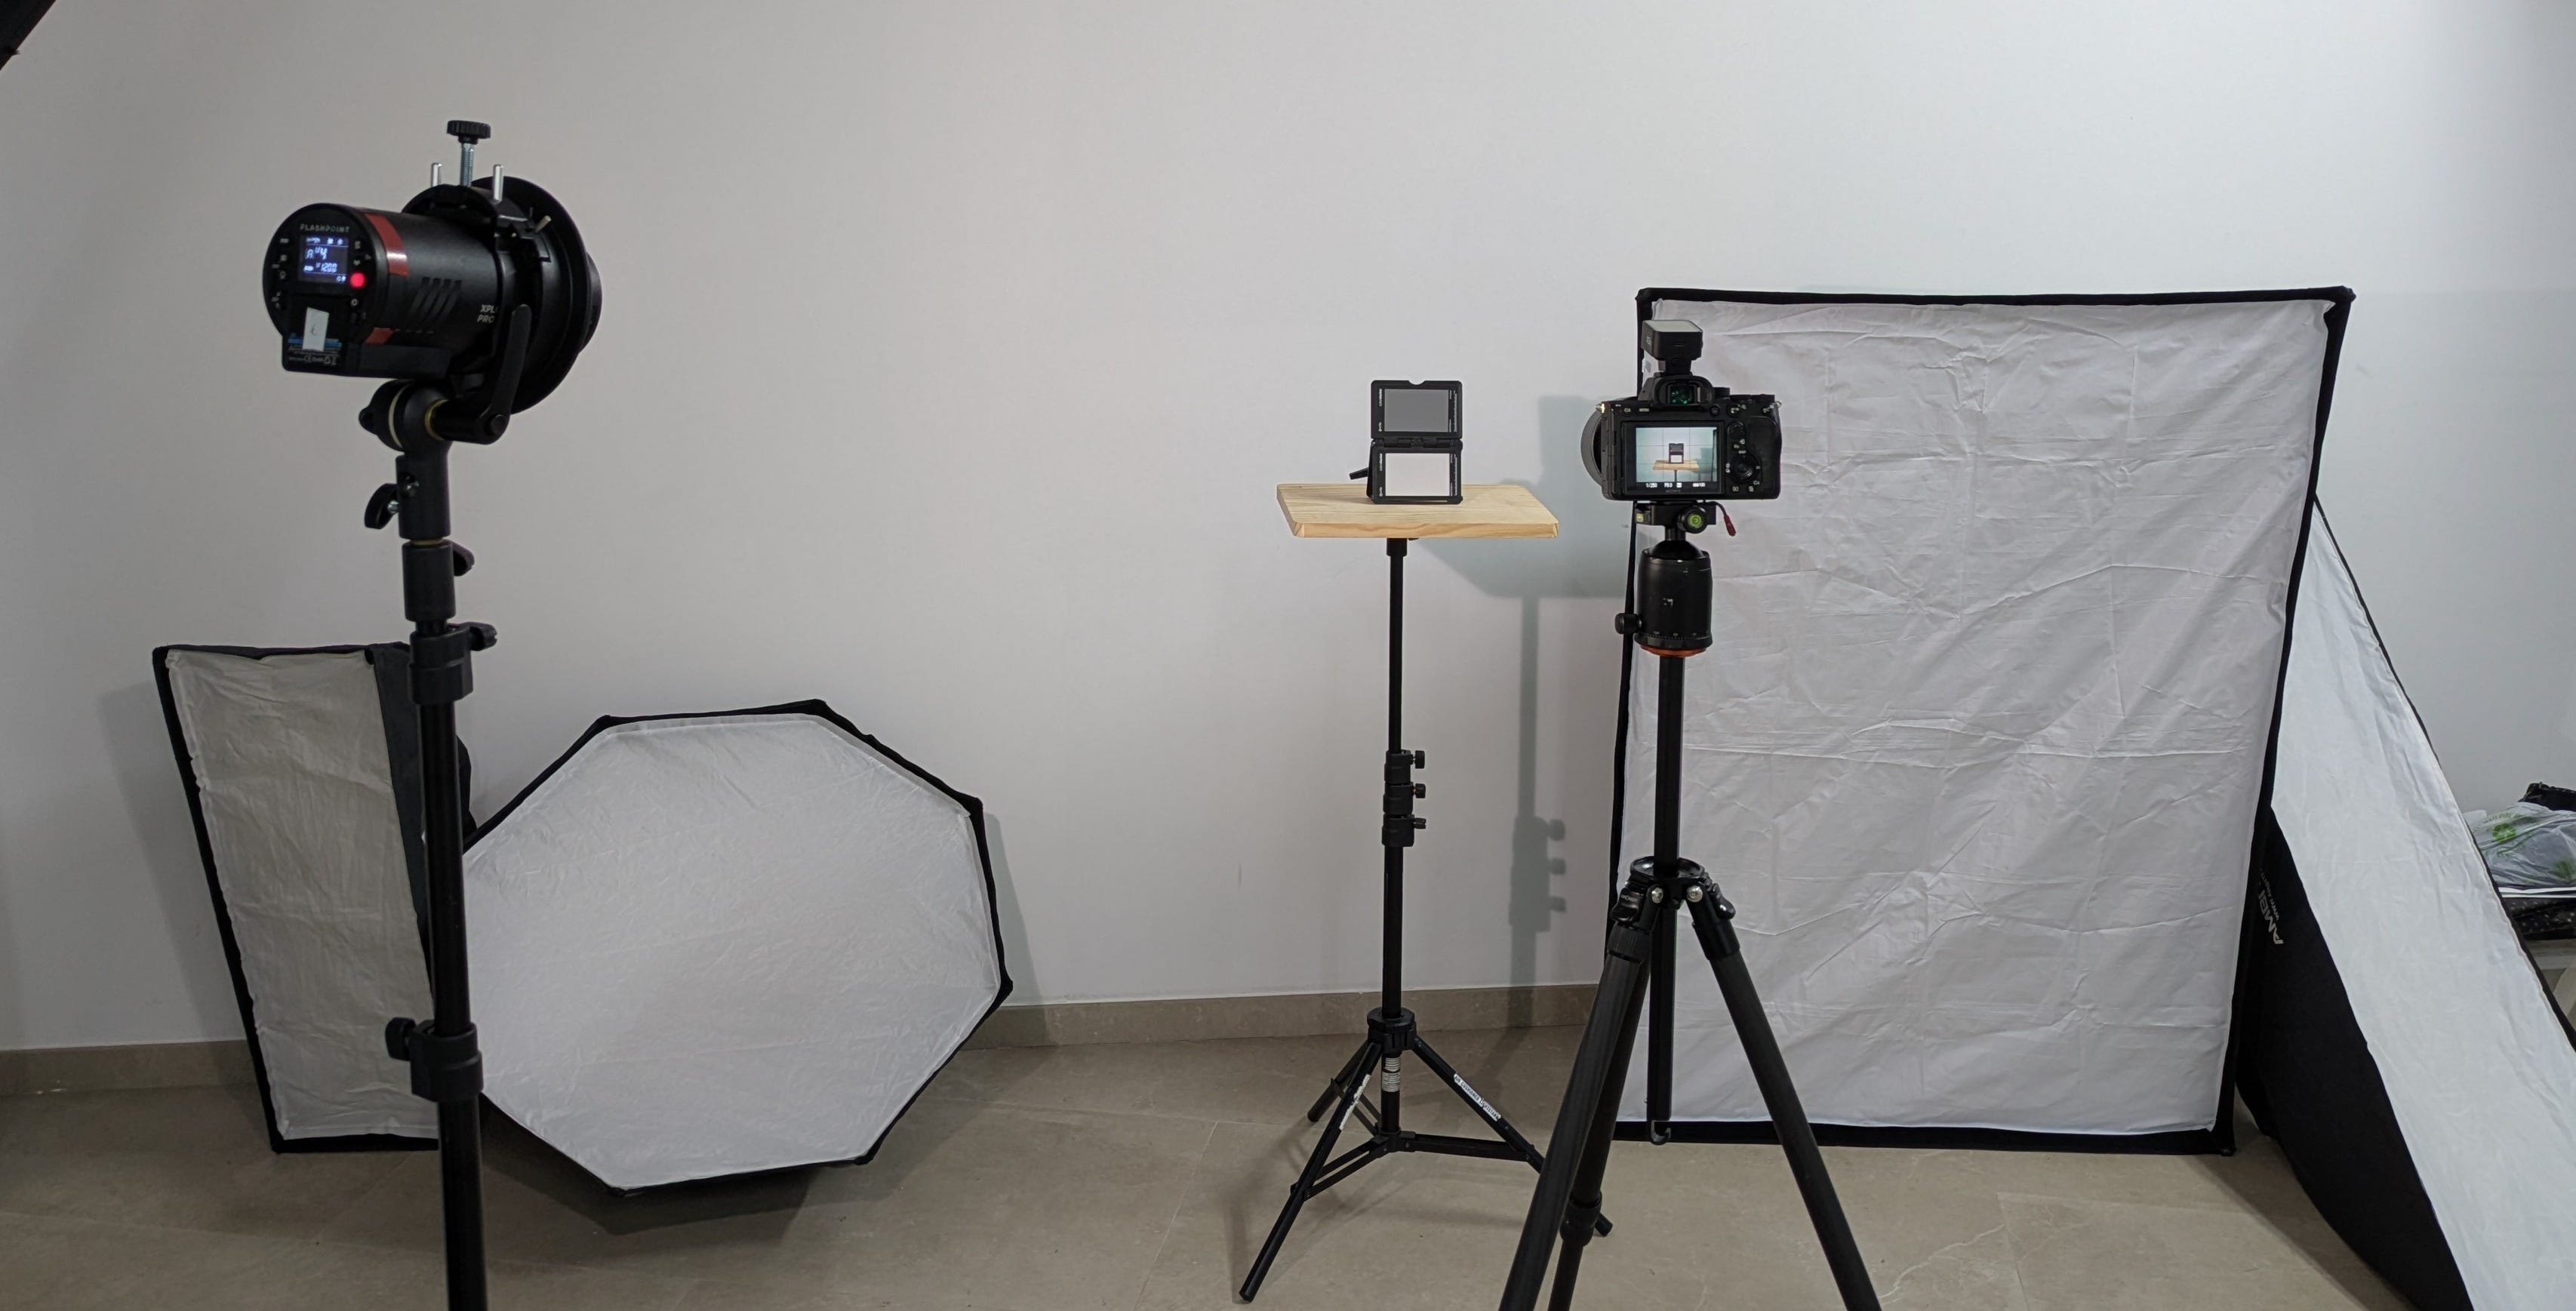
In this article, I’m looking at some of my own light modifiers and checking how much they affect the color of the light source used. I'm sharing steps taken with my fellow photographers so you can do your own testing. For those of you who shoot video, this would be something you should check out too. Even though I’m using flashes, the method I use would apply to continuous lighting as well.
TL; DR - If you have light modifiers such as softboxes, umbrellas, and reflectors that you use with your studio lights, there’s a good chance they all affect the color of your light’s output to some degree. To check this, you should test your lights by taking photos (raw files are best*) of a color chart, gray card, or anything that is consistent. Then load the raw files into your raw converter and use the white balance tool to compare the differences, if any.
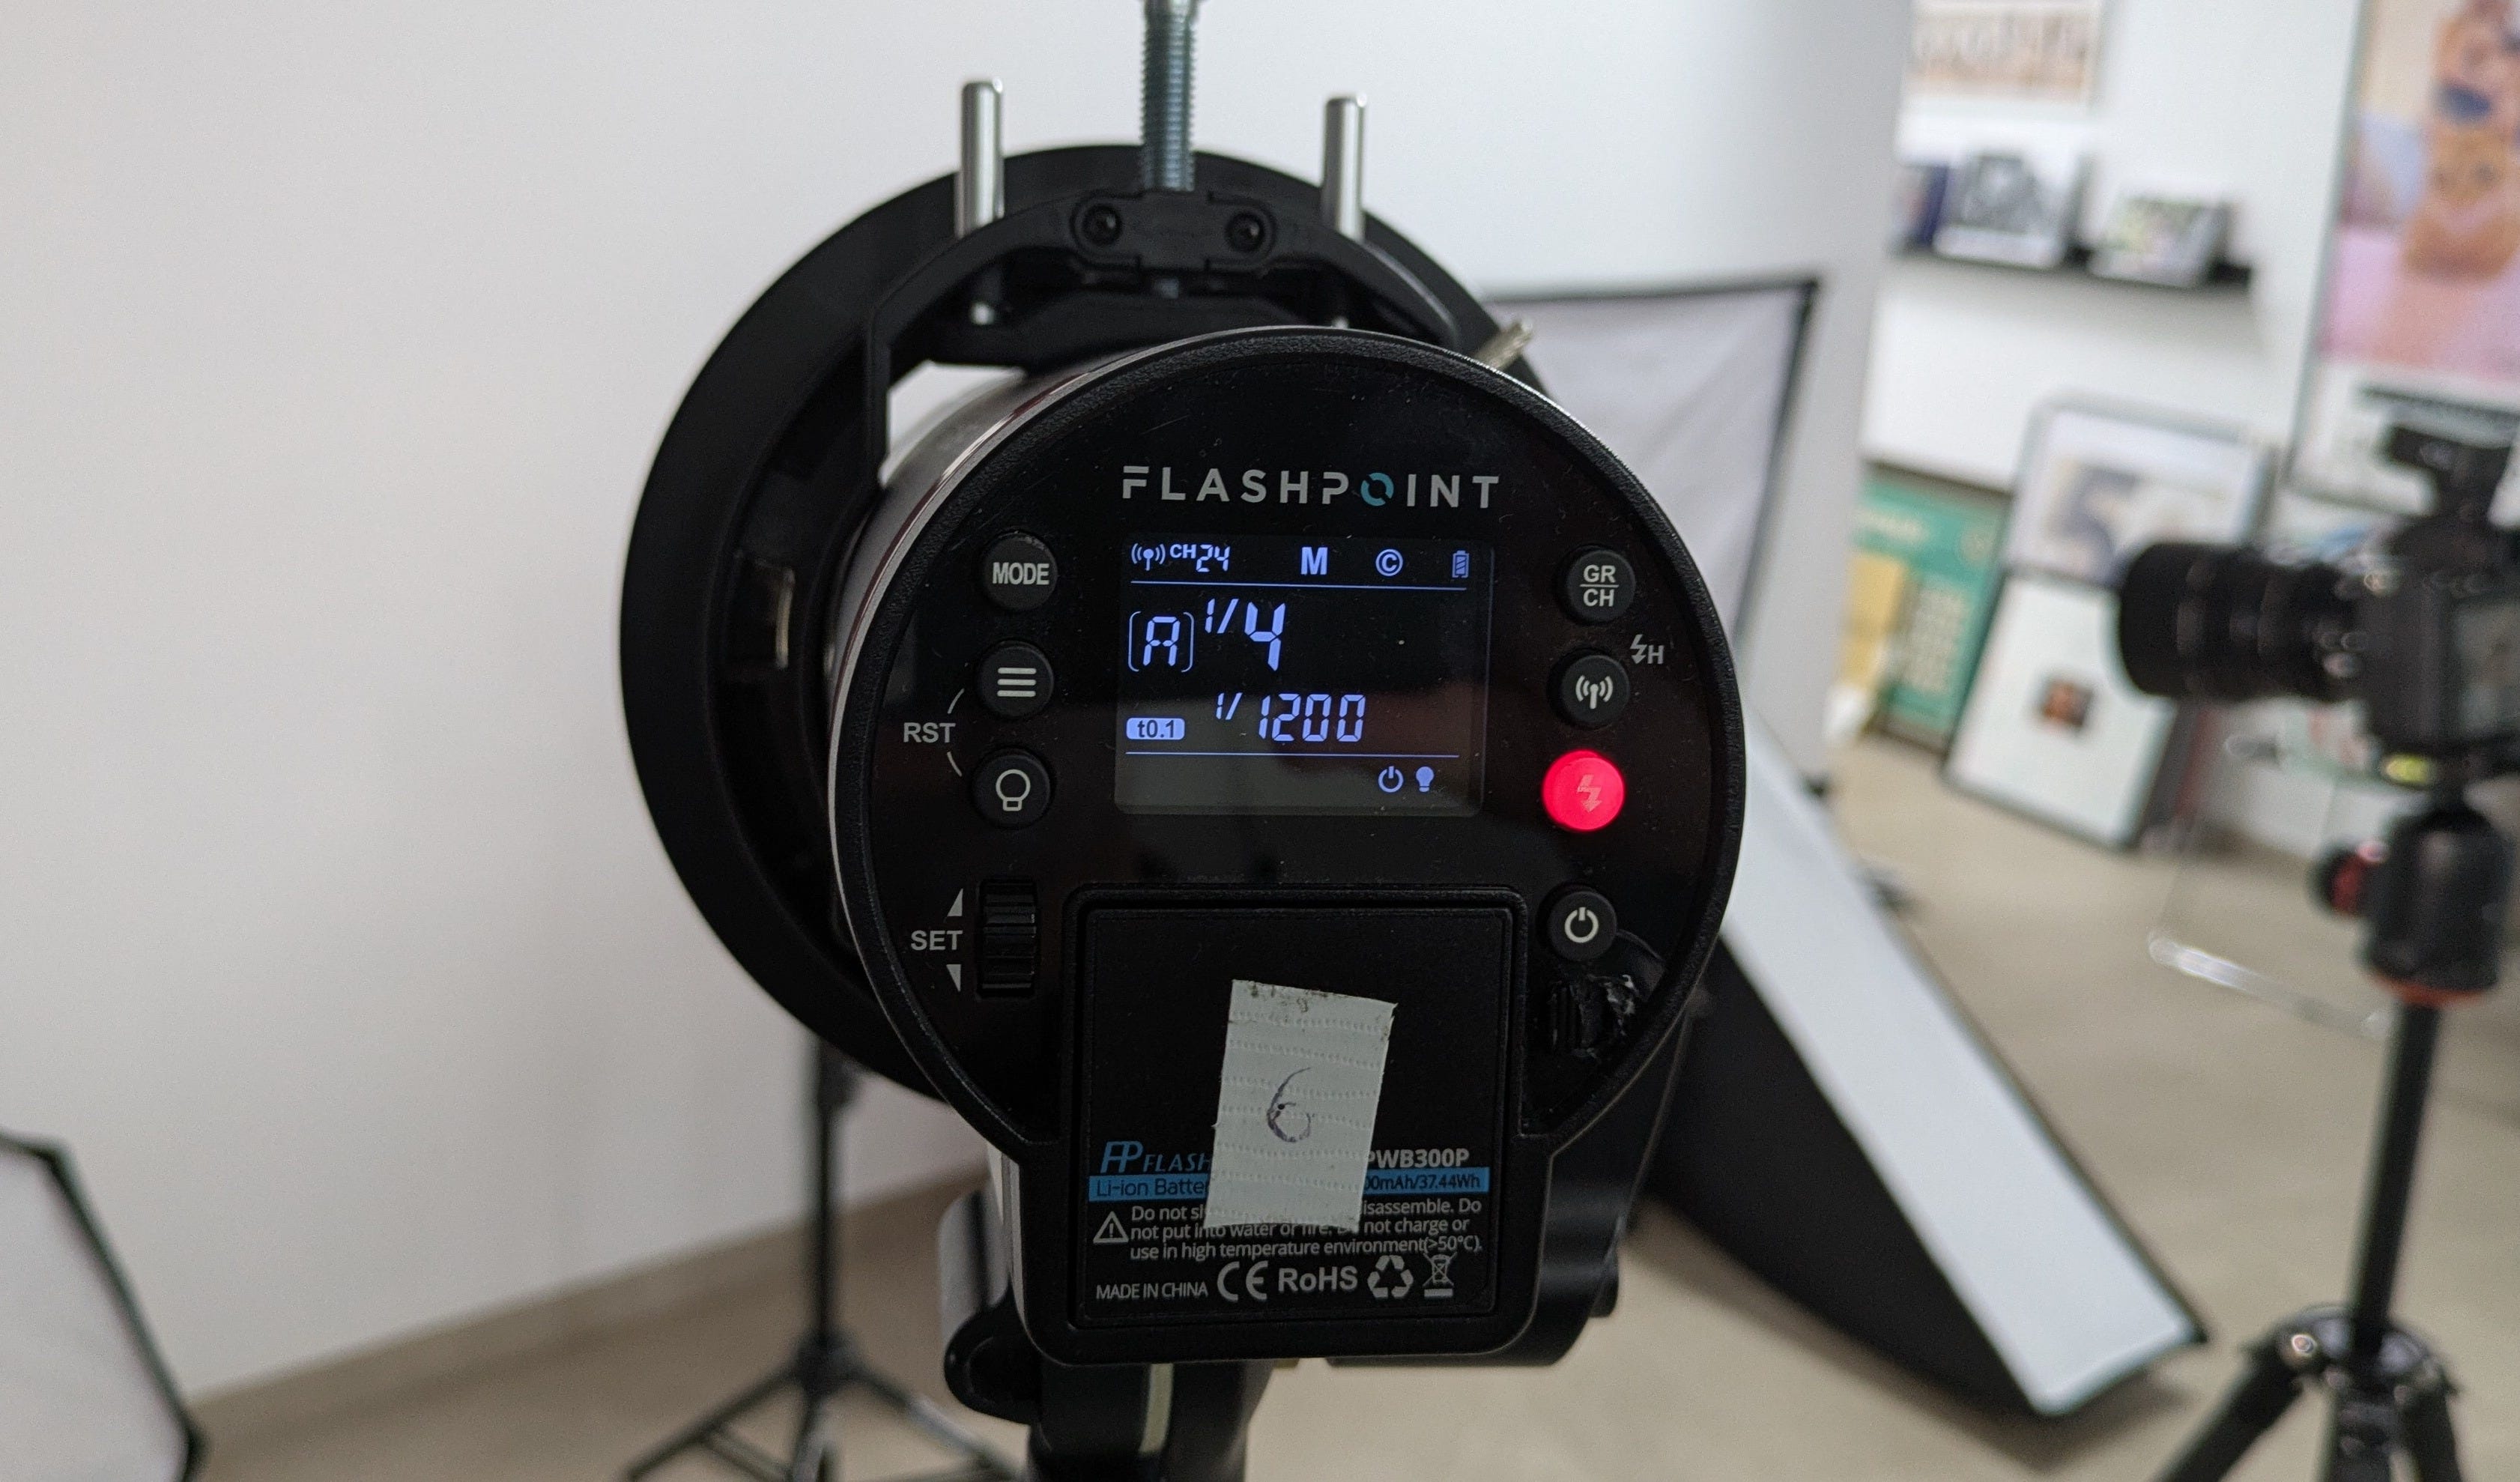
For my lighting source, I’ll be using one of my Flashpoint/Godox AD300 Pro flash units. These flashes have a “Stable Color” mode which, like it sounds, provides more consistent color output from shot to shot when changing power levels. It does this at the expense of recycle time and longer flash durations, neither of which is important for this testing.
I’ll be using my Color Checker Passport for my target, as well as a light stand and platform on which to place it. A tripod will be handy so that the camera will stay in the same position from shot to shot.
Finally, I’ll need a light stand for the flash and, you guessed it, the light modifiers in question. I’ll be testing my Interfit 12x36 inch strip box, an Ambitful 14x62 inch strip box, an Ambitful 90cm octabox, a 40x60inch Interfit softbox, and a 130cm silver umbrella.
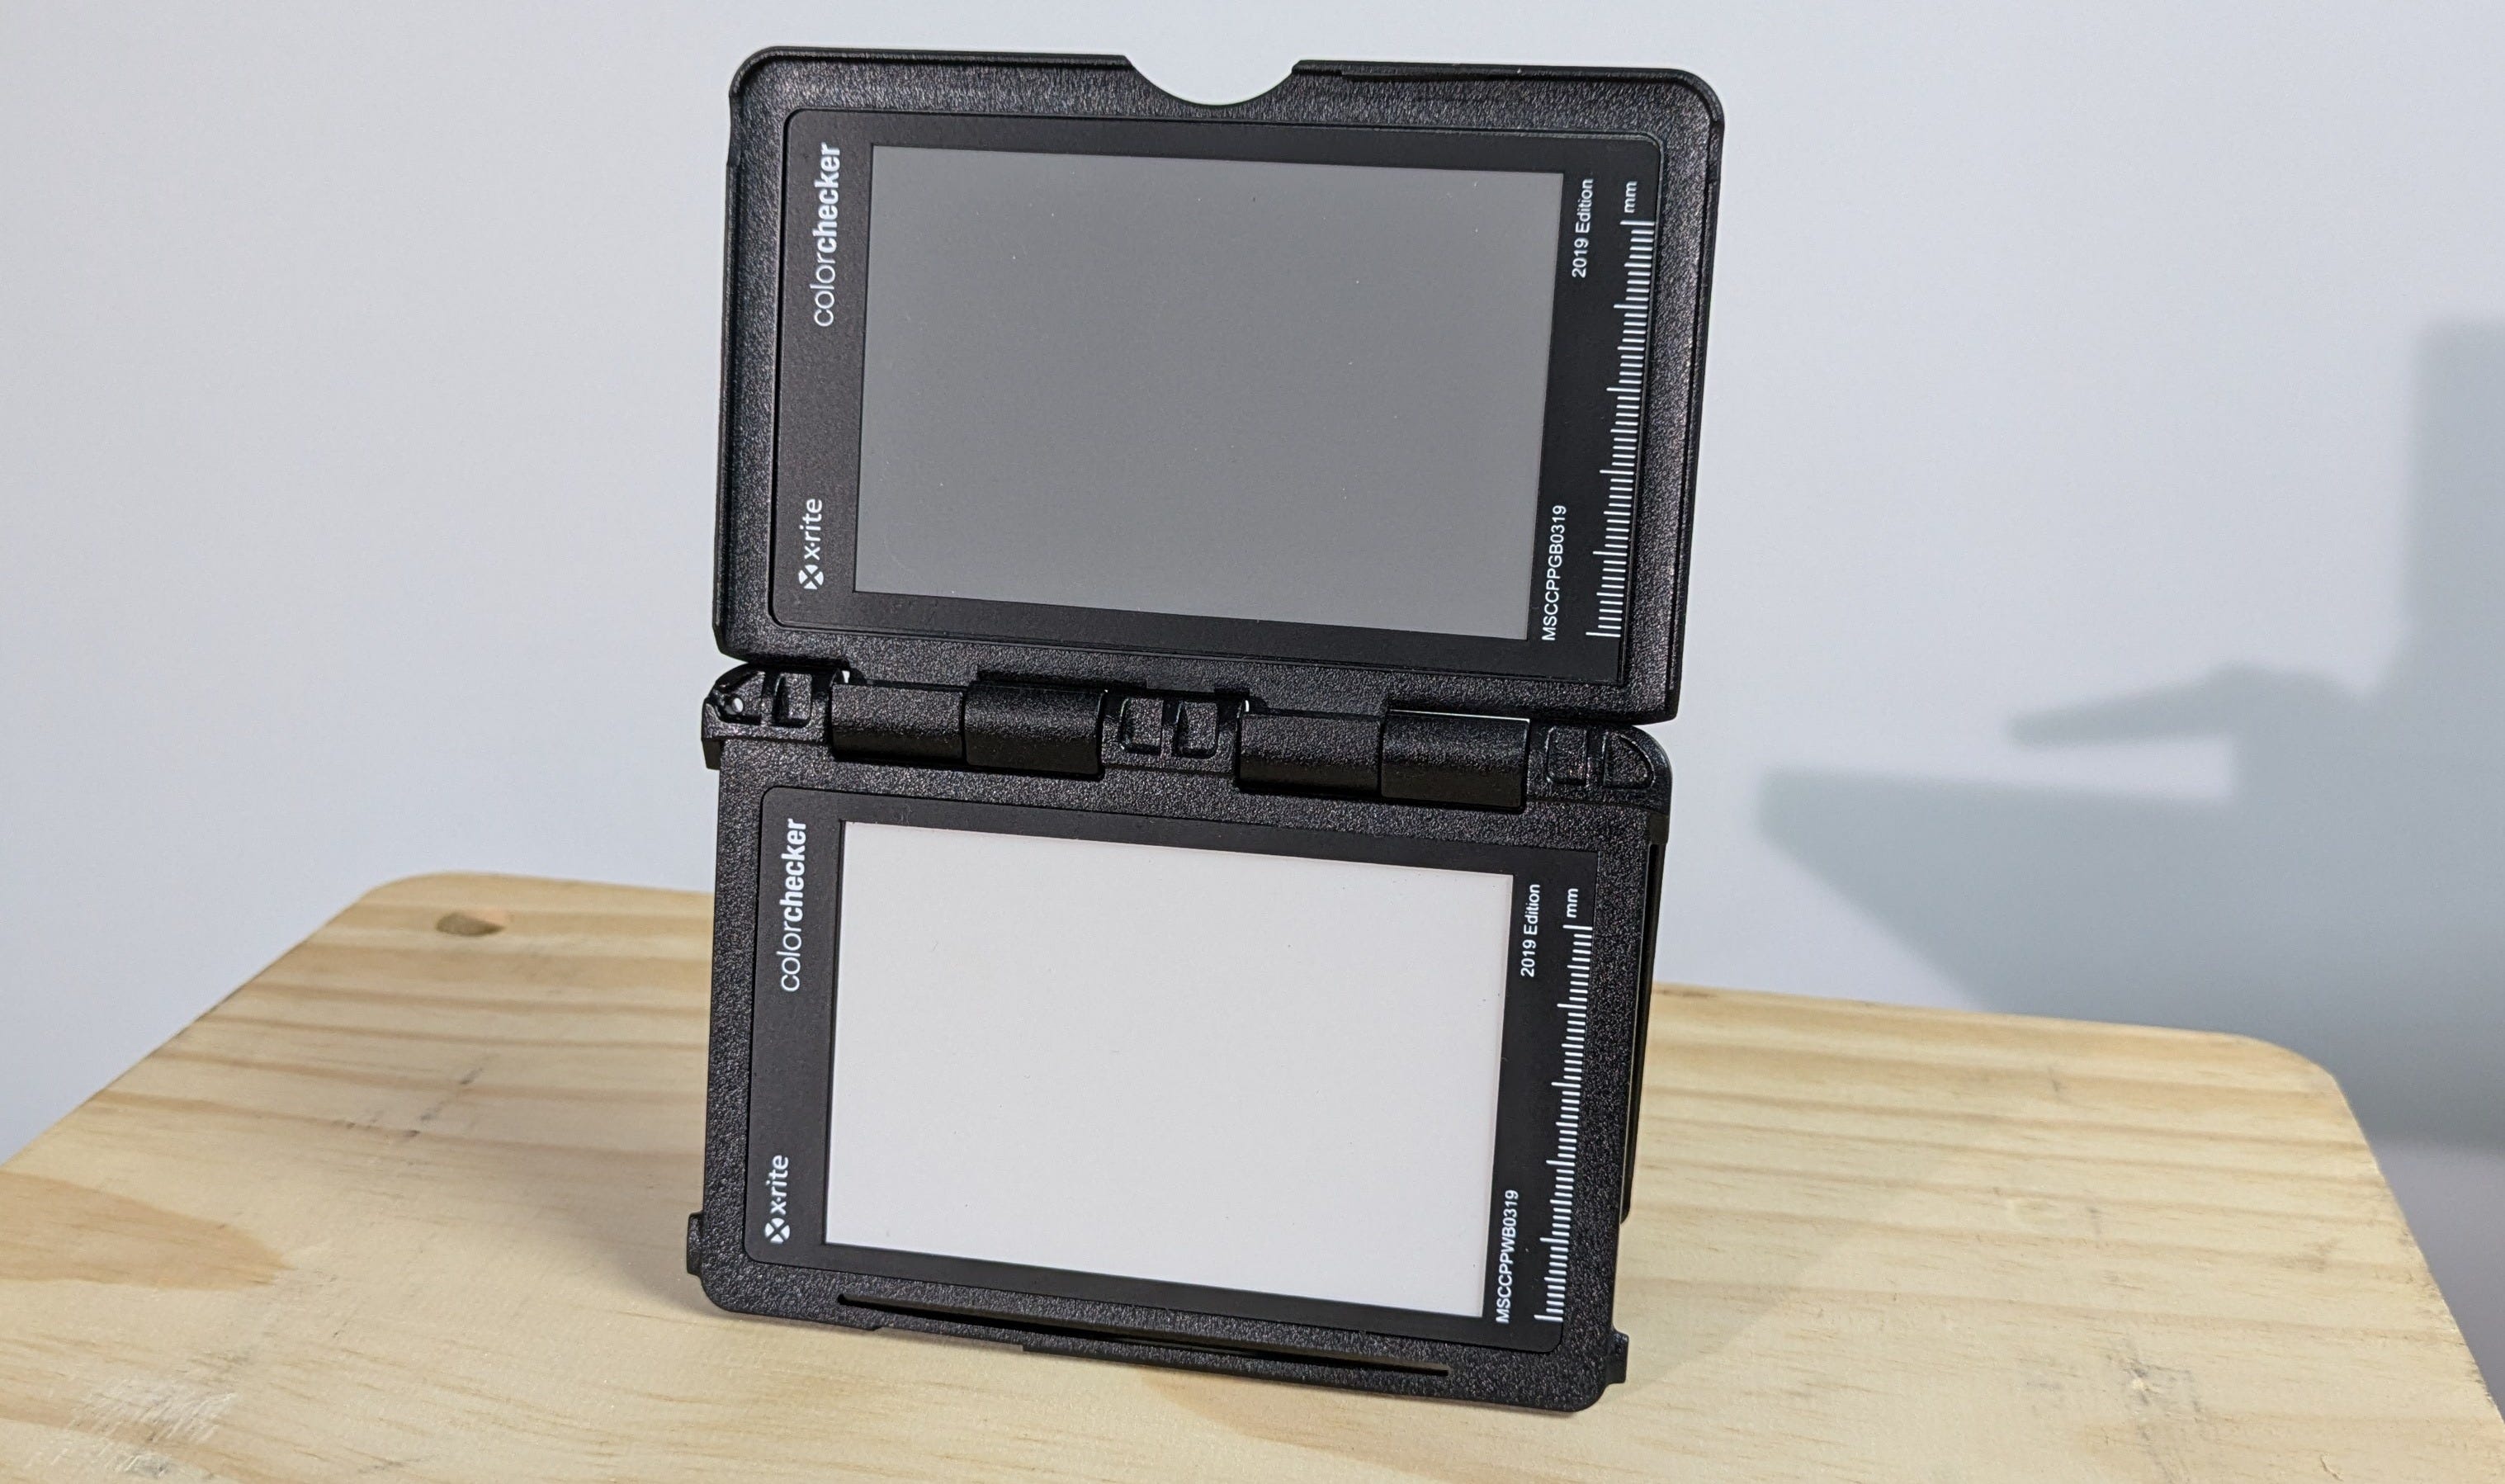
You can set up for this testing almost anywhere you have space, but it will be best if you have low ambient light levels and few colors in the surrounding space. I went to the studio for this test and used a small wooden platform on a light stand to place the Color Checker as seen in the image below.
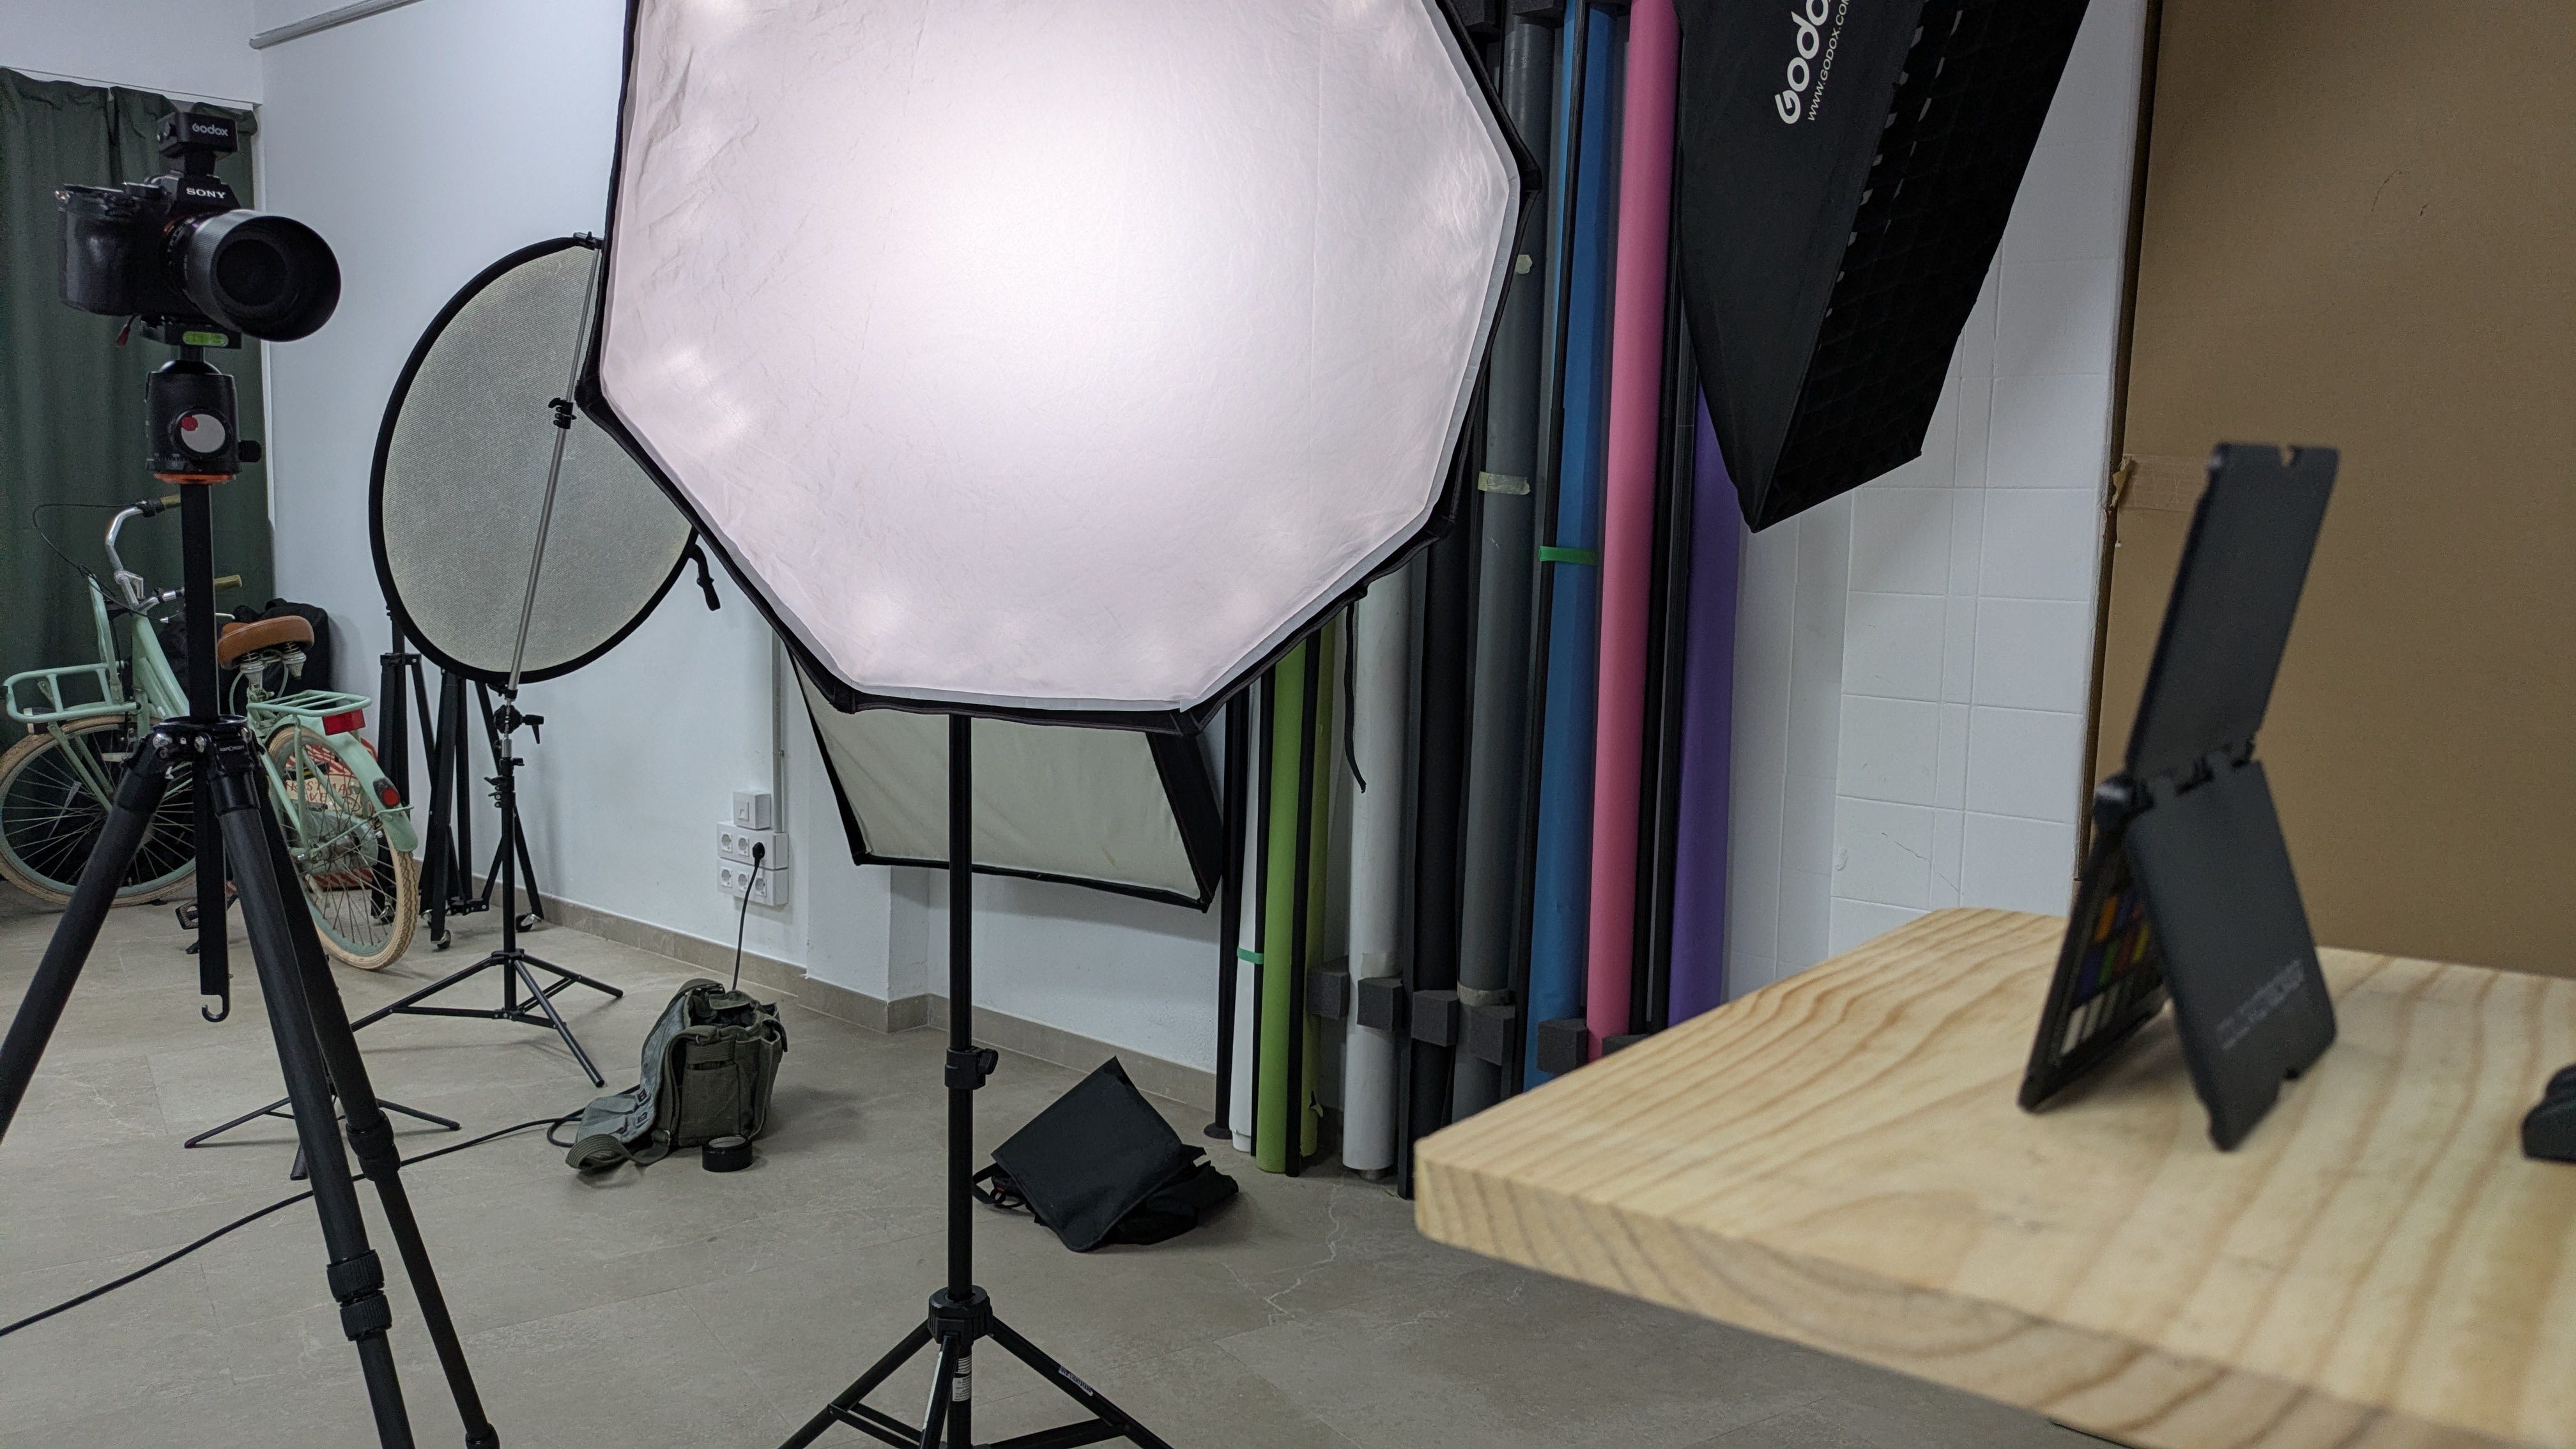
For the camera setting, I kept the ISO to 100, shutter at 1/250, and started at f 8.0. Your camera base ISO may be slightly different as well as your top sync speed, so adjust accordingly.
To keep the flash output as consistent as possible, I left it at 1/4 power and adjusted the aperture on the camera as needed for the different modifiers. Adjusting the power of the flash could still affect the output color of the flash, even in color mode.
I want to point out that the goal of this testing is not highly accurate, scientific measurements of the specific color temperature, but rather to understand the variance from modifier to modifier. As such, any color contamination from the wood platform is really not an issue, as I’m sure someone like me would be happy to point out :)
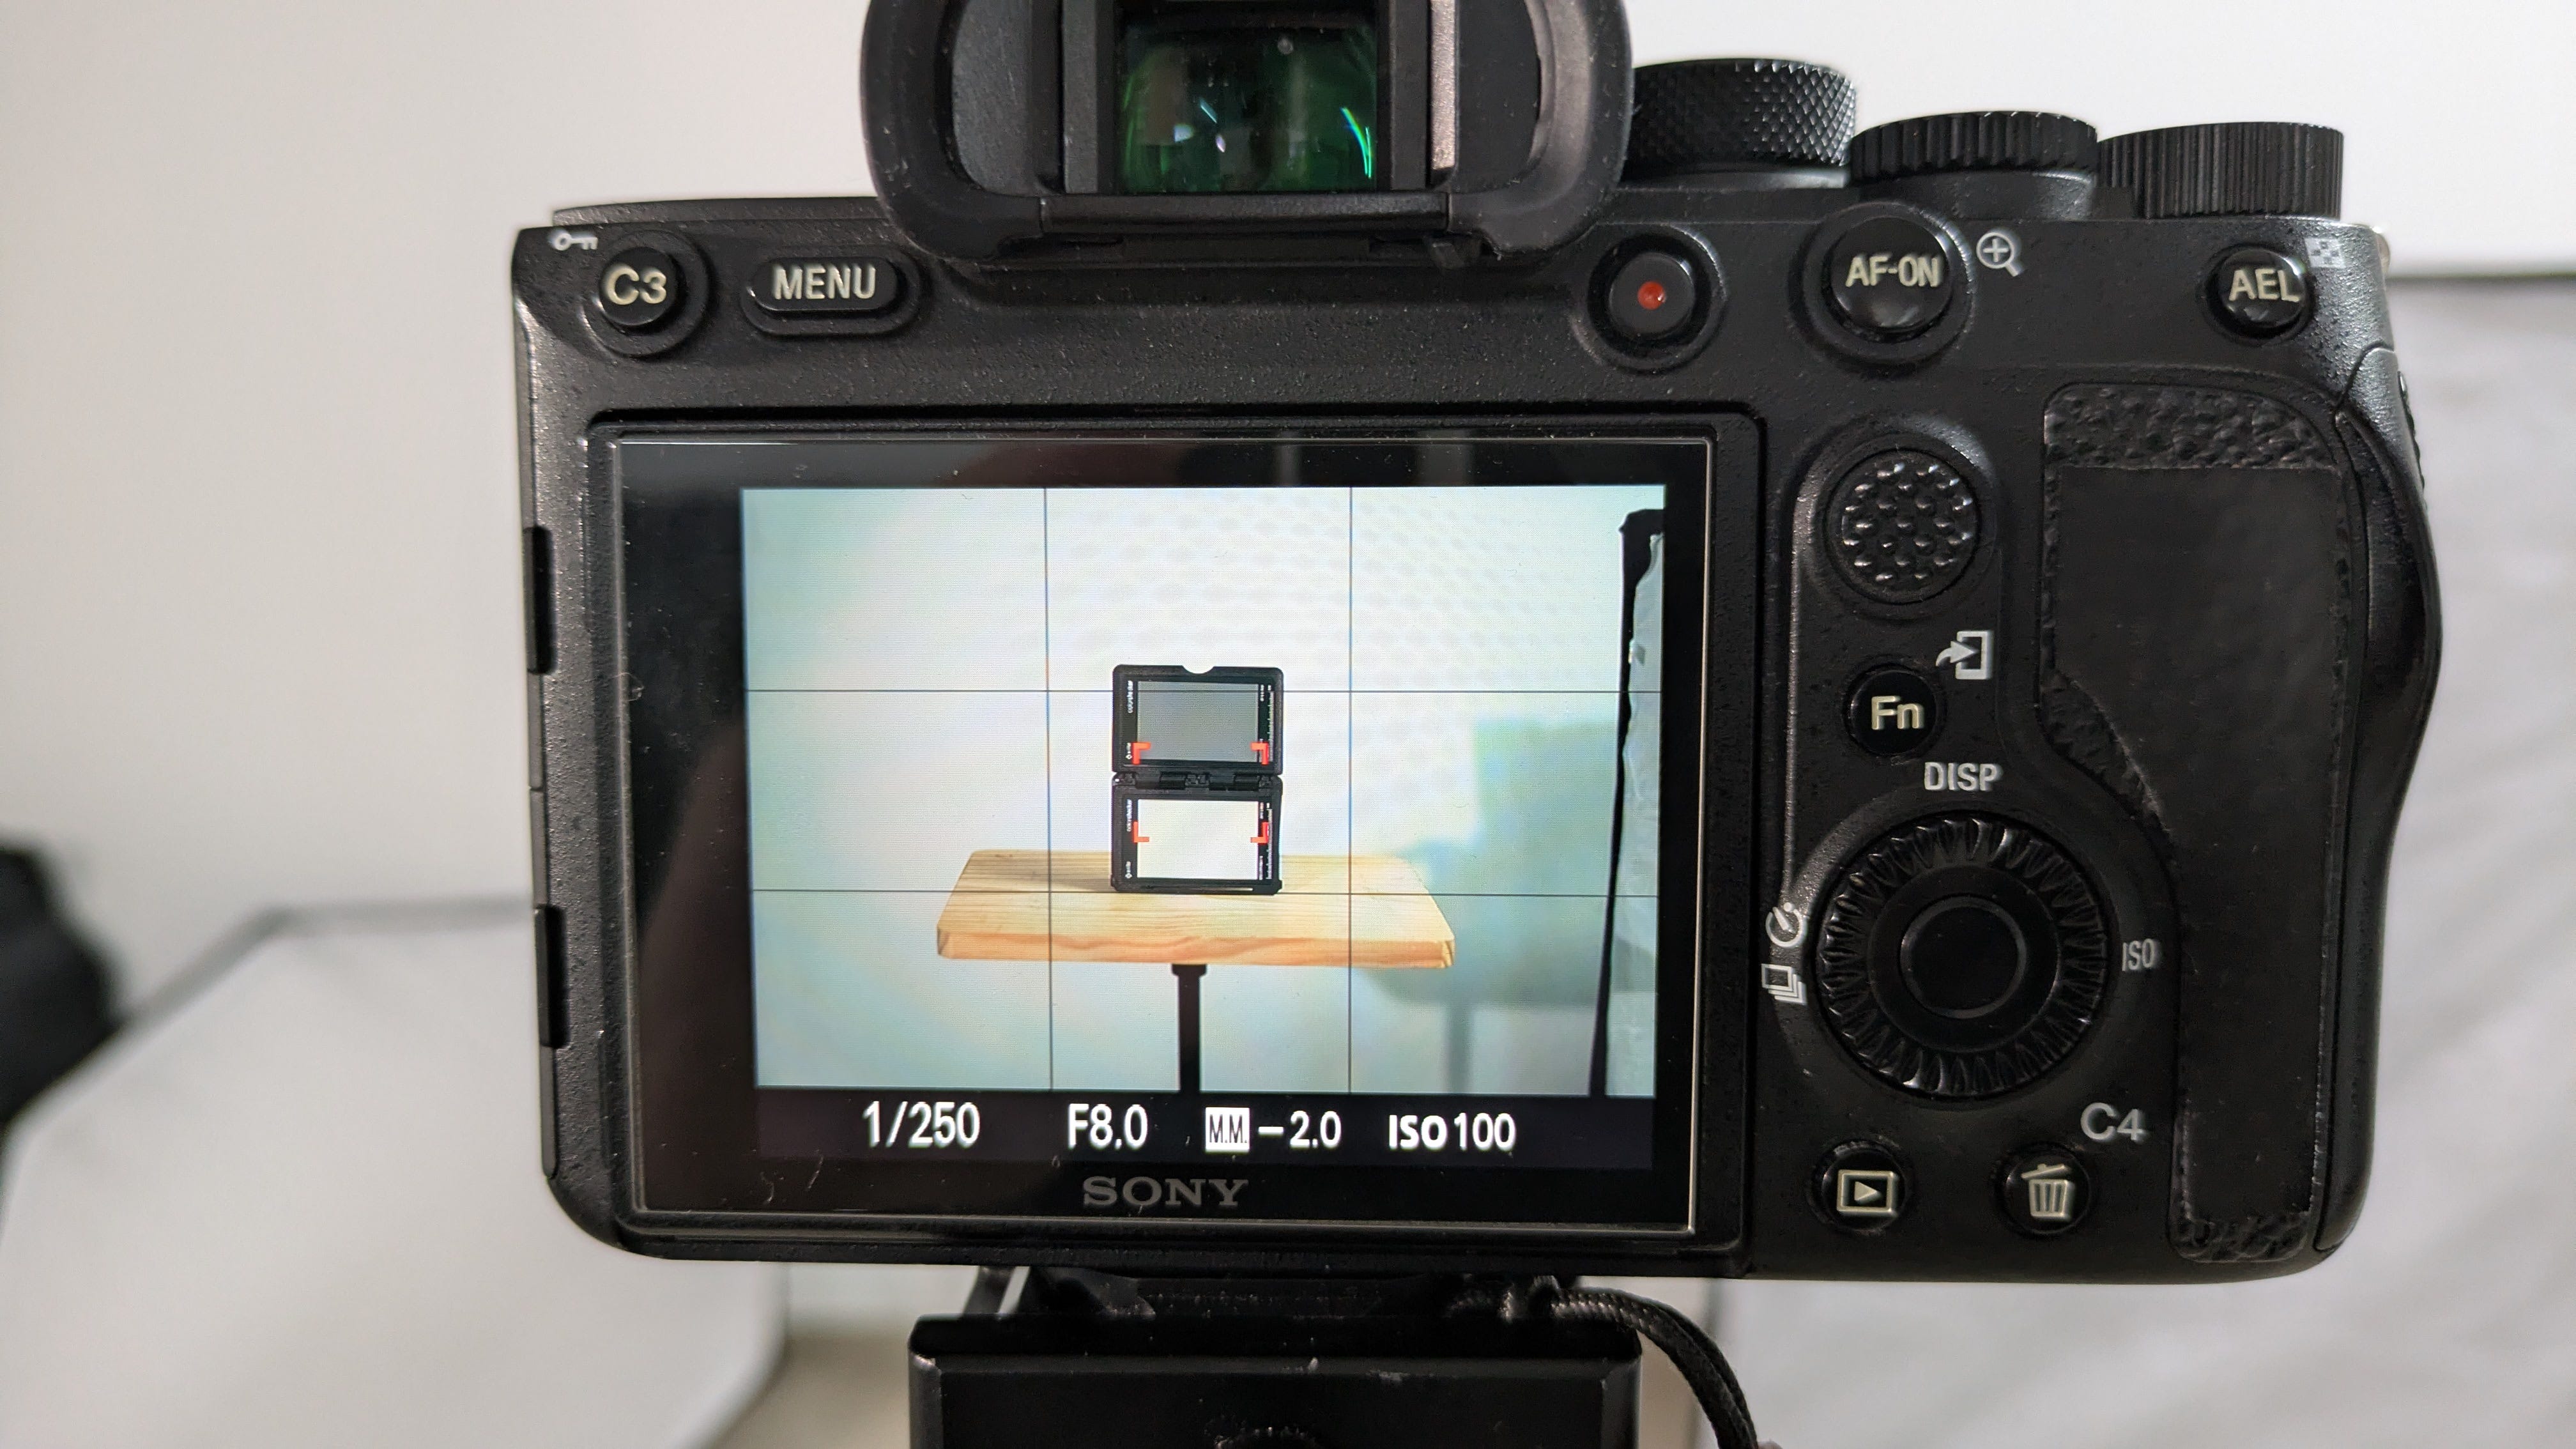
To start testing, I began with just the standard reflector in place on the flash. This provides a baseline for the rest of the testing. Then, I swapped out the various softboxes, making sure to write down the order. With each change, I adjusted the aperture on the lens to get a similar exposure to the previous one. Using the histogram in playback mode was very helpful in making sure I was on target.
With the test shots finished, it’s to pull the images up and view the results which means opening the raw files in Adobe Camera Raw. You can use almost any raw file processor you choose, such as Lightroom, Capture One, etc. As long as the raw processor provides the ability to sample a spot for white balance, you should be good to go.
With files open in Camera Raw, I used the white balance sample tool and selected a point in the center in of the white target. I used the white panel. The gray one was a bit inconsistent depending on where I clicked in it. Remember, not scientific here, just looking for consistency of samples. Below is the result from the initial shot from the flash with only the standard reflector in place.
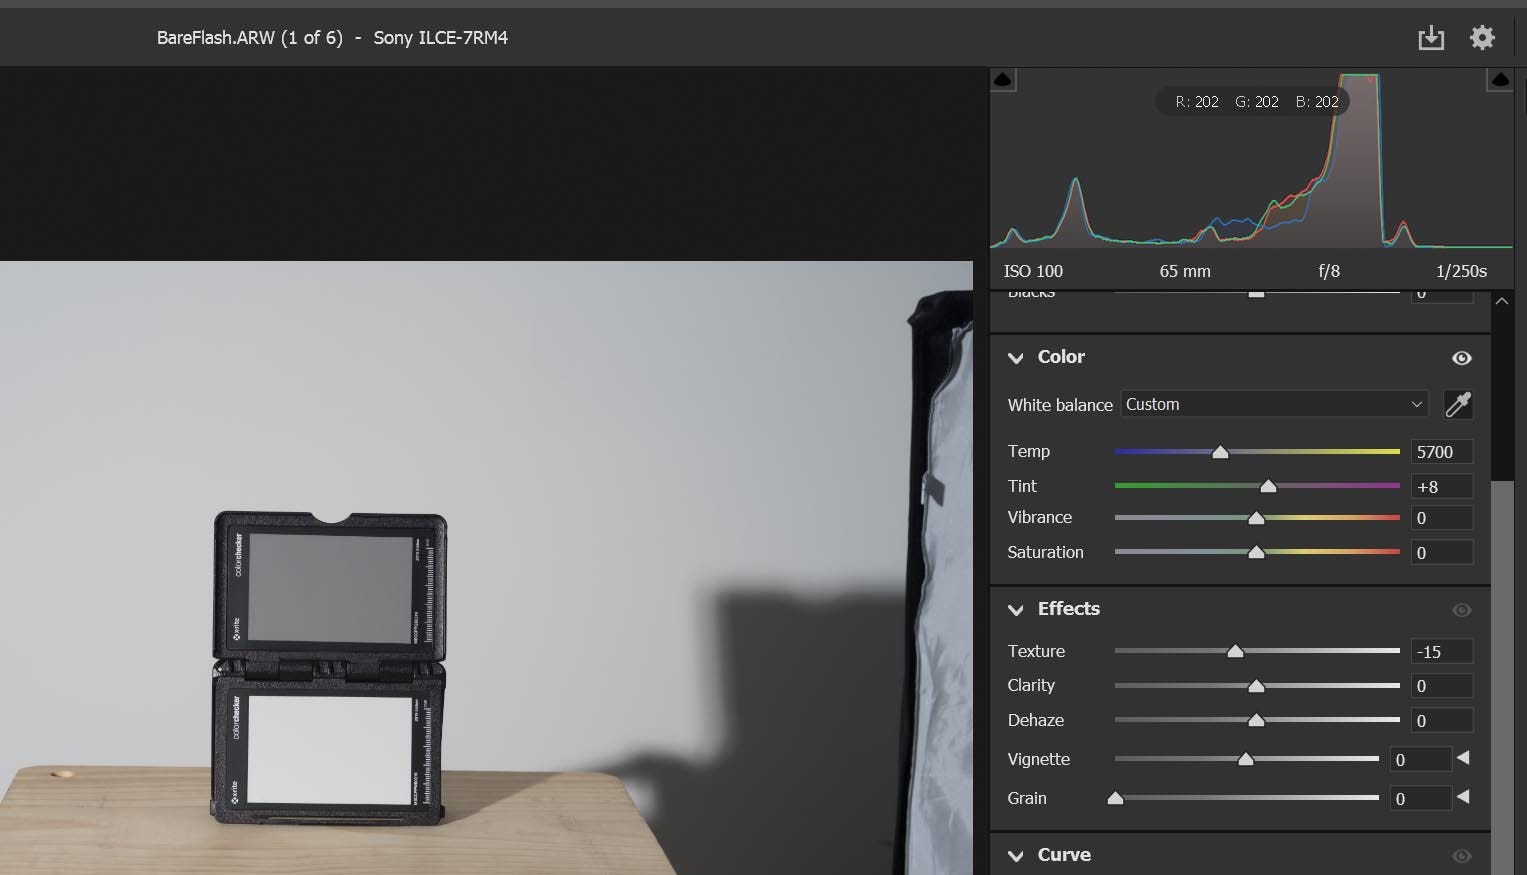
This resulted in a color temperature of 5700 deg with a +8 tint. This is pretty much what I would expect and is only +100 deg from the 5600 deg spec for this flash. Now let’s see how it looks with different modifiers attached.
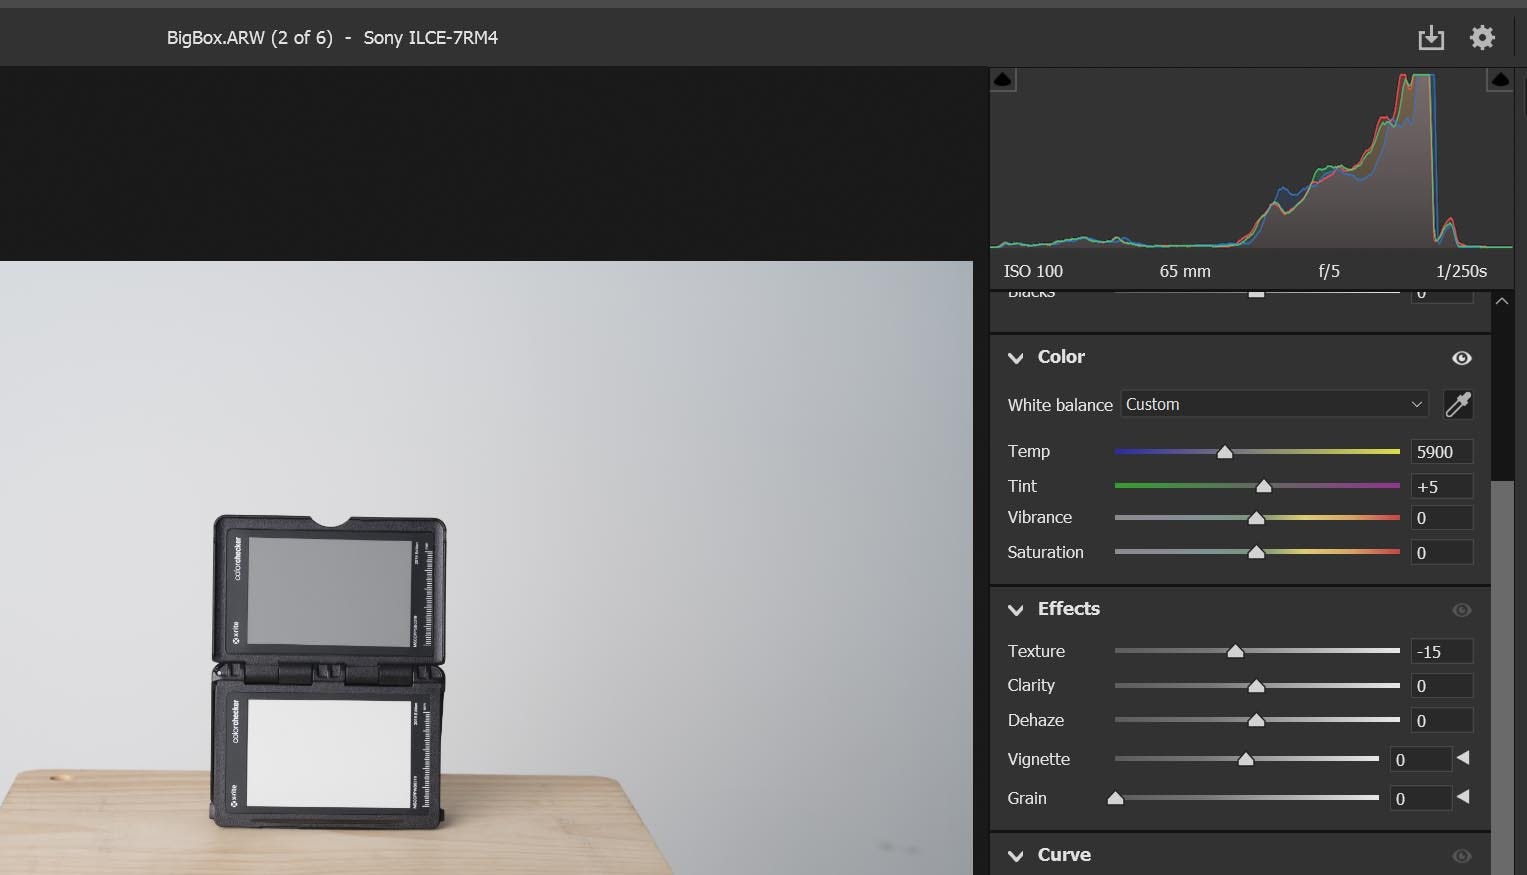
The large, 40x60 inch Interfit softbox comes out a bit “cool” with a measurement of 5900 deg and +5 tint. This means this softbox is a slightly more blue and a little less green, requiring less positive tint correction. Not a bad result as these amounts are relatively minor for most usage, excepting where high precision is needed.
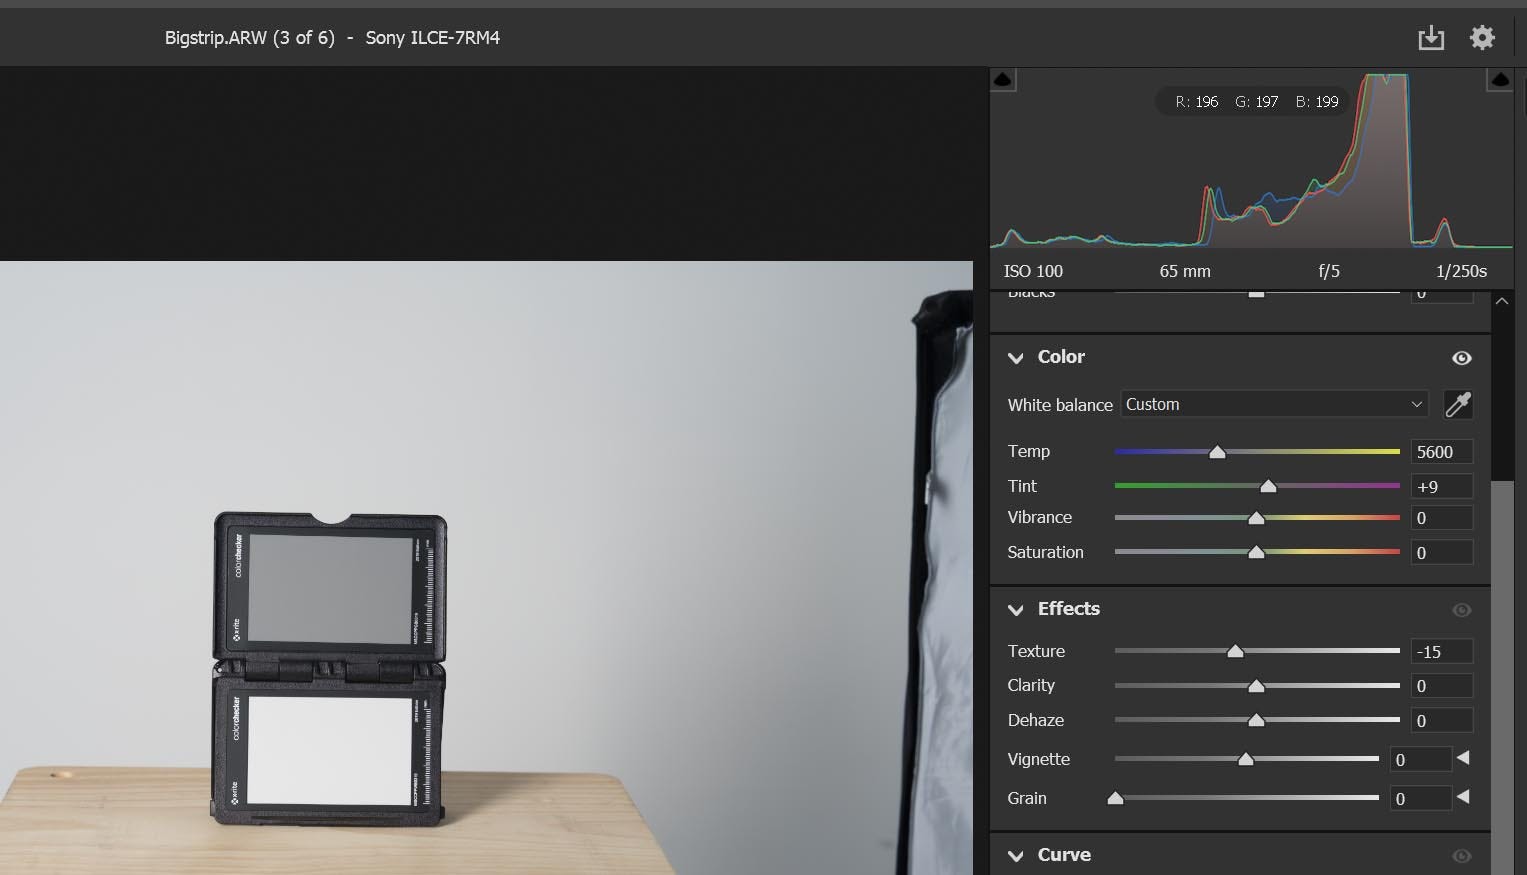
The 14x62 inch strip box is surprisingly good, ending up only 100deg lower than the unmodified flash, with just an additional +3 points of magenta needed. I’m surprised as this is one of the least expensive modifiers I own. It is also one of the most recent ones I’ve purchased, which could have some bearing on the results.
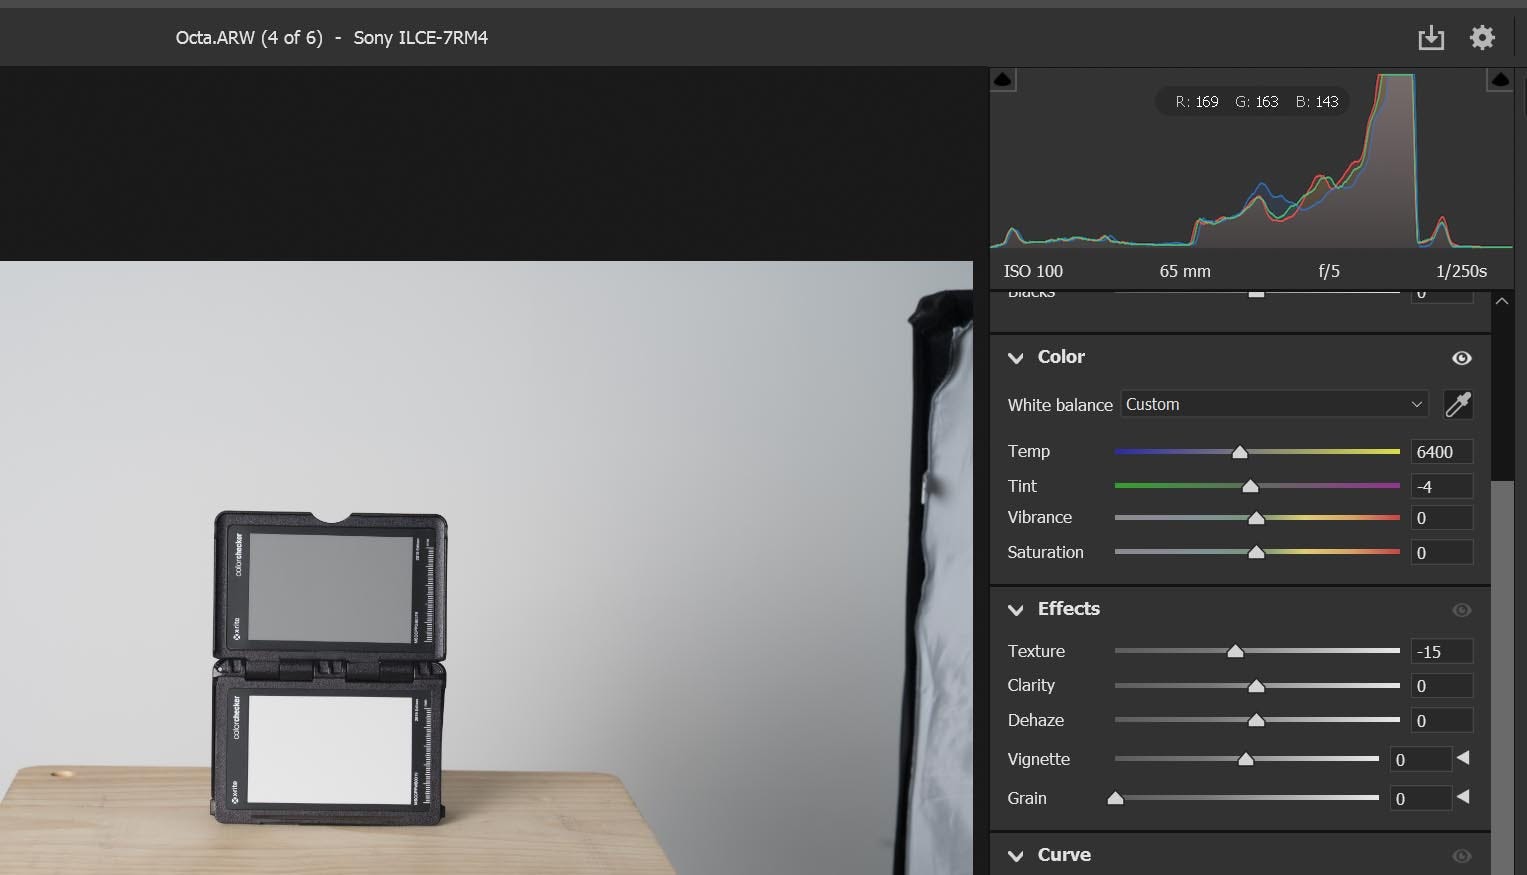
Just as things were looking promising, the 90cm octabox turns in a disappointing result with a 6400 deg color temperature along with a -4 tint correction. This translates into a resulting light that is much cooler than the bare flash, along with some extra magenta. I really like the quality of the light from this softbox, but these results explain the need for extra time getting good skin tones when I’ve used this box with other lights. It’s interesting that this modifier is the same brand (Ambitful) as the big strip box, which did so well in the test.
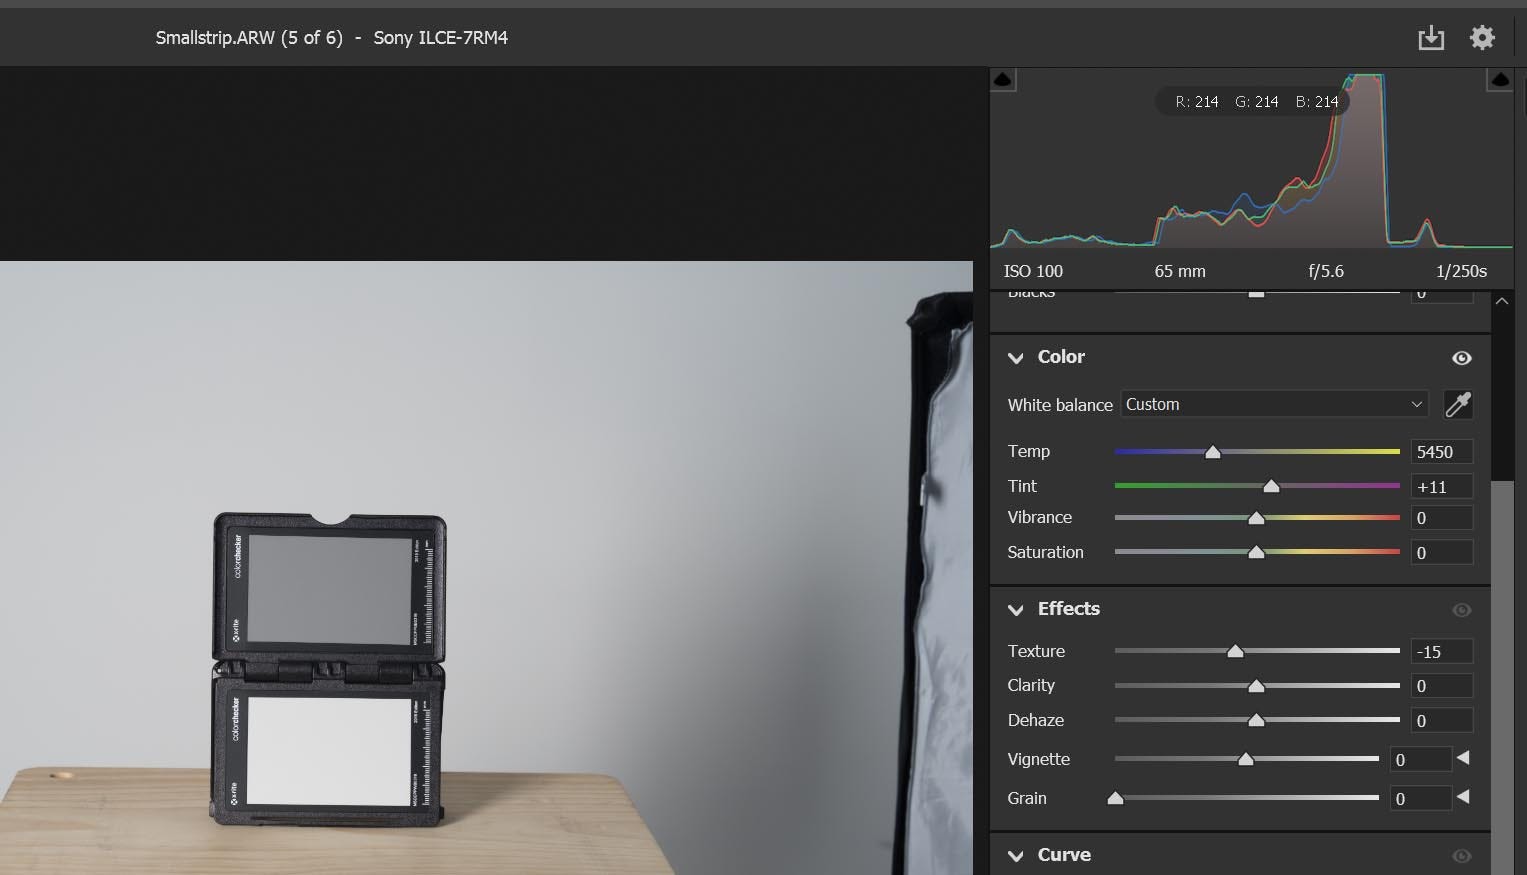
Next up, we have the small Interfit strip box (12x36 inch) which is a bit of a mixed bag. It runs a little cool at 5450 deg but apparently adds some green to the light, requiring a +11 tint correction. Going a bit green is surprising but this particular softbox is around ten years old so maybe it’s time to replace it.
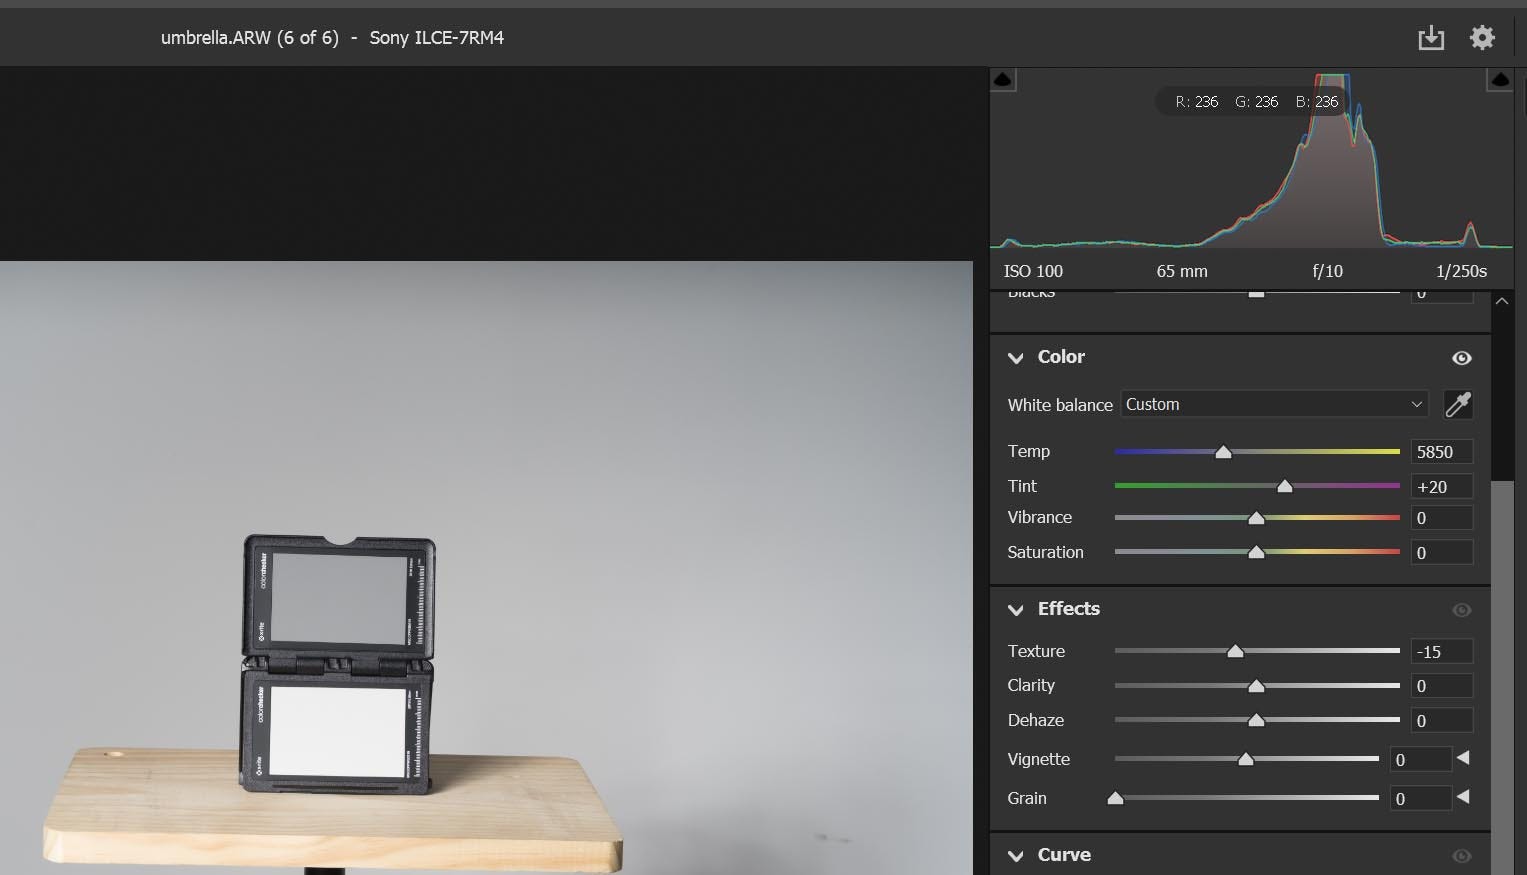
Speaking of green, the 130cm silver umbrella required a whopping +20 tint correction. The color temperature of 5850 deg is slightly more blue than the unmodified flash but not enough to be a concern, which is too bad because this would be a good result if not for the green cast.
While it’s easy to assume those diffusers and reflective material in your light modifiers are truly neutral, it turns out it might not be the case. Our eyes, or should I say our brains’ vision center, quickly adjust our view of the world and the colors in it, our cameras aren’t quite as forgiving. Checking how your light modifiers can affect the color of your images can save you a lot of time and frustration when chasing down correct skin tones in your photos.
Thanks for reading Brandon Jackson Photography! This post is public so feel free to share it.
No posts
Comments
Nothing yet. Say the first thing.
Sign in to join the conversation.