
What this GPT Image guide covers
As of March 14, 2026, OpenAI’s current image-generation docs point to gpt-image-1.5 as the latest GPT Image model. If you still see examples using gpt-image-1, treat those as older examples.
The current image generation guide says the OpenAI API can both generate and edit images from prompts. This walkthrough focuses on the simplest practical path:
- generate your first image
- save the returned file
- improve the prompt
- edit an existing image
Just as important, every image in this article was generated from the live API while writing it. So you are not only seeing the requests. You are seeing the actual results too.
Get your API key ready
You need an OpenAI account, a funded API project, and an API key from the API keys page.
Then export it in your terminal.
macOS and Linux:
export OPENAI_API_KEY="sk-..."
Windows Command Prompt:
setx OPENAI_API_KEY "sk-..."
If you use setx, open a new terminal before testing the key.
Generate your first GPT Image output
This exact request worked for me:
curl -s https://api.openai.com/v1/images/generations \
  -H "Authorization: Bearer $OPENAI_API_KEY" \
  -H "Content-Type: application/json" \
  -d '{
    "model": "gpt-image-1.5",
    "prompt": "A bright editorial illustration of a tiny orange robot painting a blue website mockup on a giant canvas, clean shapes, warm light, modern product-design style.",
    "size": "1024x1024"
  }' > response.json
In my live test, that call returned image data in data[0].b64_json.
Decode it into a file:
macOS:
jq -r '.data[0].b64_json' response.json | base64 -D > robot-canvas.png
Linux:
jq -r '.data[0].b64_json' response.json | base64 --decode > robot-canvas.png
This was the actual output from that request:

That first result is already useful because it proves the whole path end to end:
- request the image
- receive base64 image data
- decode it locally
- inspect the real output
Prompt detail matters more than people expect
The easiest way to get better results is usually not a fancy parameter. It is a better prompt.
The first prompt above specified:
- the subject
- the color palette
- the visual style
- the lighting
That kind of specificity helps more than a vague prompt like “make a cool robot image.”
Try a second prompt that pushes text rendering
One reason to test GPT Image carefully is that some prompts depend on readable text inside the image.
This exact request also worked for me:
curl -s https://api.openai.com/v1/images/generations \
  -H "Authorization: Bearer $OPENAI_API_KEY" \
  -H "Content-Type: application/json" \
  -d '{
    "model": "gpt-image-1.5",
    "prompt": "A retro-futuristic conference poster in orange and blue, bold readable headline that says SHIP FASTER, smaller subheading that says Design with prompts, crisp typography, centered composition, screenprint feel.",
    "size": "1024x1536"
  }' > poster.json
This was the actual result from that prompt:
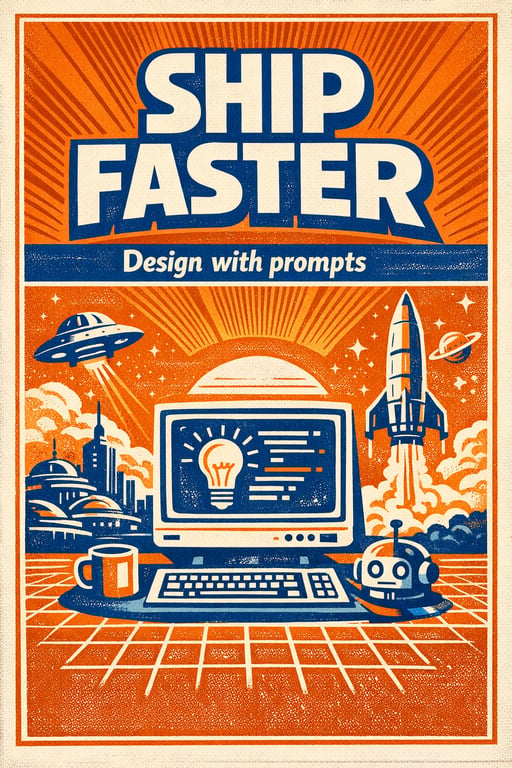
That is a good example of why prompt wording matters. Asking for readable text, layout style, and composition gave the model a much clearer target.
Edit an existing image
Generation is only half of the story. The current image guide also covers editing, and that is often the more practical feature in a real app.
I used the first robot image as the source and asked the model to add a sticky note that says DRAFT.
This exact request worked for me:
curl -s https://api.openai.com/v1/images/edits \
  -H "Authorization: Bearer $OPENAI_API_KEY" \
  -F "model=gpt-image-1.5" \
  -F "image[][email protected]" \
  -F 'prompt=Keep the same illustration, but add a yellow sticky note on the easel with the word DRAFT in readable uppercase letters.' \
  > edit.json
Then I decoded the result the same way:
macOS:
jq -r '.data[0].b64_json' edit.json | base64 -D > robot-canvas-draft.png
Linux:
jq -r '.data[0].b64_json' edit.json | base64 --decode > robot-canvas-draft.png
This was the actual edited result:
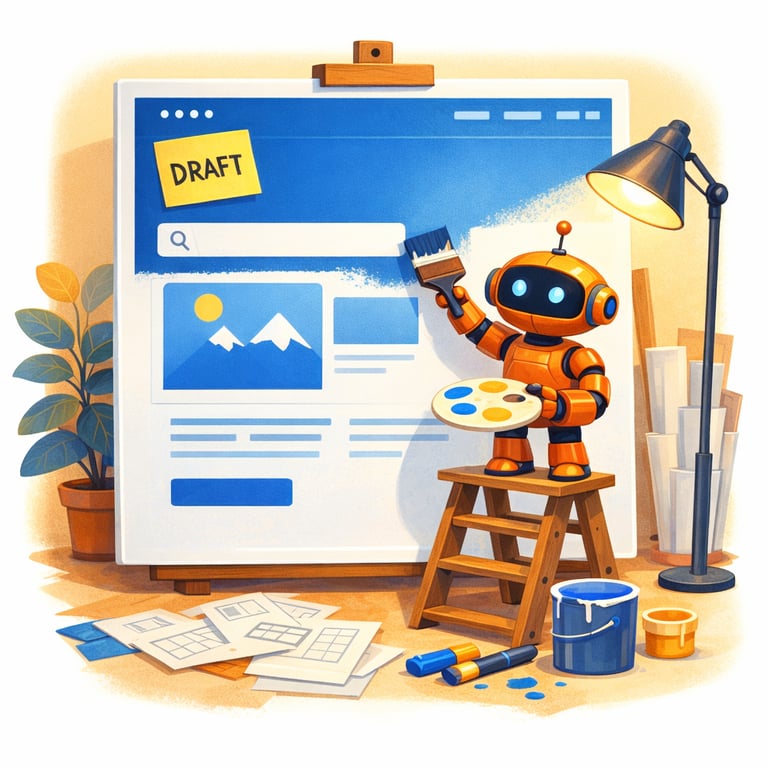
That is the kind of workflow I would reach for in a product:
- generate a base image
- keep the source file
- ask for a targeted change
- review the new output
Build something useful: a blog or landing-page artwork workflow
If you publish often, GPT Image is useful for more than one-off experiments.
A small repeatable workflow could be:
- write a prompt for the article hero image
- generate 2-3 candidates
- pick the closest one
- edit it to add or remove one detail
- export the final image for the post
That is much more realistic than treating image generation like a magic one-shot button.
When GPT Image is the right tool
Use gpt-image-1.5 when you need:
- new images from text prompts
- edits to an existing source image
- stronger prompt adherence than older image examples
If your goal is image understanding rather than image creation, OpenAI’s images and vision guide is the better next doc to open.
Common mistakes with GPT Image
1. Copying old gpt-image-1 examples without checking the current model docs
As of March 14, 2026, OpenAI’s current image-model page points to gpt-image-1.5.
2. Writing vague prompts
Subject, style, composition, lighting, and any text you want in the image all help.
3. Forgetting to decode b64_json
The image data is not ready to view until you save it as a real file.
4. Throwing away the source image too early
If you want to iterate with edits, keep the first generated file around.
The next clicks here depend on what you want to build around those images:
Comments
Nothing yet. Say the first thing.
Sign in to join the conversation.