
My younger son just came home from sleepaway camp and, used to a jam-packed and structured daily routine, asked immediately to make Oobleck. I decided to indulge. We grabbed cornstarch, water, and liquid watercolor to turn it a nice shade of turquoise and mixed it in a bowl outside. It held his attention for about 6 seconds when he realized he wasn’t actually in the mood for this kind of messy play and grabbed his baseball glove instead. I know you know this feeling well, whether at home or in the classroom. While it’s easy to get excited about the beautiful and creative experiences we share, clean-up (and organization) doom sets in and can be kind of the worst. That’s why we wanted to share some of our best strategies and hacks for cleaning up art messes. If this is helpful, we’ll make it a 2 part series. We’re all about removing barriers so that creative play can flourish and your nervous system can be well.
In today’s post:
Messy sensory play tips for oobleck, slime, and more
Sharpie SOS
Watercolor management
How to get kids of all ages to actually help clean up
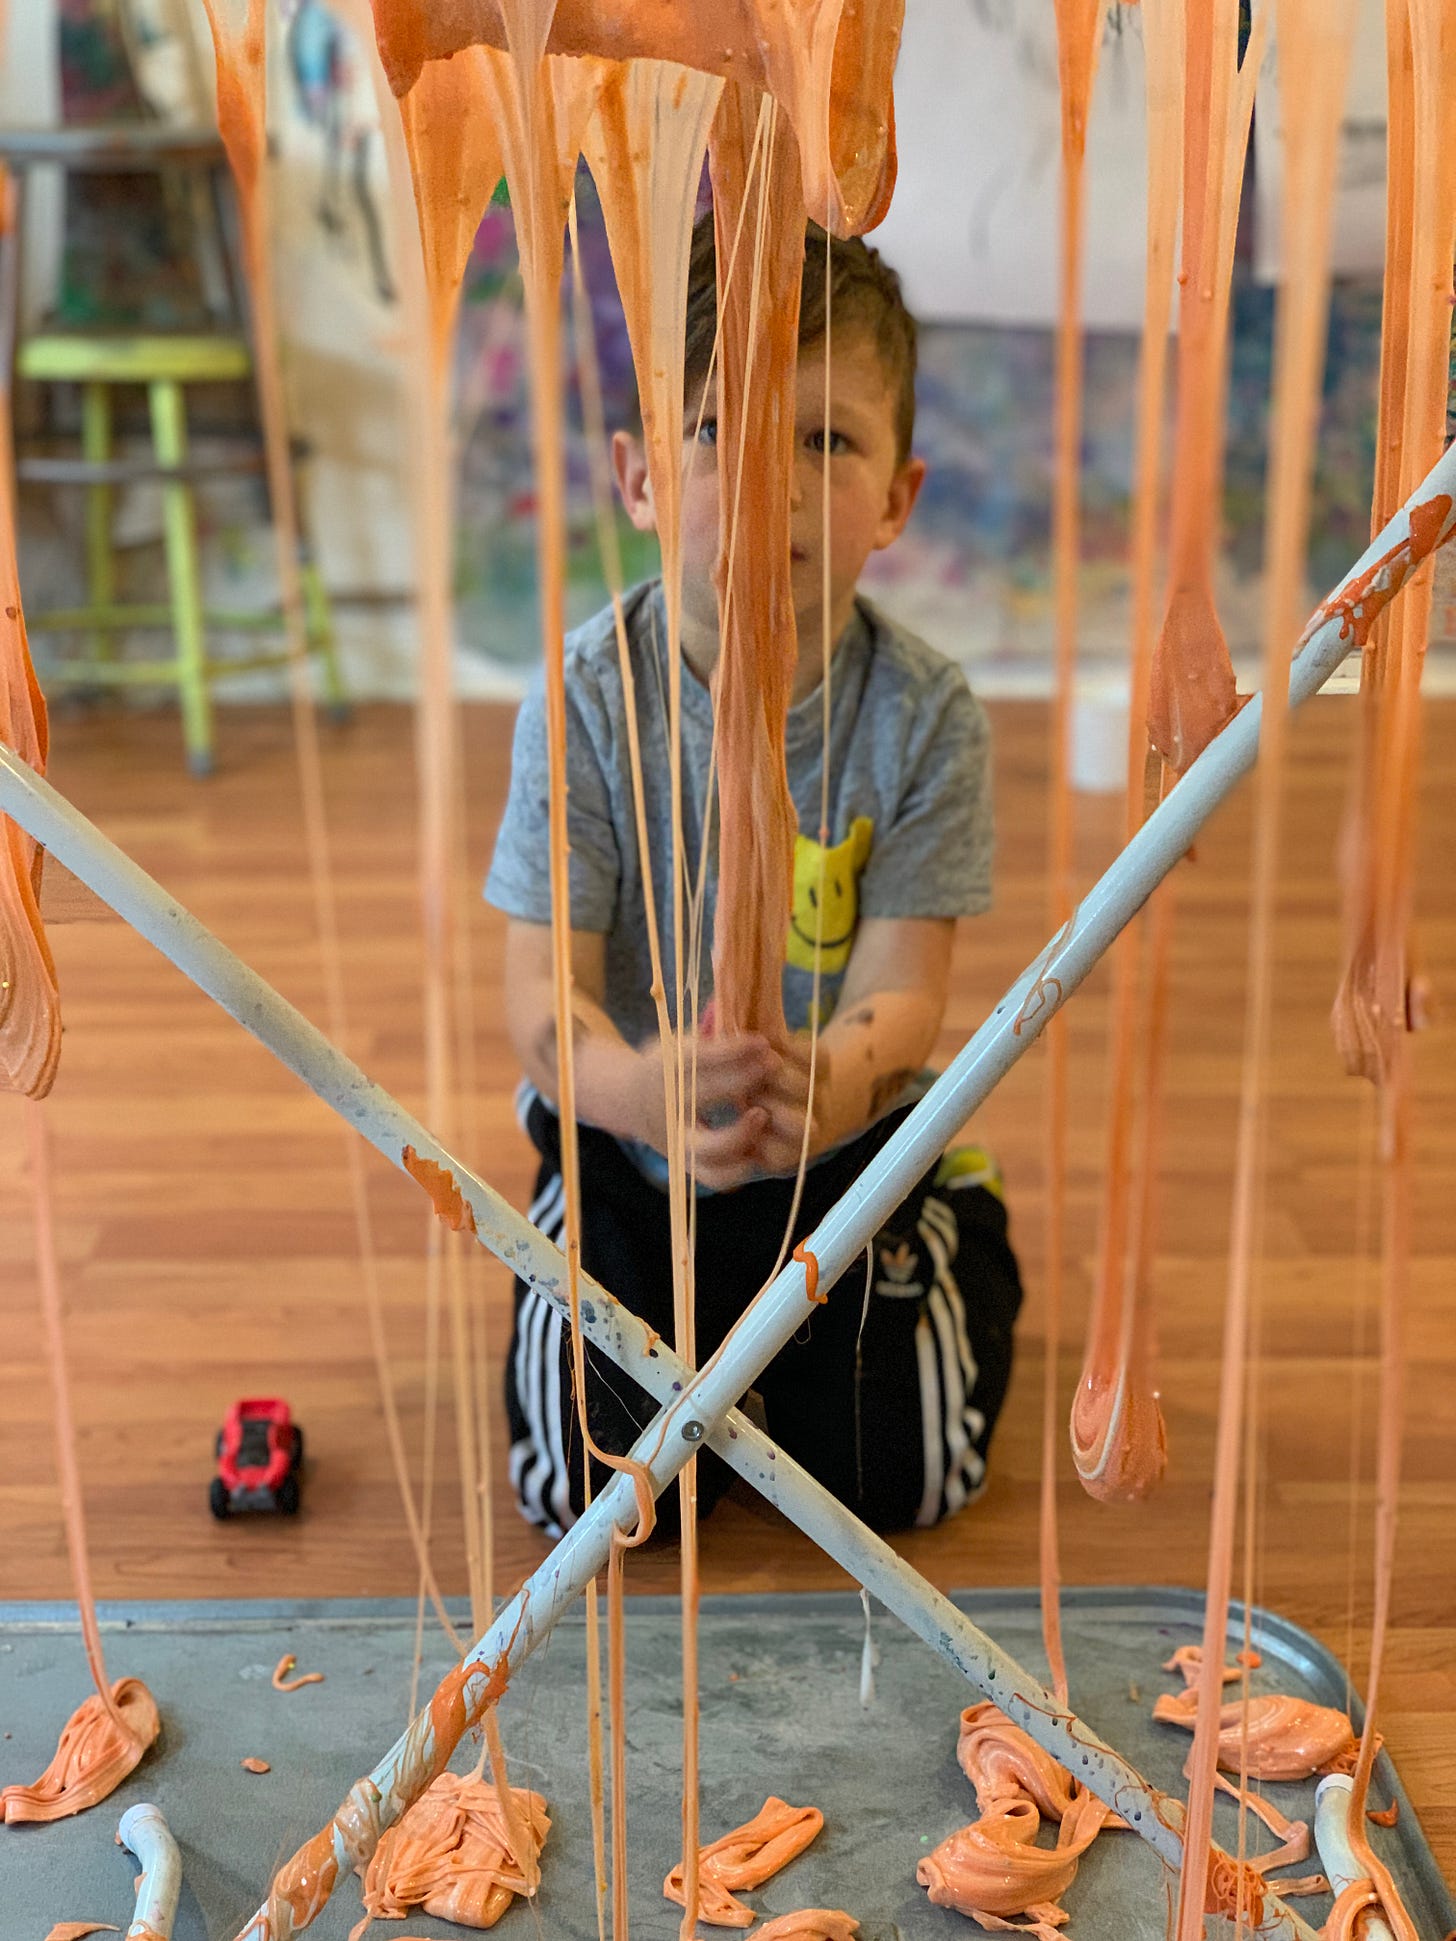
Does this totally terrify you? Read on, and we’ll explain how we prioritize the joy and learning of messy play without losing our minds!
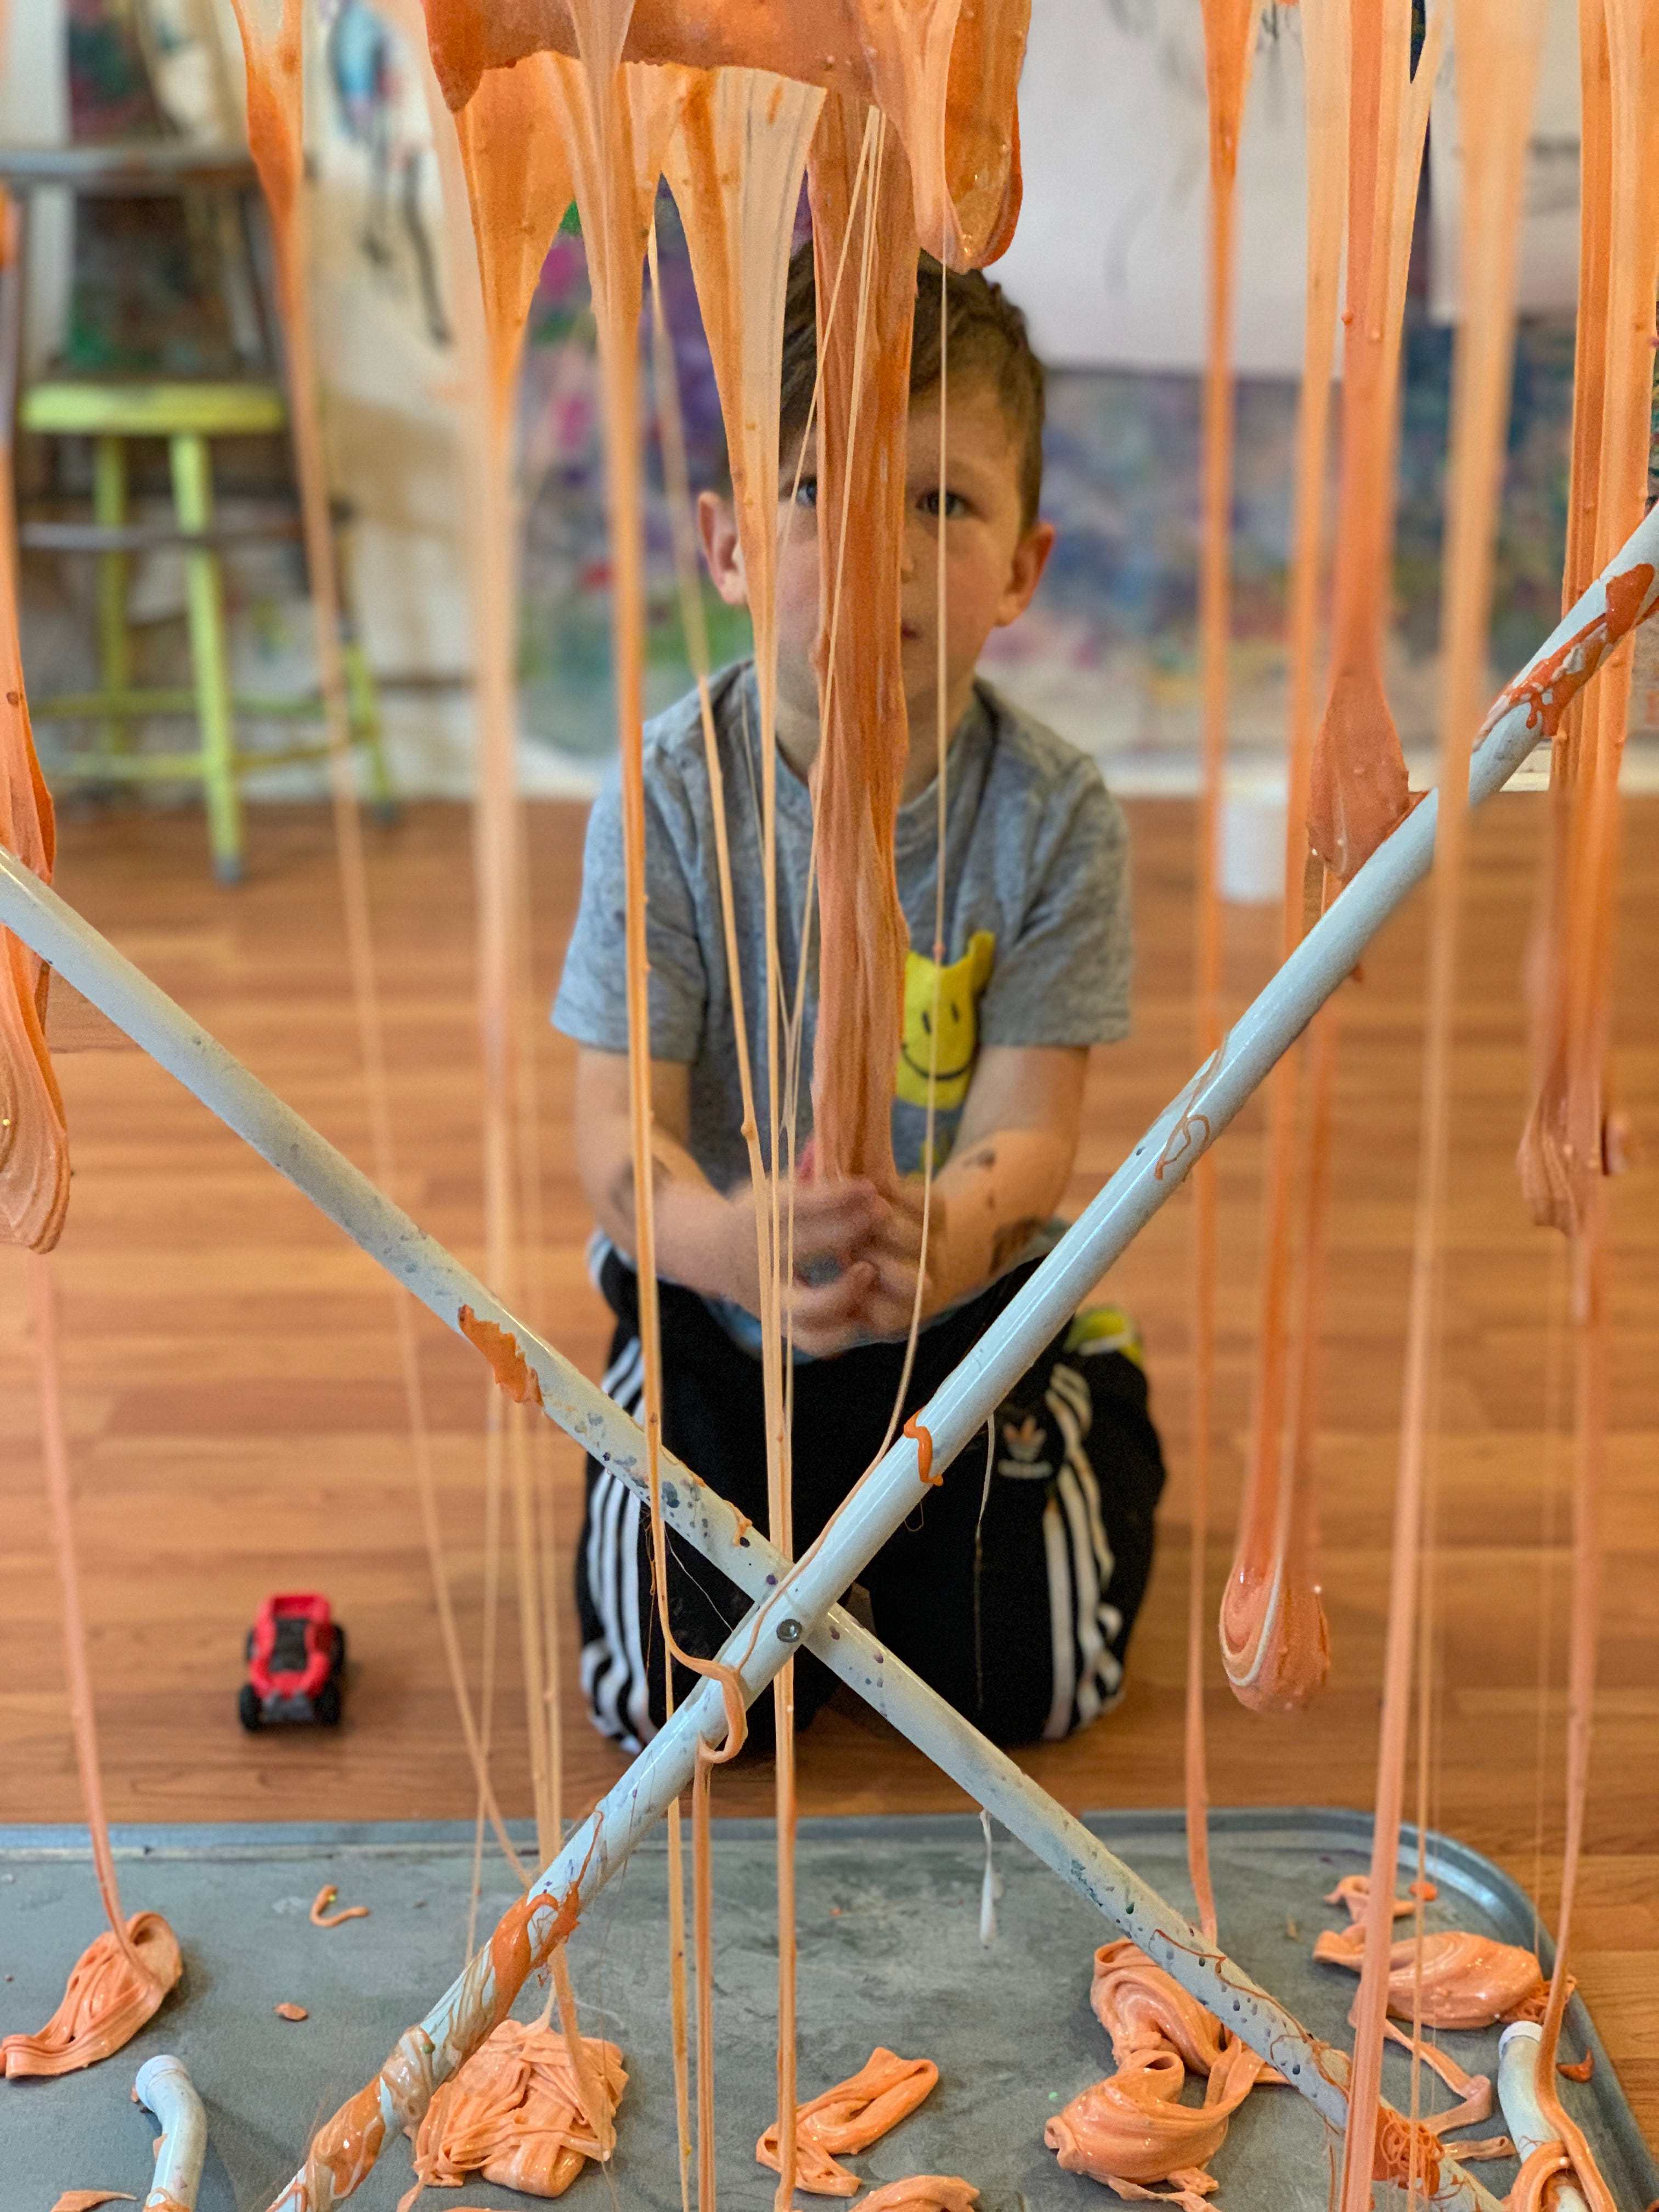
Our best tip for messy play: get a tray!
Ok, back to the Oobleck. You cannot put cornstarch into the drain, because the whole point of Oobleck is that when cornstarch is mixed with water, it becomes that amorphous, gluey consistency. But, if you have a rubber spatula, you can scrape the bowl or bin right into the trash can almost to the point of totally clean. Then, just wash the container and spatula as needed.
The spatula also comes in handy for slime making, which we shared about in our last post. Use it to stir together the glue and activator and keep using it until you can actually pick up the slime with your hands and knead it. When it’s time to knead, just do this on a plastic tray with a decent lip. This way, the slime area is contained physically and visually, and you’re cleaning up a much smaller surface.
Wet sensory play materials and fabric do not mix, so use a wipeable non-porous cloth (we have used oil cloth cut to table size) or cover the table with butcher paper that you can throw away. I wouldn’t necessarily go out and buy this, but if you do a lot of messy play with little kids and have a train table like this one, the lip will save you from so many messes. It was one of the most hardworking pieces of furniture in my studio.
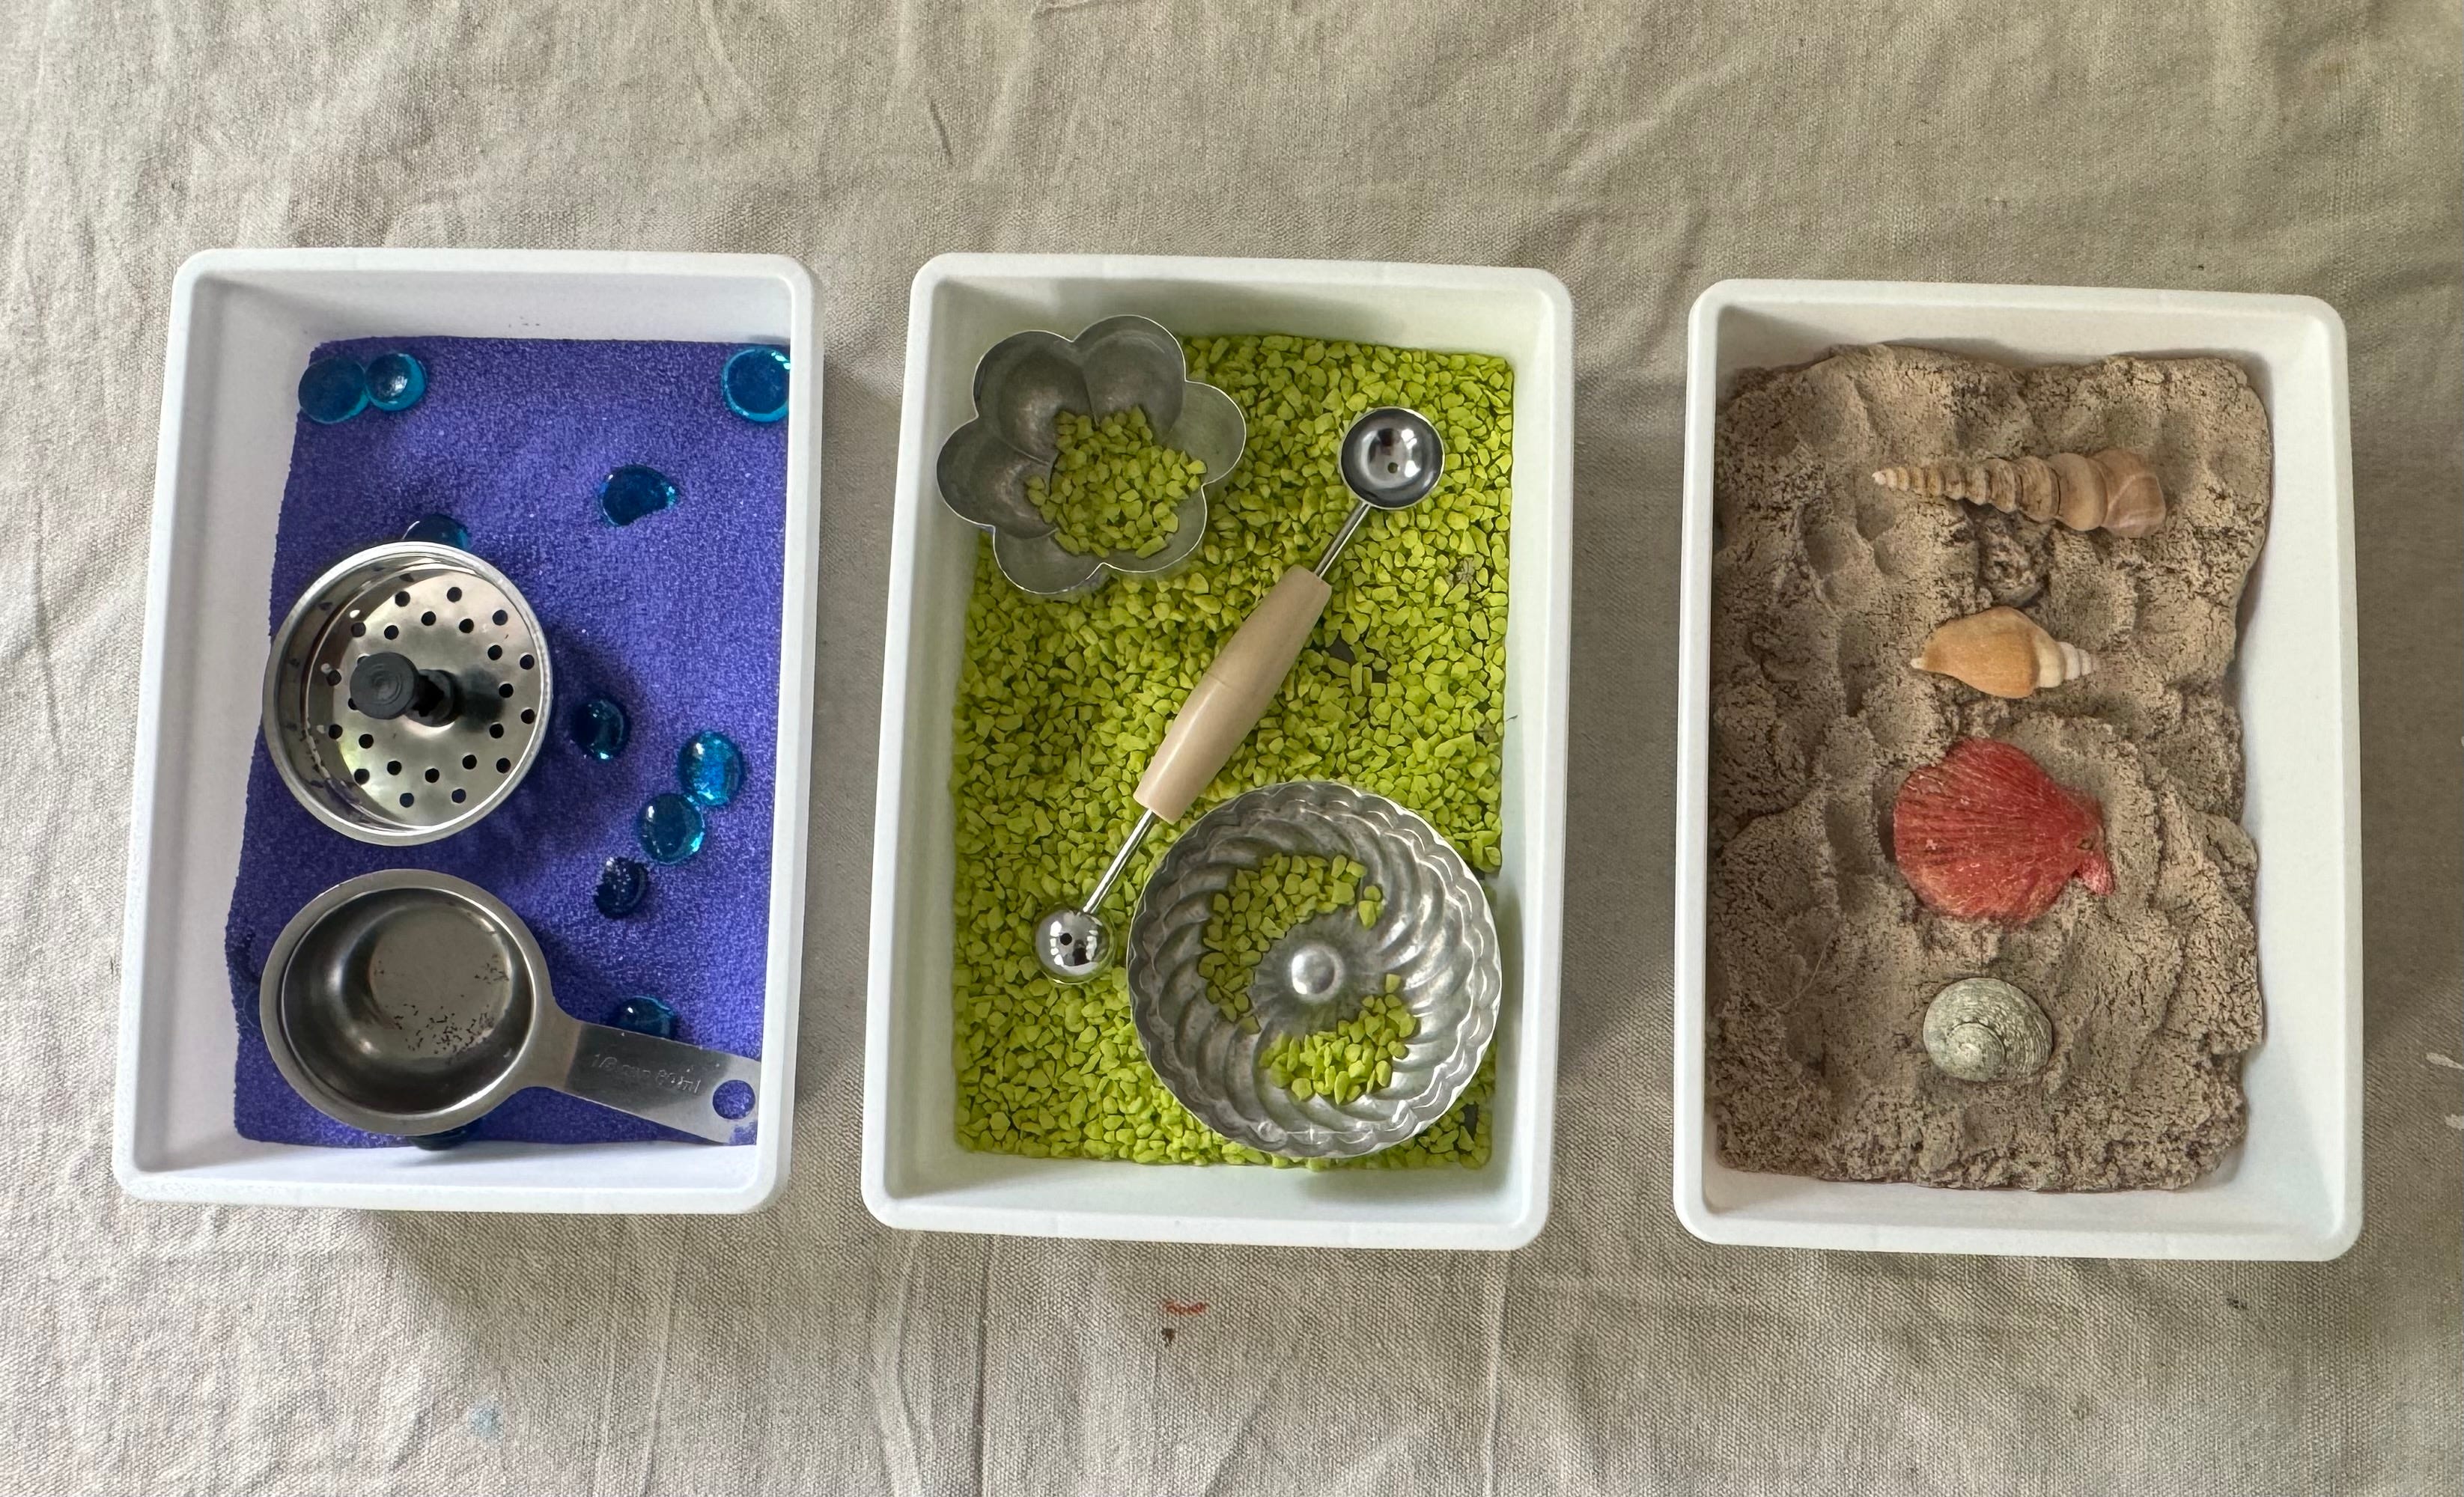
If you’re wondering how to make sensory play with dried beans, rice, pasta, sand, or even the dreaded water beads more manageable, I learned these hacks from several veteran preschool teachers.
Put the shallow sensory bin inside a larger bin like an under-the-bed box or an oil drip tray (pictured above in the slime photo) and put that on the floor on a tarp. The sound of rice or perler beads pouring from a tabletop onto the floor haunts me in my dreams. Getting the play to the floor makes it a lot less likely for something to completely tip over, and it makes it so much easier for little ones to reach in.
Use containers only if they’re around 1/2 cup size or smaller. Protein powder scoops, spoons, medicine measuring cups, Nespresso pods — these are great. A big shovel or bowl? Not inside until you’re sure that kids know the material stays in the bin. It takes a lot longer to dump 5 lbs of lentils out of the bin with a teaspoon than it would in a sandbox pail. Funnels, toilet paper tubes, and strainers with large holes are all great because they invite a different kind of play than dumping. And if you know that kids need that bigger kind of dumping, flinging sensory play, go outside and use dirt, sand, fallen leaves, or plain water.
Sharpie SOS
Often when we are leading workshops or sharing our guides, adults are incredulous that we use Sharpies or black felt-tip pens with very young children. There is truly nothing like a black permanent marker. It pairs perfectly with watercolor (more on that in a moment), it makes beautiful bold lines and marks easily, it is so fun to draw on so many different surfaces like wood, plexiglass, fabric, and more, and like the glue gun, the hole punch, the stapler, and many of our other favorites, a Sharpie feels like a grown up tool and is powerful. I’ll never forget stepping out of the room for just 1 minute, and my then 3-year-old managed to transform himself into Daniel Tiger, 3 black stripes under each cheek and a looooooong line that started on a leather ottoman and followed the wood banister alllllll the way upstairs. So, I completely understand why a Sharpie might be scary. But it is worth it because children create amazing art with Sharpies and you can get it off, for the most part.
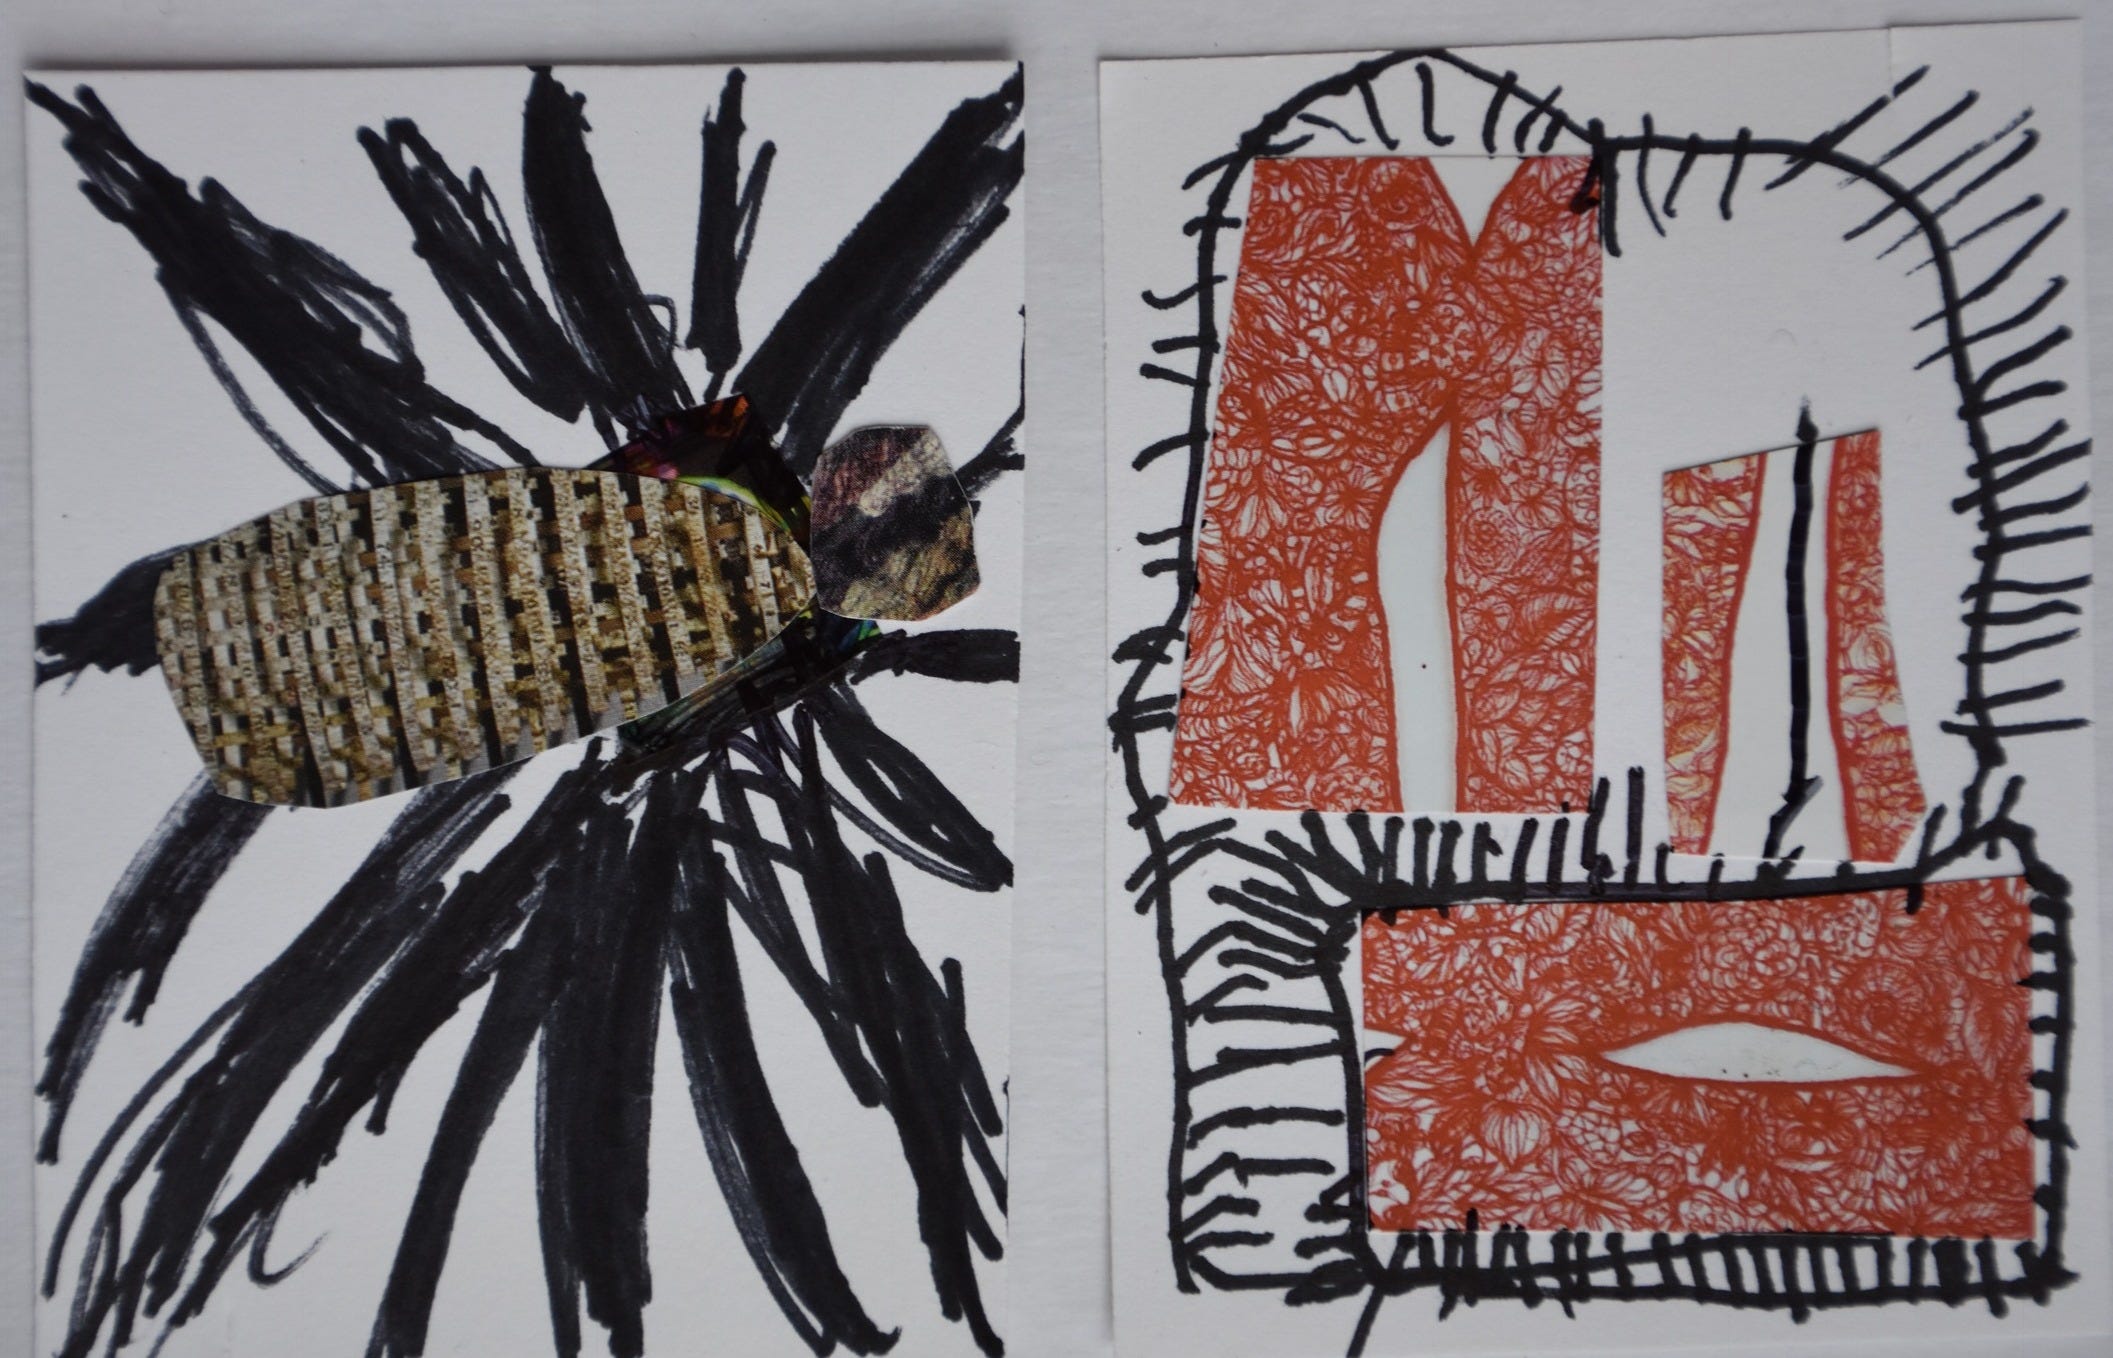
Many of us do not have leather ottomans in our classrooms, so I’ll just share the easiest hack for getting it off non-porous surfaces: a dry-erase marker. Scribble on top of the mark with a dry-erase marker and use a dry cloth to erase, and the Sharpie will go with it. Hand sanitizer and rubbing alcohol will also take it off. Just try either of these hacks in a small spot to make sure it works on your surface without damaging it more first. If you’re nervous about permanent marker (or paint) on clothes, use an old button-down shirt buttoned backwards to cover as much as possible, a hack I learned from a veteran Kindergarten teacher. And, just like the messy sensory play, it is OK to set a boundary and have the Sharpies stay in just one area of your space.
Watercolor management
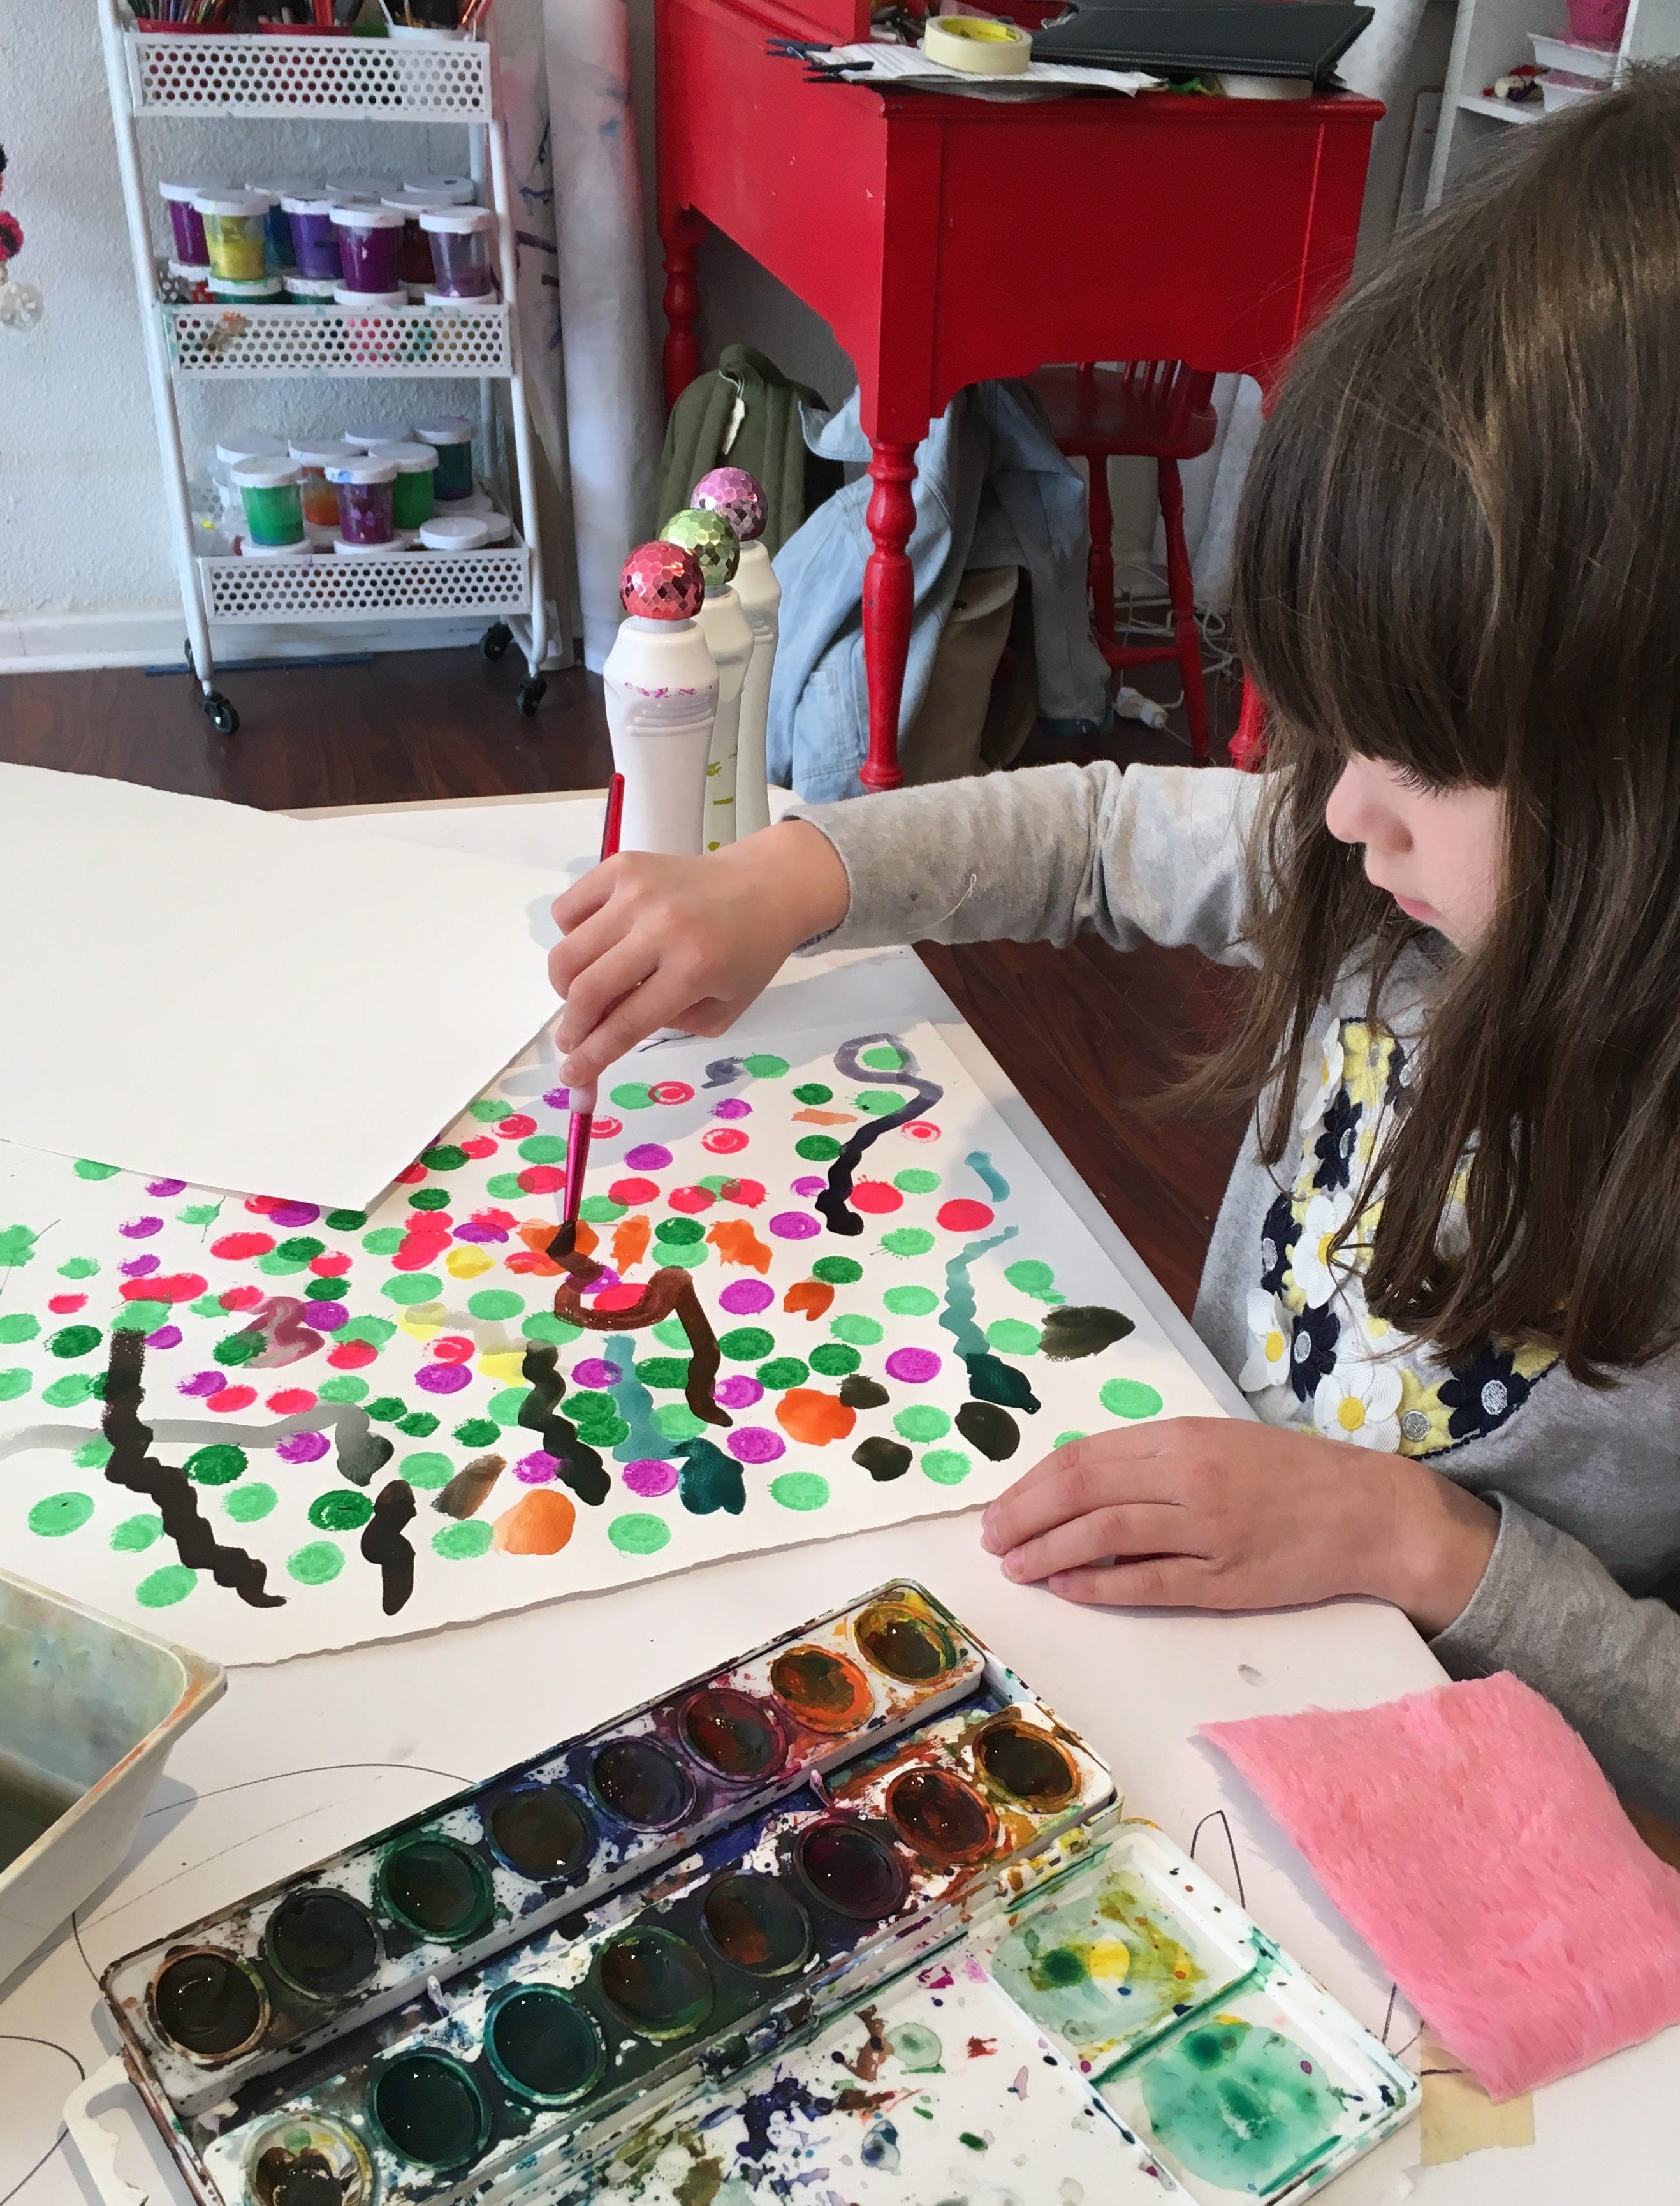
Whether we model it at first or not, some children simply love to experiment with color mixing right in the palette. Instead of spending your entire play time redirecting this instinct, know that you can simply run your watercolor palettes right under the faucet to rinse out all the surface muckiness. Anything that remains can be dabbed with a little sponge or paper towel — the perfect job for a more particular young artist. They’ll be good as new, and a slightly damp palette is actually easier for younger artists to work with, as they won’t need quite as much swirling and wetting to get pigment on their brush. If you like teaching a process for this, add a small piece of sponge to your watercolor setup to clean off the brush between colors. A few more hacks:
Take the plastic covers off your watercolor palettes so they take up less space on the table, are easier to rinse off, and are less likely to mold.
Use tempera cakes with little kids who can use a chubby-bristled brush to go a little harder on the swirling. You can also rinse these under water.
How to get kids to actually clean up
Of course, many of us have implemented the 5-minute warning (which can extend or contract as needed). It’s still really hard to go into clean up mode.
Five ways to smooth out the transition:
Give kids a space they can put works in progress and play a clean-up song that you use every time.
Have you ever heard the cleaning advice to start as high as possible and work your way down? With a room of kids (or even just one or two), we think the opposite works better. For us, the most helpful place for kids to focus is the floor. If kids can focus on just getting the paper scraps, beads, or anything else from creative play time off the floor, that will make it so much easier to get things back to their proper places.
From the floor, even preschoolers can help get collage scraps into a single shallow box, or put watercolor palettes back on an open cart. Keep the homes for these materials as simple as possible, with little sorting needed, and it will be so much easier.
Invite kids to use real tools like small dustpans and brooms or spray bottles with water and rags to wipe tables, and you’ll have real help!
~Shannon
We’ll share more about cleaning and organization systems that work for us soon, but if you’re looking to explore this topic more, check out this post about organizing artwork:
Or, jumpstart your practice new ECE Starter Bundle and get access to 3 art + play guides that span the entire school year plus our 1 hr Set it Up + See What Happens workshop, bundled at 25% off retail value. We hope you will join us!
If this post made clean up a little less scary, please consider supporting Art is Play by upgrading your subscription for just 5.00/month. We share strategies, resources, project ideas, our favorite materials and supplies, and help educators and caregivers reignite their own creativity while experiencing art as play.
Comments
Nothing yet. Say the first thing.
Sign in to join the conversation.