291
Intermediate
Project guide
Overview

This embedded content is from a site (www.youtube.com, flickr.com, etc) that does not comply with the Do Not Track (DNT) setting now enabled on your browser.
Clicking through to the embedded content will allow you to be tracked by the embed provider.
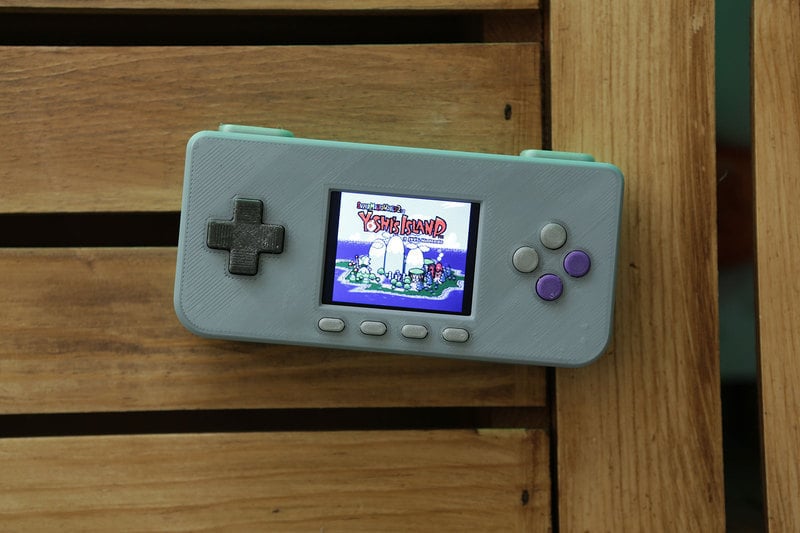
You've seen PiGRRL, Super Game Pi, PiGRRL Pocket, PiGRRL 2 and now... it's time for PiGRRL Zero!
In this tutorial we'll turn the elusive $5 Raspberry Pi Zero into portable game console!
Features
- Retropie Emulation Station: SNES, NES, SEGA, N64, and many many more!
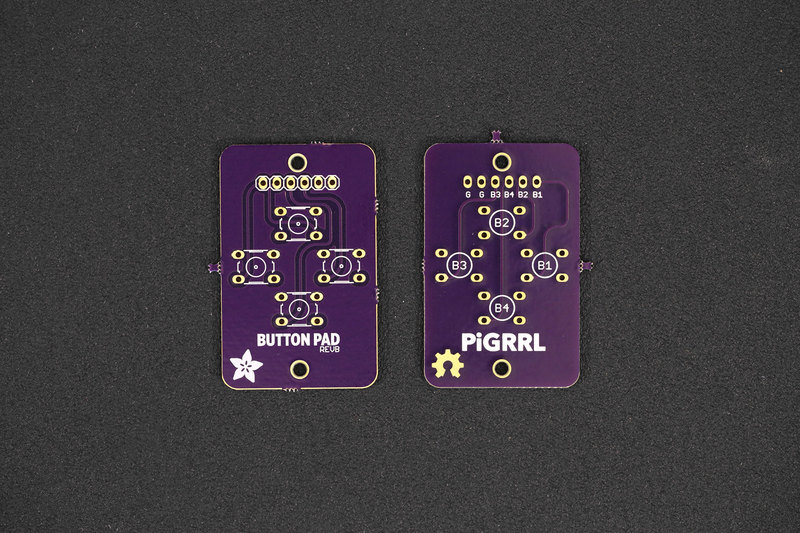
- 14 Buttons, including D-Pad, L & R shoulder, Start/Select, A, B, X, Y and two extras.
- 2.2" Adafruit PiTFT 320x240 Color Display
- Landscape portable console format
The USB-A port allows you to add any peripherals to the Raspberry Pi Zero, such as a WiFi or Bluetooth adapter, USB keyboard or mouse, USB Audio Adapter or USB Hub.
Text emphasized with a yellow exclamation: PLEASE BE AWARE - THIS IS NOT AN EASY/BEGINNER PROJECT! This project is for experienced makers, with successful soldering and Raspberry Pi projects. We DO NOT guarantee you will be able to build this project sucessfully!

Project Expectations
The difficulty of this project is intermediate. There is wiring and soldering involved, but no PCB hacking or sawing like our previous builds. We think this is a great project for makers who have a little bit of Pi and 3D printing experience, or are first time makers with a lot of energy and willingness to learn! This tutorial will walk you through all the steps of the assembly and takes about weekend to accomplish.
3D Printed Parts
You'll need to 3D print the enclosure and buttons for this project. If you don't have access to one, 3DHubs.com is a great option - simply download the STL files, upload them and choose a local hub to print and ship them to you!
Prerequisite Guides
If you're new to soldering, definitely check out Collin's Lab: Soldering. You'll learn the basics of soldering and how fun it can be!

Tools and Supplies
The following tools and supplies will help you build this project.
- 3D Printer + Filament
- Soldering Iron + Solder
- 30AWG + 26AWG Wire
- Helping Third Hands / Panavise
- Heat Shrink
- Glue / Mounting Tack
- Wire Stripper / Cutters
- Filing Tool / Hobby Knife
- 6x #4-40 3/8 (M3 x 9.5mm)machine screws


Page last edited March 08, 2024
Text editor powered by tinymce.