How It Work
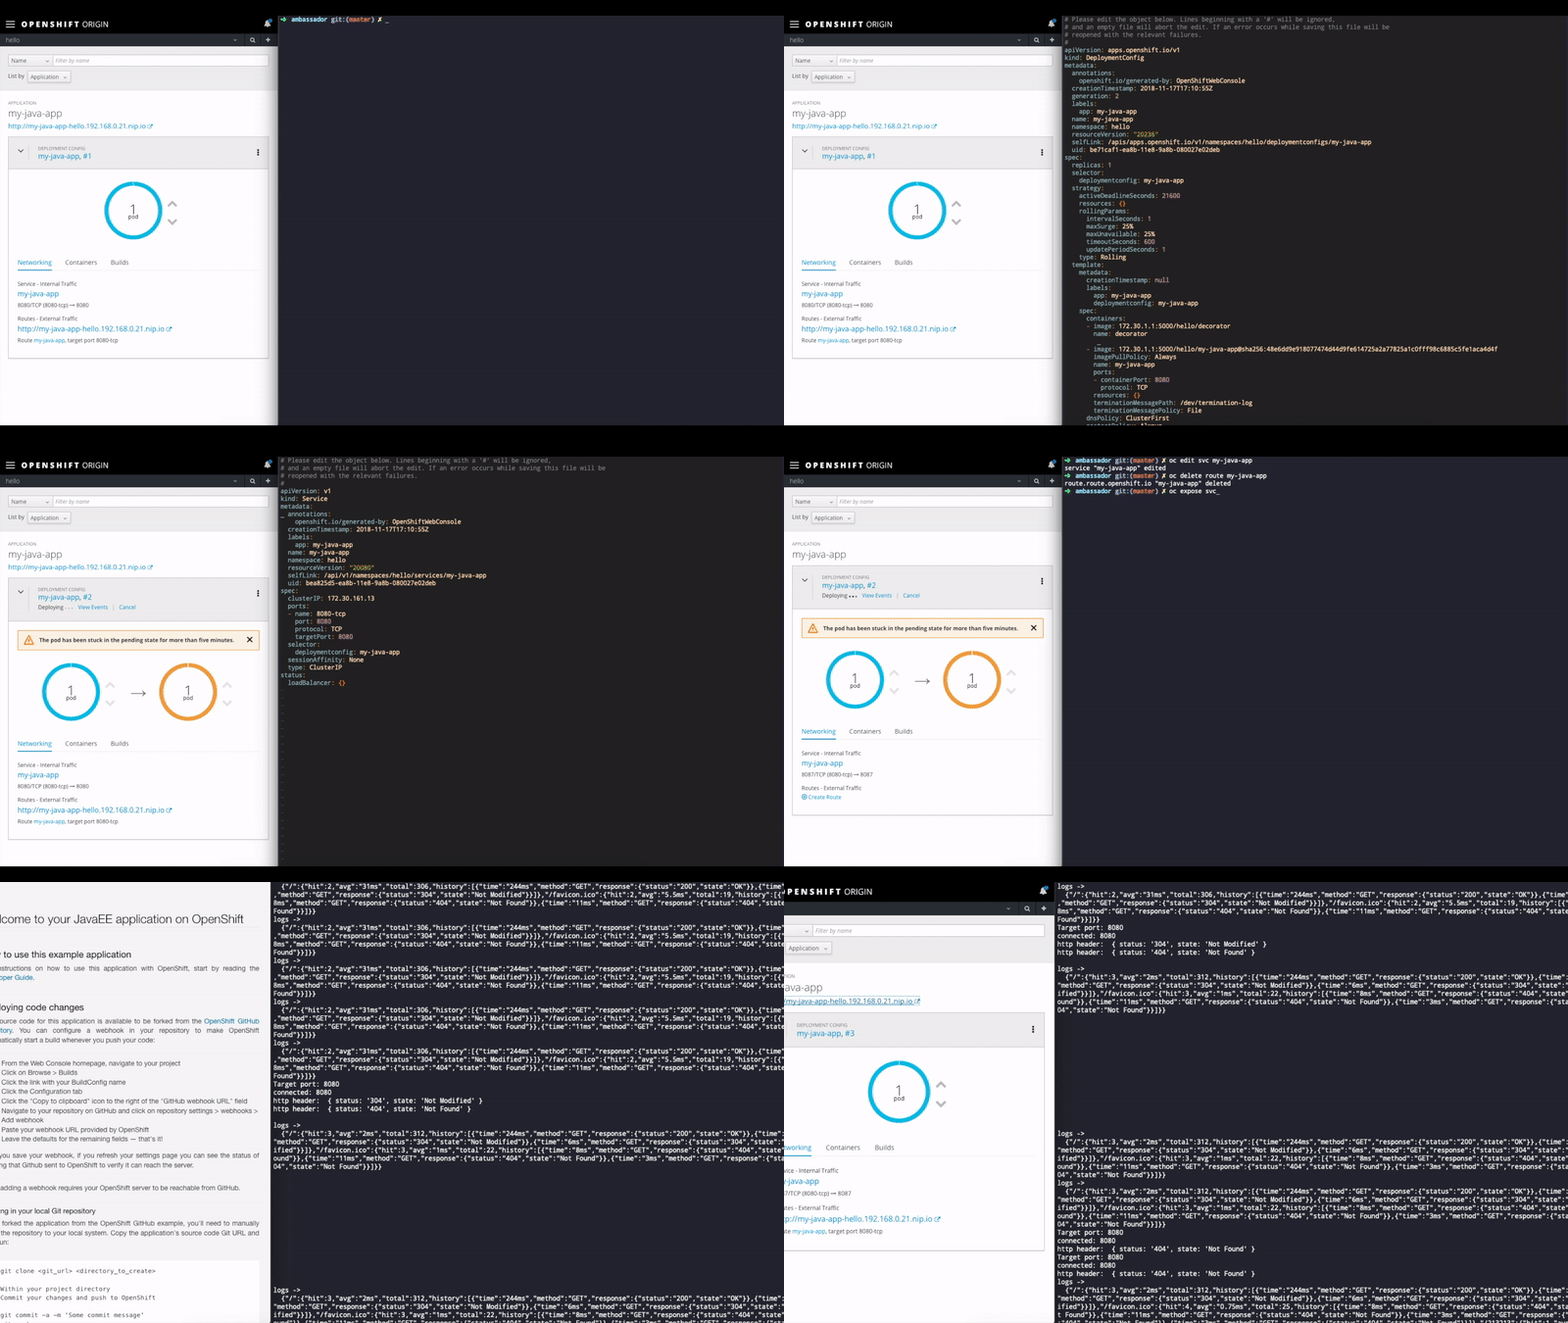
This project is just an example ambassador container, with the ability to override and to get some telemetry from running services in the same pod. To understand how it works, take a look at this example.
Running A Service
Let's say you have a legacy micro-service running in your cluster.
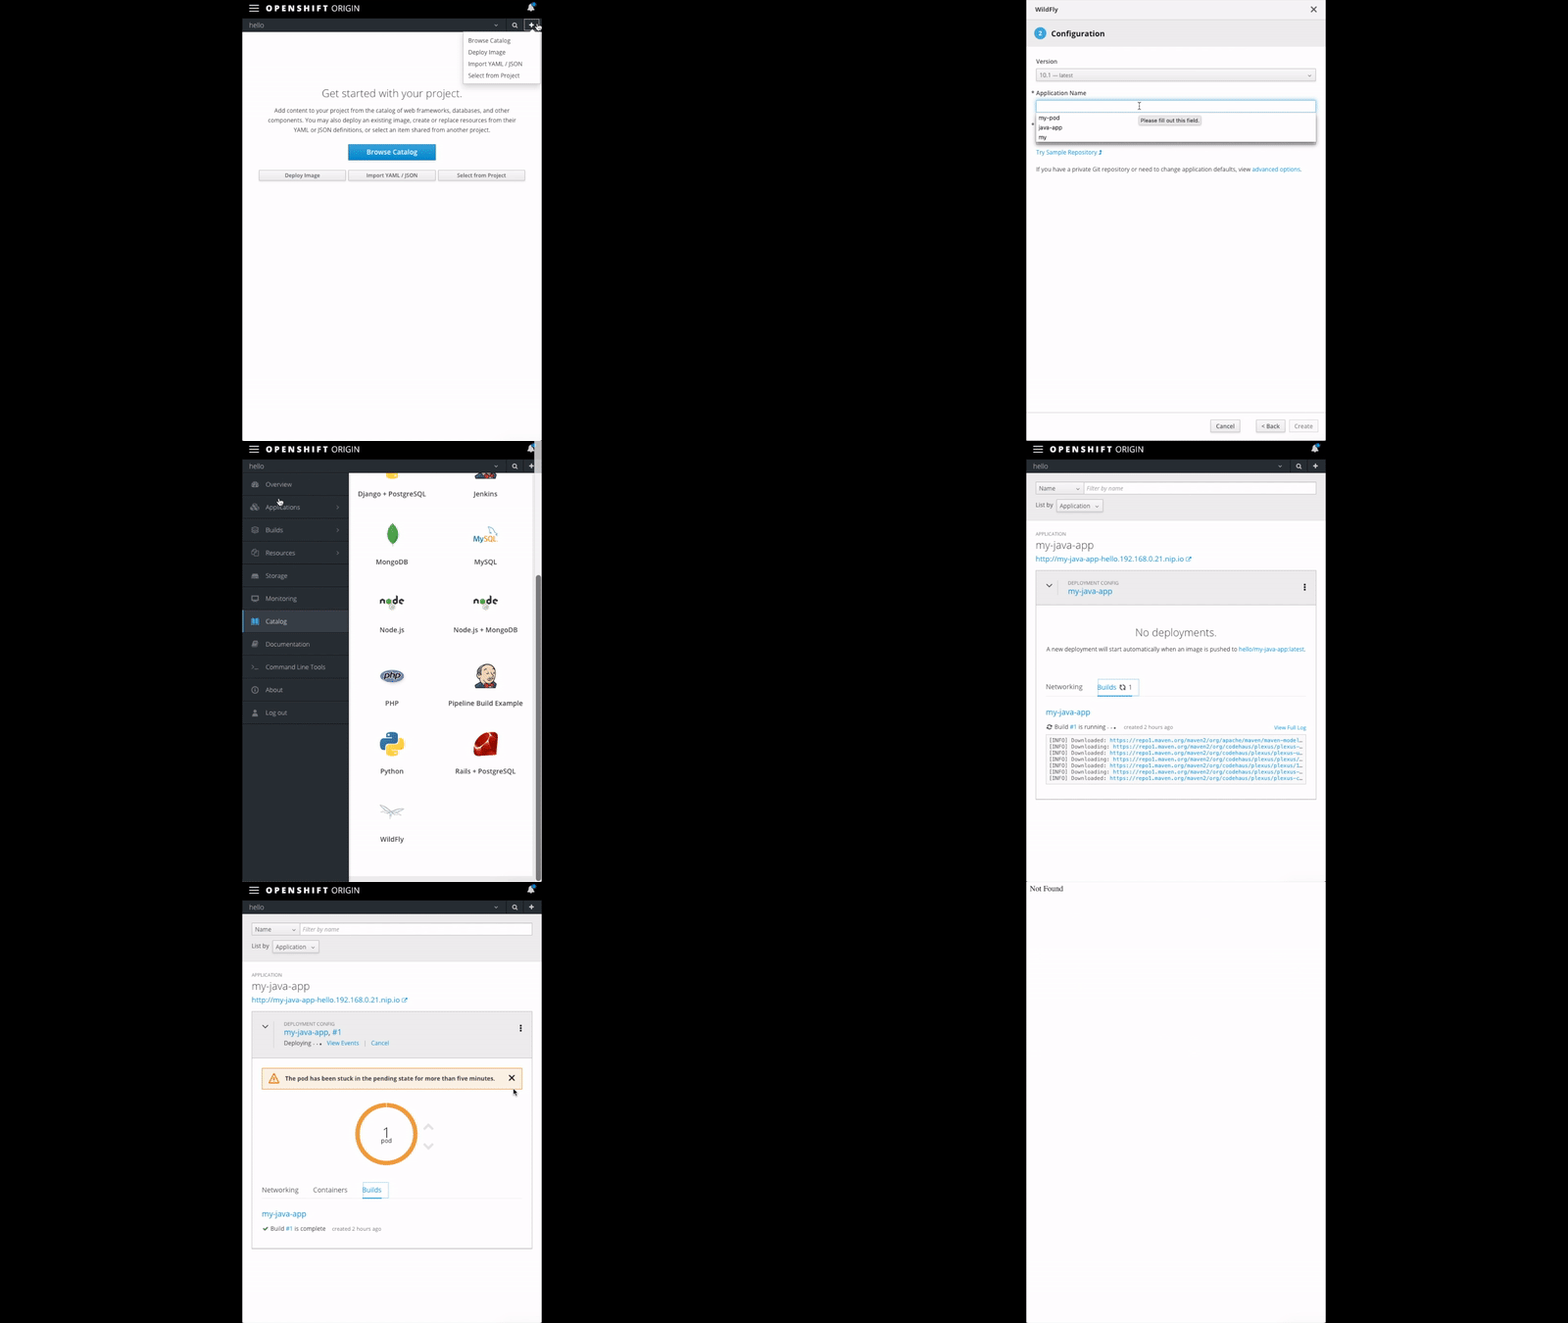
Let's call it my-java-app.
Ambassador Container
Let's say we want to override the 404 response of this service and also we want to read some telemetry. We just need to deploy this project in the same pod as the running service, but first we need to create an image.
To create an image let's execute oc new-build:
oc new-build nodejs~https://github.com/cesarvr/ambassador --name=decorator

After we create this image we need to install this container, inside the pod. We just need to edit the deployment configuration and add the new container.
First locate the template using oc edit dc/my-java-app
Here is an approximation of how a deployment template looks like, you should add the entries for the container we created before.
containers:
 - image: your-new-image     # new
   name: decorator           # new
   port: <chose-a-port> #8087 # new
 - image: java
   name: my-java-app
   ports:
    port: 8080
    ...
Direct Traffic
Edit the Service (if necessary) so it redirect the traffic to the proper ports, in my case 8087.
To edit the service:
oc edit svc my-java-app
Here's what the template looks like:
spec:
  clusterIP: 172.30.13.84
  ports:
  - name: 8080-tcp
    port: 8080   # In my case I've to change this to 8087
    protocol: TCP
    targetPort: 8080  # In my case I've to change this to 8087
  selector:
    deploymentconfig: my-java-app
Save the template and recreate the route.
#delete
oc delete route my-java-app
#expose the service again
oc expose svc my-java-app
You can also edit the route template but I choose to just recreate it. You should see the new changes in the running service.