In this tutorial, you learn how to build with AI agents in Visual Studio Code. Agents can plan a solution, create and edit multiple files, run commands, and fix their own errors, all from a single natural-language prompt. You describe what you want, and the agent does the work.
You start in the Agents window, a dedicated surface for an agent-first workflow. Then you switch to the Chat view, where an agent assists you while you work in the editor. Along the way, you pick up the VS Code basics you need, like opening a workspace, using the integrated browser, and committing your changes with source control.
You build a simple personal portfolio page with HTML, CSS, and JavaScript. The page is fully static, so you don't need to install any runtimes or build tools to follow along.
Get familiar with the VS Code user interface, editing features, and key productivity tools.
Prerequisites
Tip
If you don't have a Copilot subscription yet, you can use Copilot for free by signing up for the Copilot Free plan and get a monthly allowance of inline suggestions and AI credits.
Create a project folder
Agents work in the context of a folder, also known as a workspace. You start by creating a folder for your project. You don't need to open the folder in VS Code yet. In the next step, you open it in the Agents window, which lets you work across multiple workspaces without opening a separate window for each one.
-
On your computer, create a new folder named
myportfolio. -
Put the folder under Git version control to track changes. Open a terminal and run the following commands:
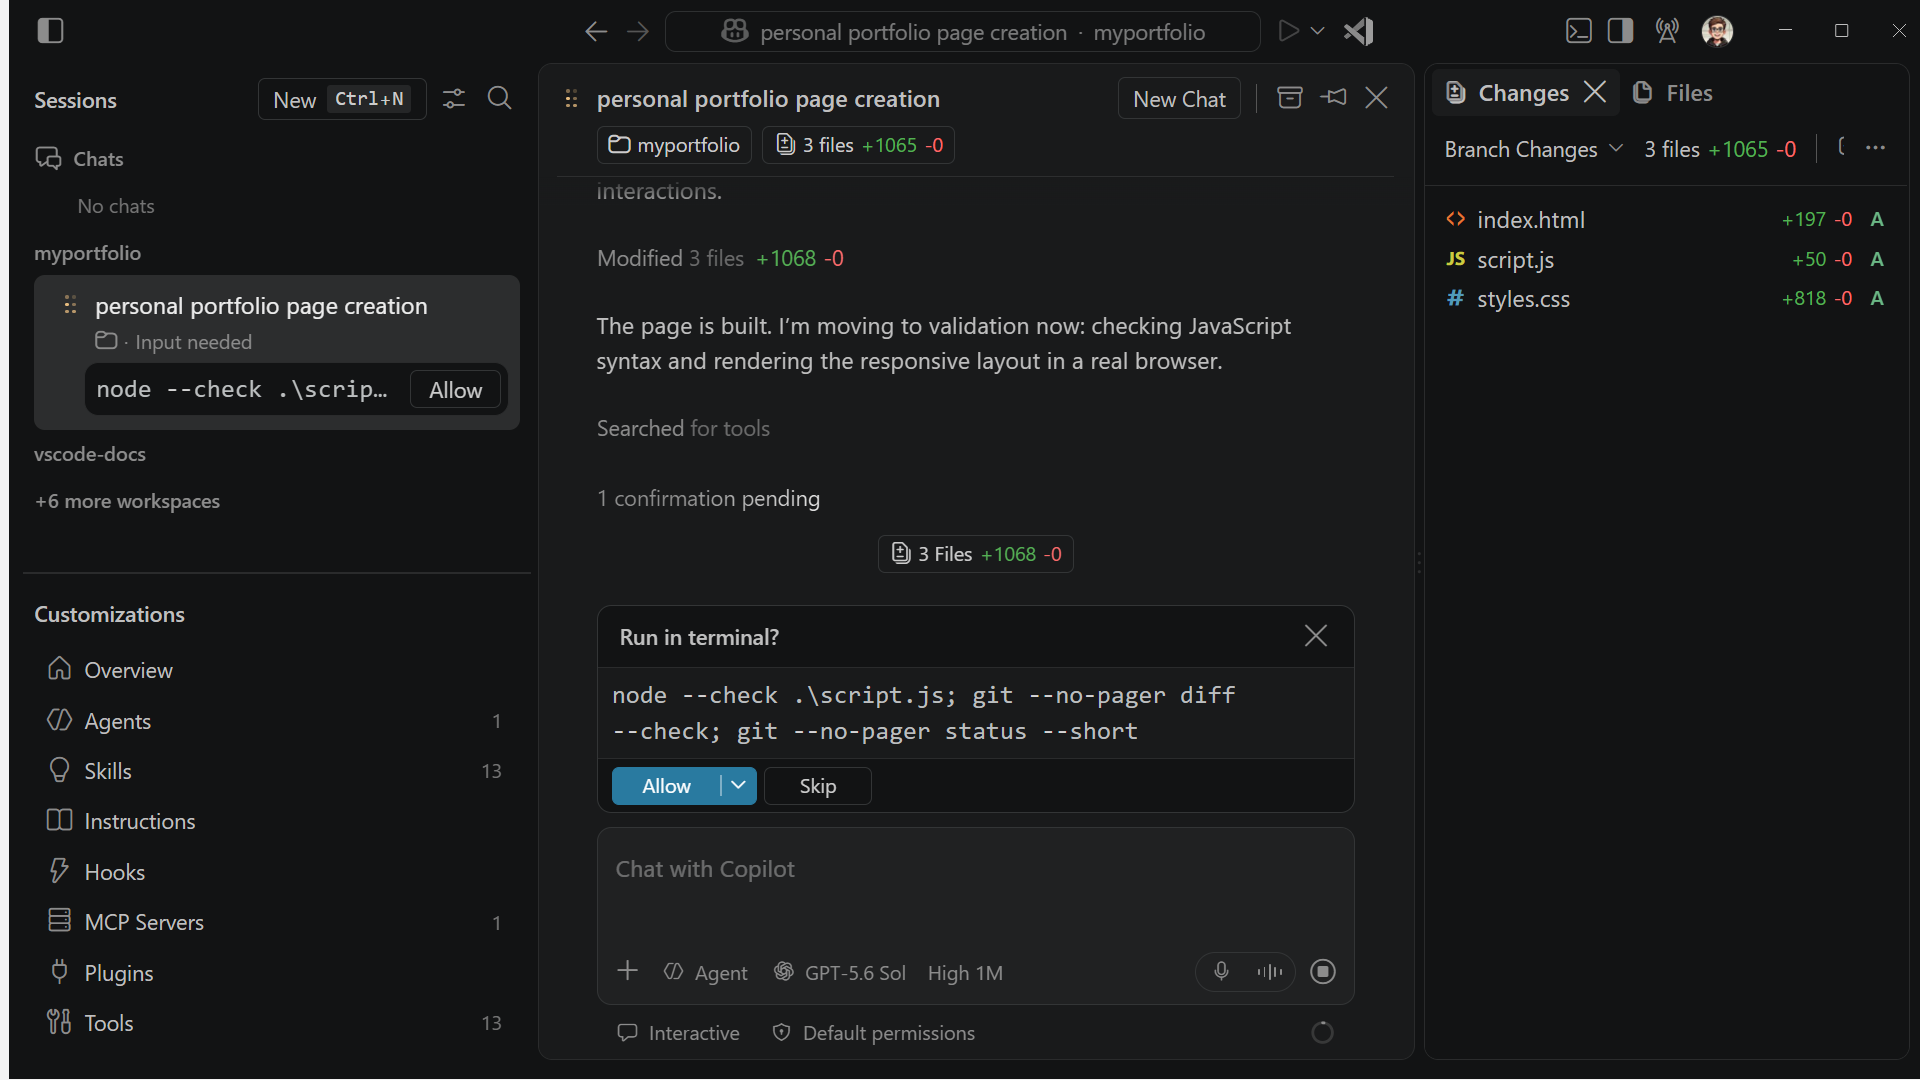
Create a personal portfolio page with HTML, CSS, and JavaScript in separate files. Include a header with my name and a short bio, a section for projects with cards, and a contact section. Use modern styling and add some sample content. -
The agent analyzes your request, plans the work, and then starts creating and editing files. If it encounters errors, it self-corrects or asks for clarification and approval.
Preview and iterate on the design
The Agents window is great for workflows where you hand off tasks to the agent and then validate the outcome, rather than the specific code changes. With the integrated browser, you can preview the agent's work without having to leave VS Code.
To preview the generated portfolio in the integrated browser:
-
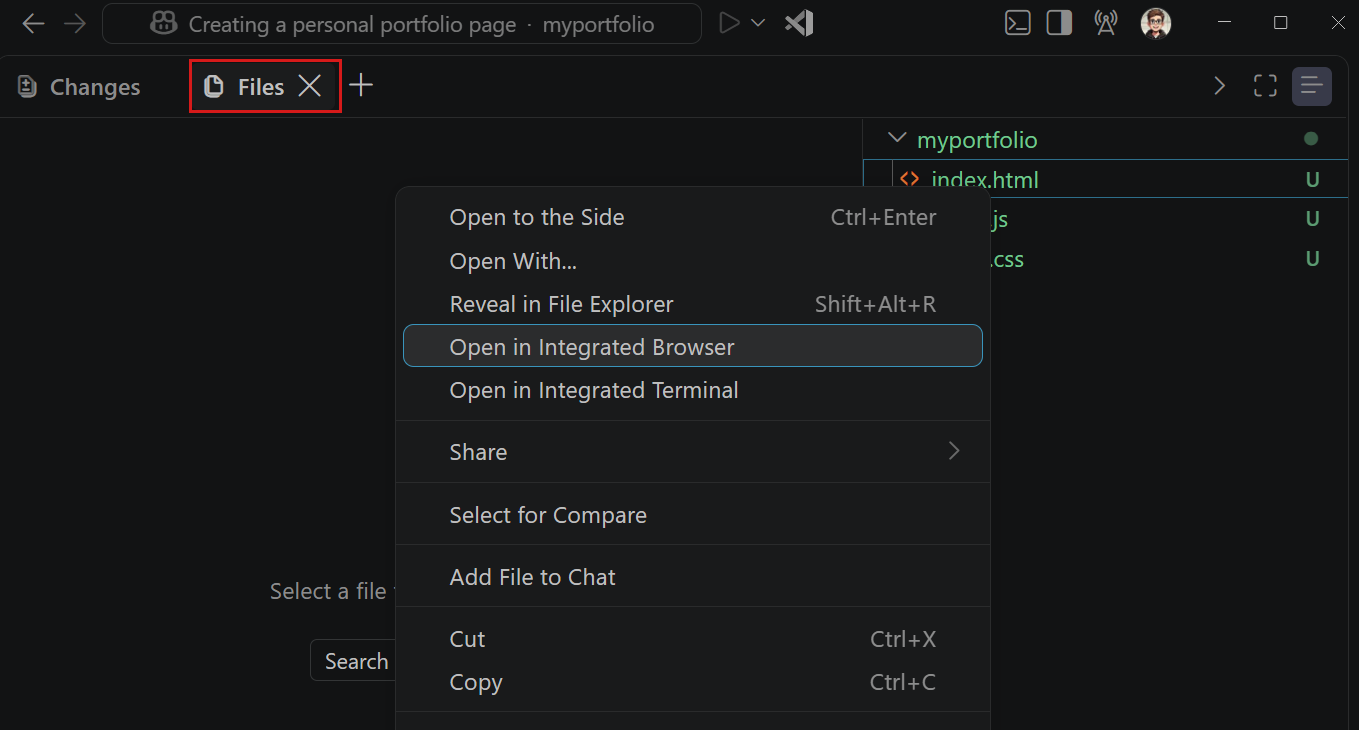
Select the Files tab in the left sidebar, right-click the
index.htmlfile and select Open in Integrated Browser.The Files tab shows all files in the workspace, similar to the Explorer view in the editor.
-
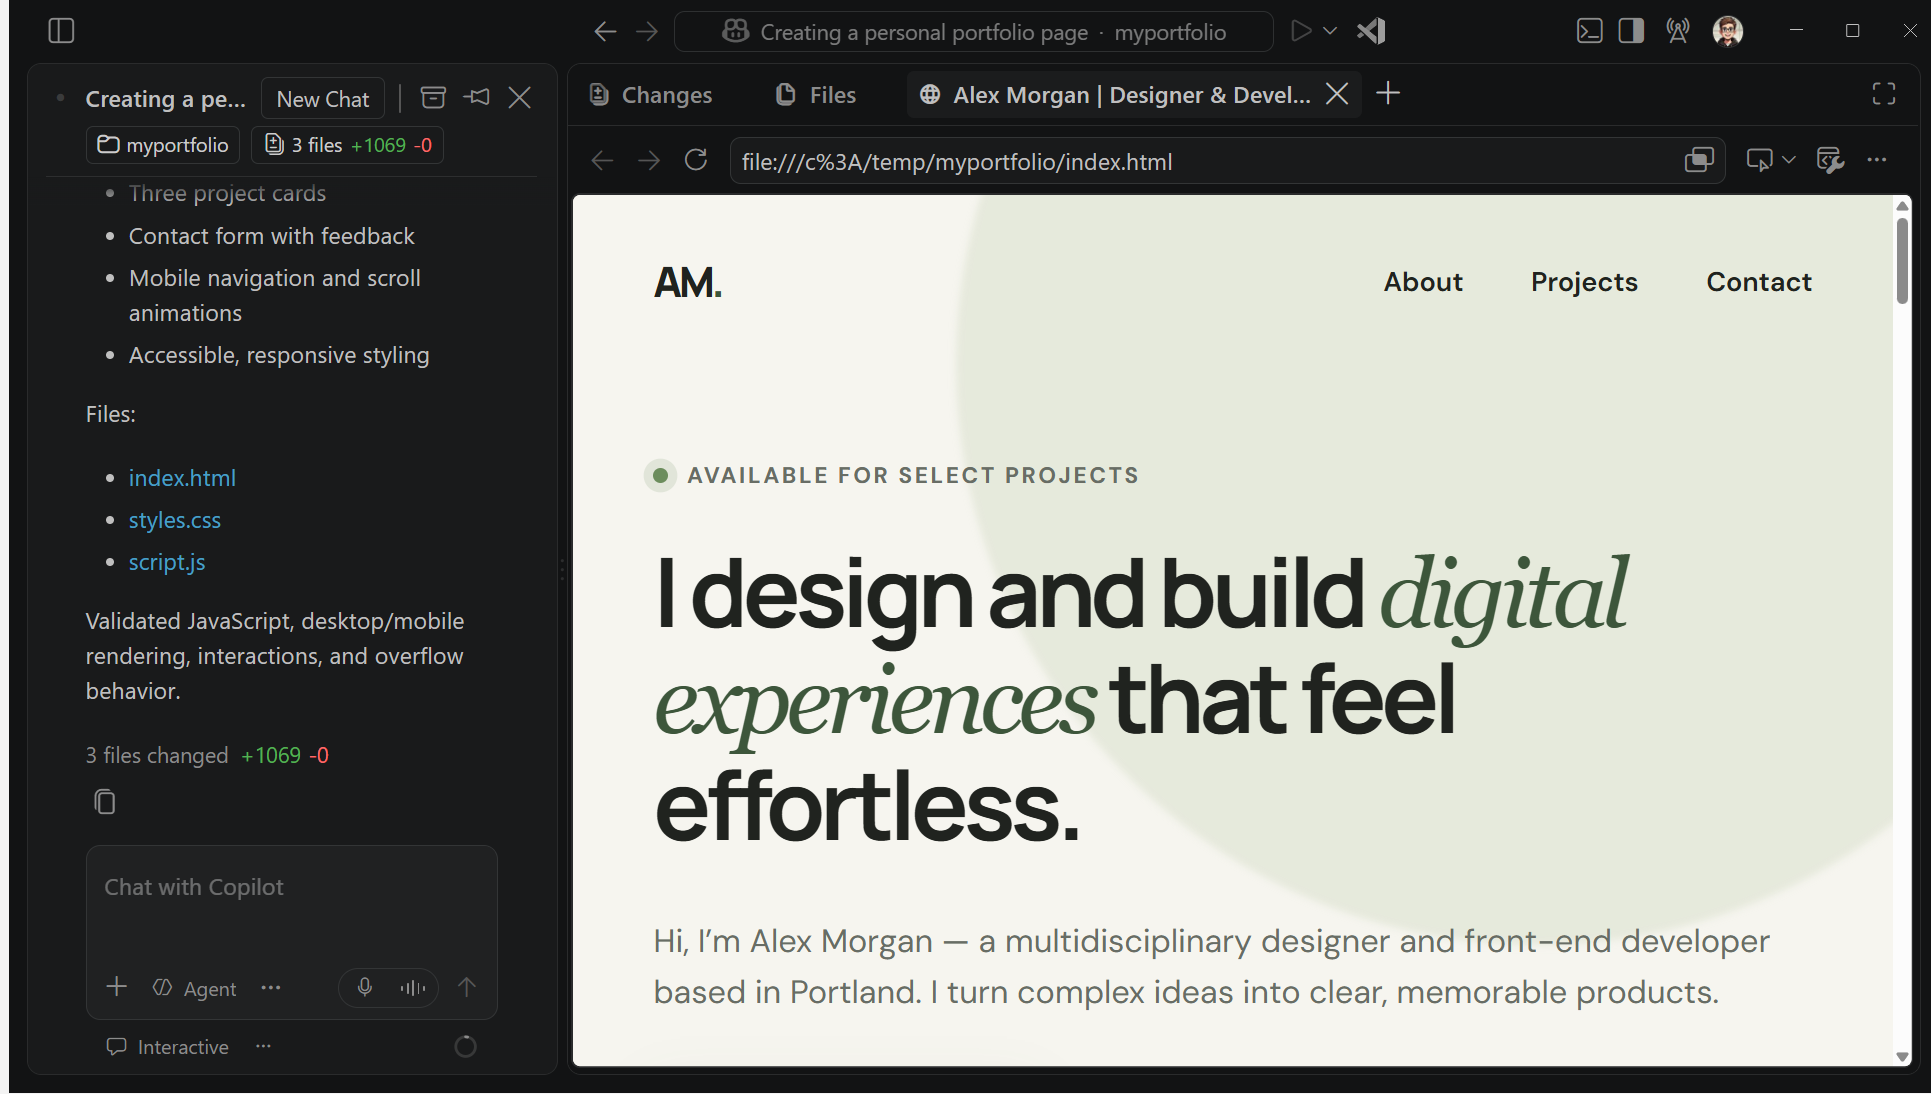
The integrated browser opens in a new tab in the Agents window, and you can interact with the page as you would in a normal browser.
-
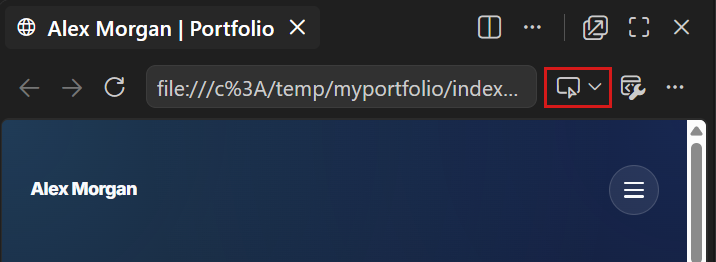
Let's make a design change to the page. In the integrated browser, select the Add Element to Chat button to enter selection mode.
-
Hover over the page and select an element you want to change, for example select the main title.
The agent adds the selected element to your prompt as context, including its HTML, CSS, and a screenshot.
-
In the chat input, enter a prompt that describes the change you want, and press Enter. For example:
Add an accessible theme switcher button that toggles between light and dark color themes. Persist the selected theme across page reloads, update the button label to describe the theme it applies, and keep the layout responsive on narrow screens.Copilot applies and saves the changes directly to your project files.
-
Open the Source Control view to review the files that Copilot changed. Select a file to inspect its diff.
You can also select a changed file in the Chat view to open its diff.
-
Select the
index.htmlfile and select the Open in Integrated Browser (globe) button in the title bar. -
In the integrated browser, validate the changes:
- Select the theme switcher and verify that the page colors and button label change.
- Resize the browser to a narrow width and verify that the content remains readable and the project cards adapt to the available space.
- Use Tab to focus the theme switcher, and then use Enter or Space to toggle the theme.
-
If a check fails, describe what you observed to Copilot in the Chat view. For example:
">Learn more about the Chat view
8/12/2026