In this tutorial, you configure Visual Studio Code on macOS to use the Clang/LLVM compiler and debugger.
After configuring VS Code, you will compile and debug a C++ program in VS Code. This tutorial does not teach you about Clang or the C++ language. For those subjects, there are many good resources available on the Web.
If you have any trouble, feel free to file an issue for this tutorial in the VS Code documentation repository.
Prerequisites
To successfully complete this tutorial, you must do the following steps:
-
Install Visual Studio Code on macOS.
-
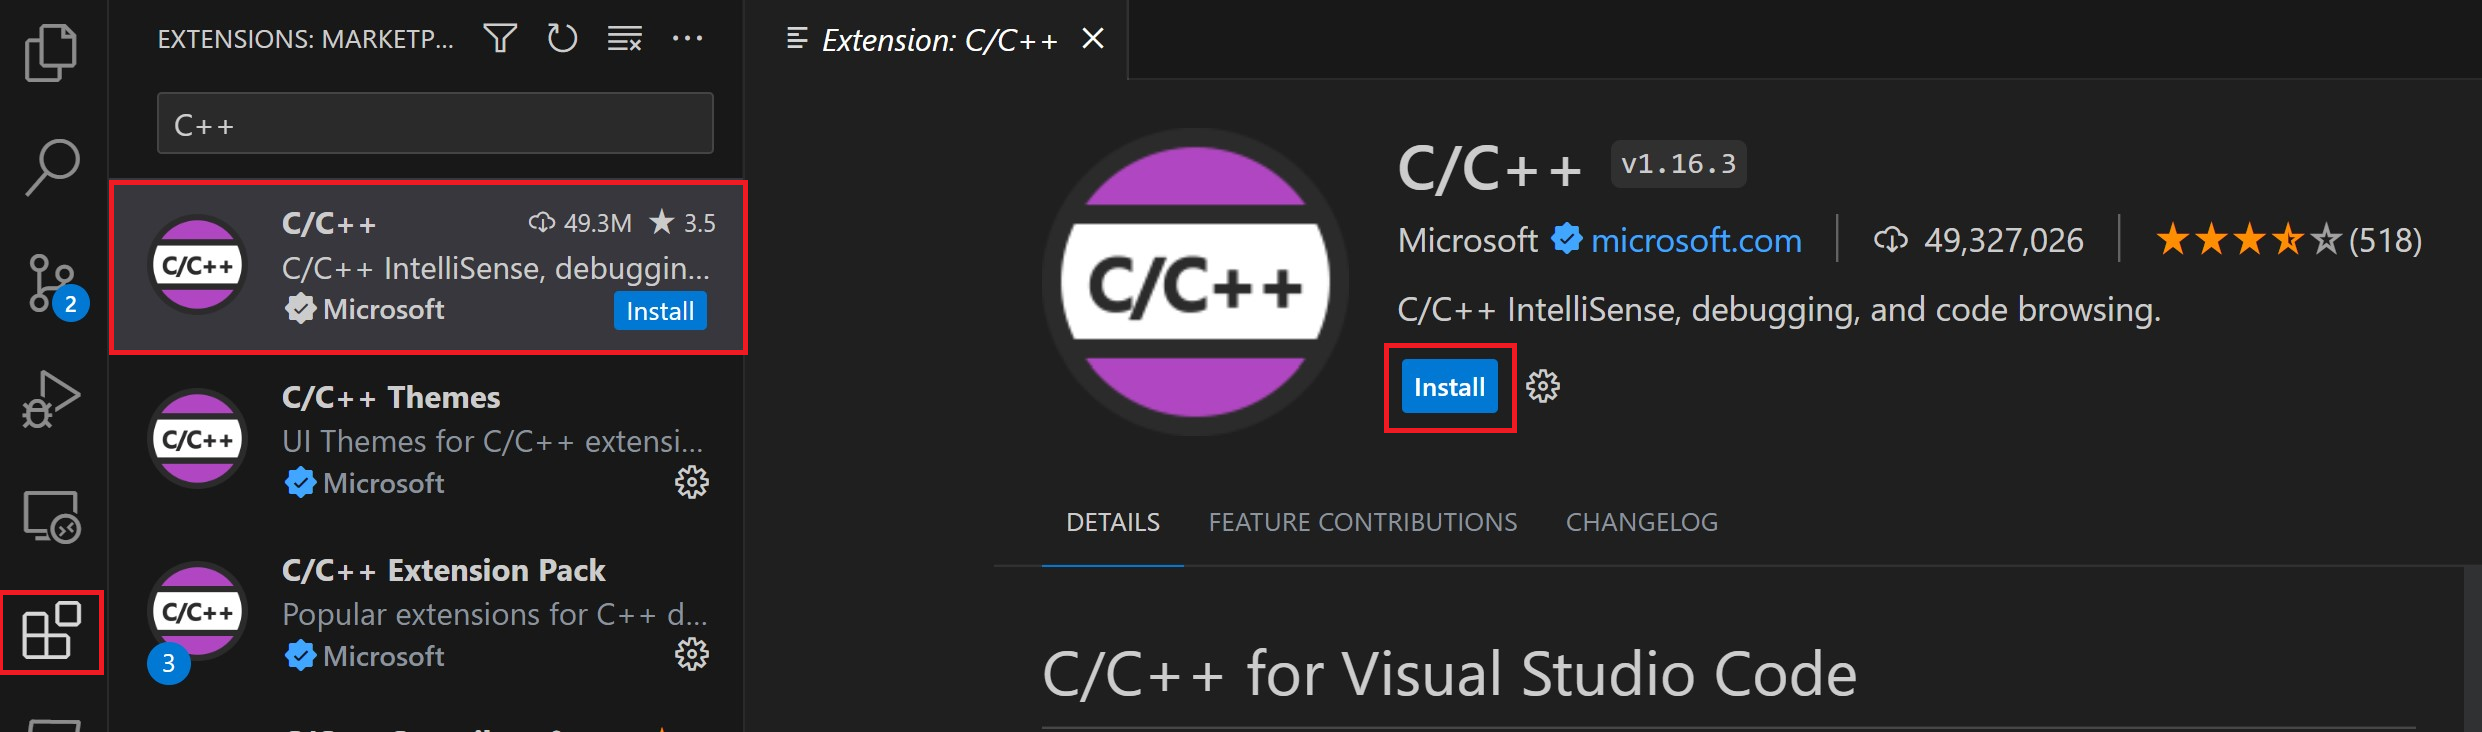
Install the C++ extension for VS Code. You can install the C/C++ extension by searching for 'C++' in the Extensions view (⇧⌘X (Windows, Linux Ctrl+Shift+X)).
Ensure Clang is installed
Clang might already be installed on your Mac. To verify that it is, open a macOS Terminal window and enter the following command:
xcode-select --install
Create Hello World app
From the macOS Terminal, create an empty folder called projects where you can store all your VS Code projects, then create a subfolder called helloworld, navigate into it, and open VS Code in that folder by entering the following commands in the terminal window:
#include <iostream>
#include <vector>
#include <string>

using namespace std;

int main()
{
    vector<string> msg {"Hello", "C++", "World", "from", "VS Code", "and the C++ extension!"};

    for (const string& word : msg)
    {
        cout << word << " ";
    }
    cout << endl;
}
Now press ⌘S (Windows, Linux Ctrl+S) to save the file. Notice that your files are listed in the File Explorer view (⇧⌘E (Windows, Linux Ctrl+Shift+E)) in the side bar of VS Code:
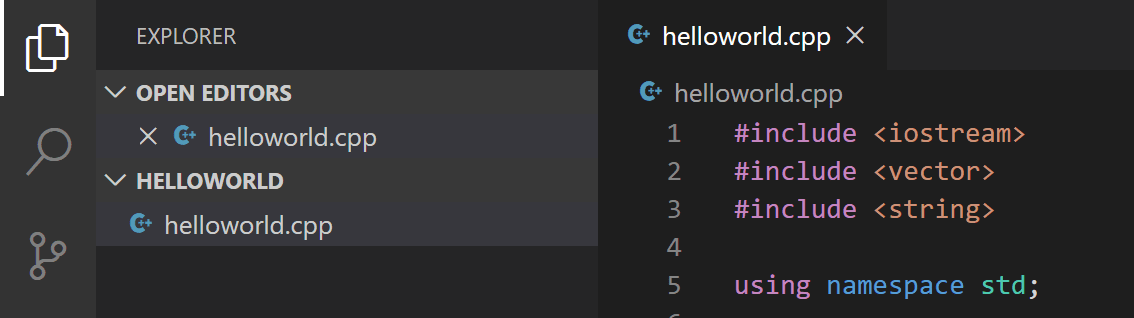
You can also enable Auto Save to automatically save your file changes, by selecting File > Auto Save. You can find out more about the other views in the VS Code User Interface documentation.
Note: When you save or open a C++ file, you may see a notification from the C/C++ extension about the availability of an Insiders version, which lets you test new features and fixes. You can ignore this notification by selecting the
X(Clear Notification).
Explore IntelliSense
IntelliSense is a tool to help you code faster and more efficiently by adding code editing features such as code completion, parameter info, quick info, and member lists.
To see IntelliSense in action, hover over vector or string to see their type information. If you type msg. in line 10, you can see a completion list of recommended member functions to call, all generated by IntelliSense:
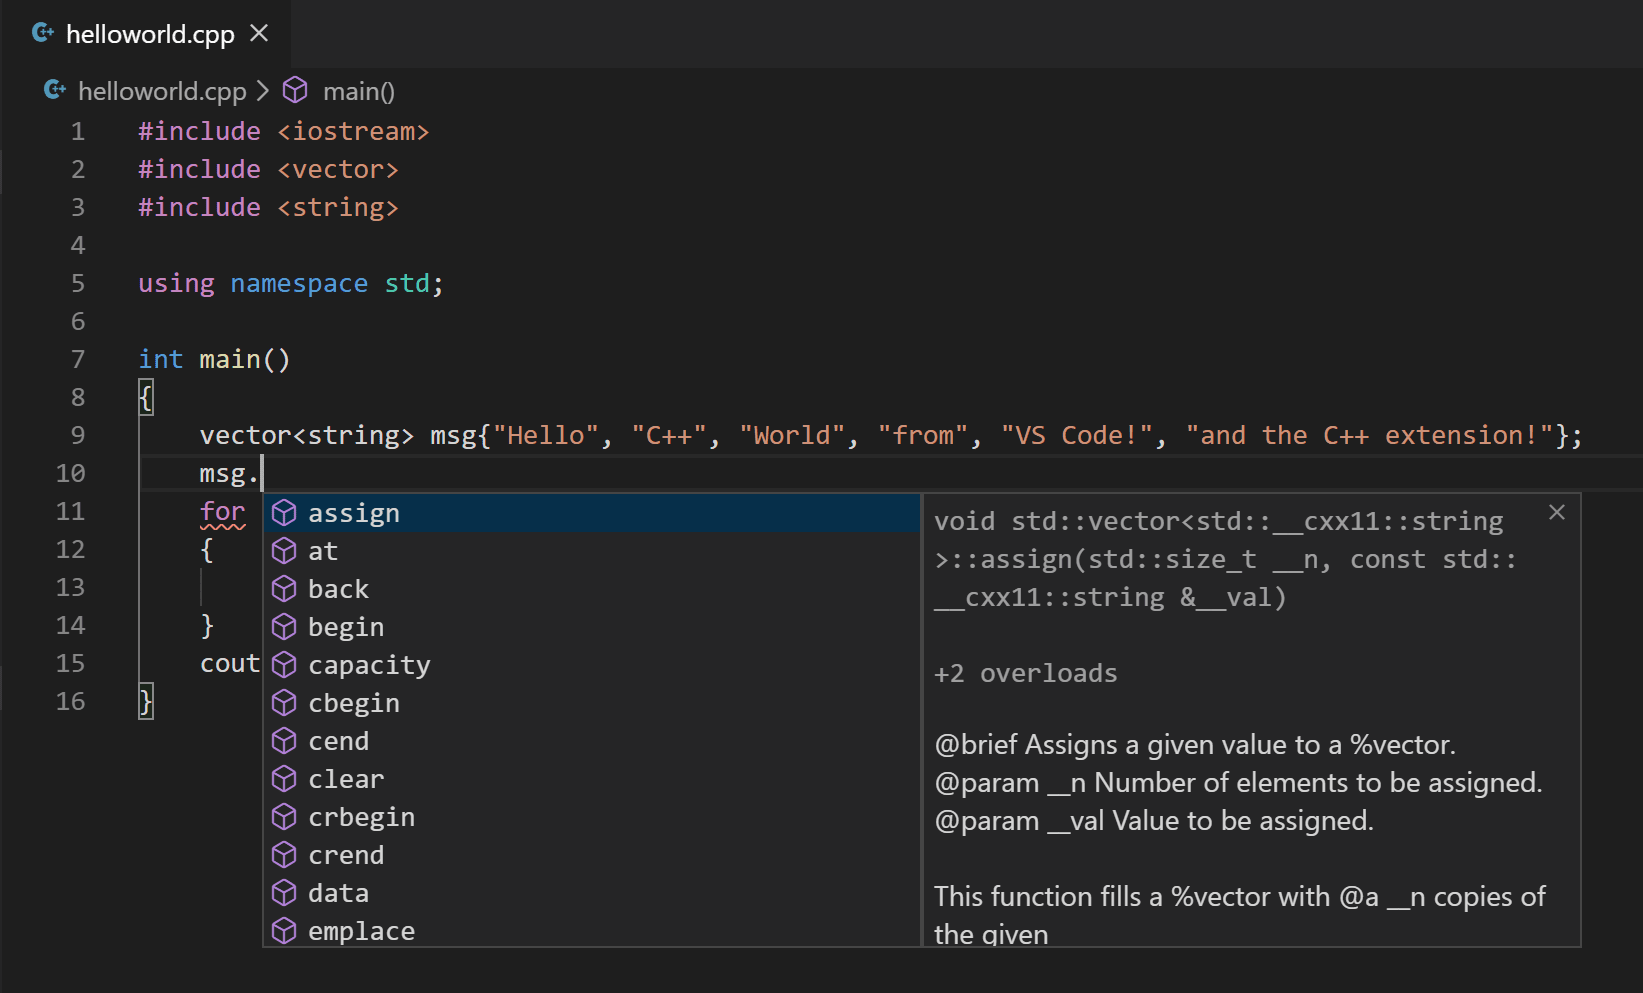
You can press the Tab key to insert the selected member. Then, when you add the opening parenthesis, information about arguments that the function requires is displayed.
If IntelliSense is not already configured, open the Command Palette (⇧⌘P (Windows, Linux Ctrl+Shift+P)) and enter Select IntelliSense Configuration. From the dropdown of compilers, select Use clang++ to configure. More information can be found in the IntelliSense configuration documentation.
Run helloworld.cpp
Remember, the C++ extension uses the C++ compiler you installed on your machine to build your program. Make sure you have a C++ compiler, such as Clang, installed before attempting to run and debug helloworld.cpp in VS Code.
-
Open
helloworld.cppso that it is the active file. -
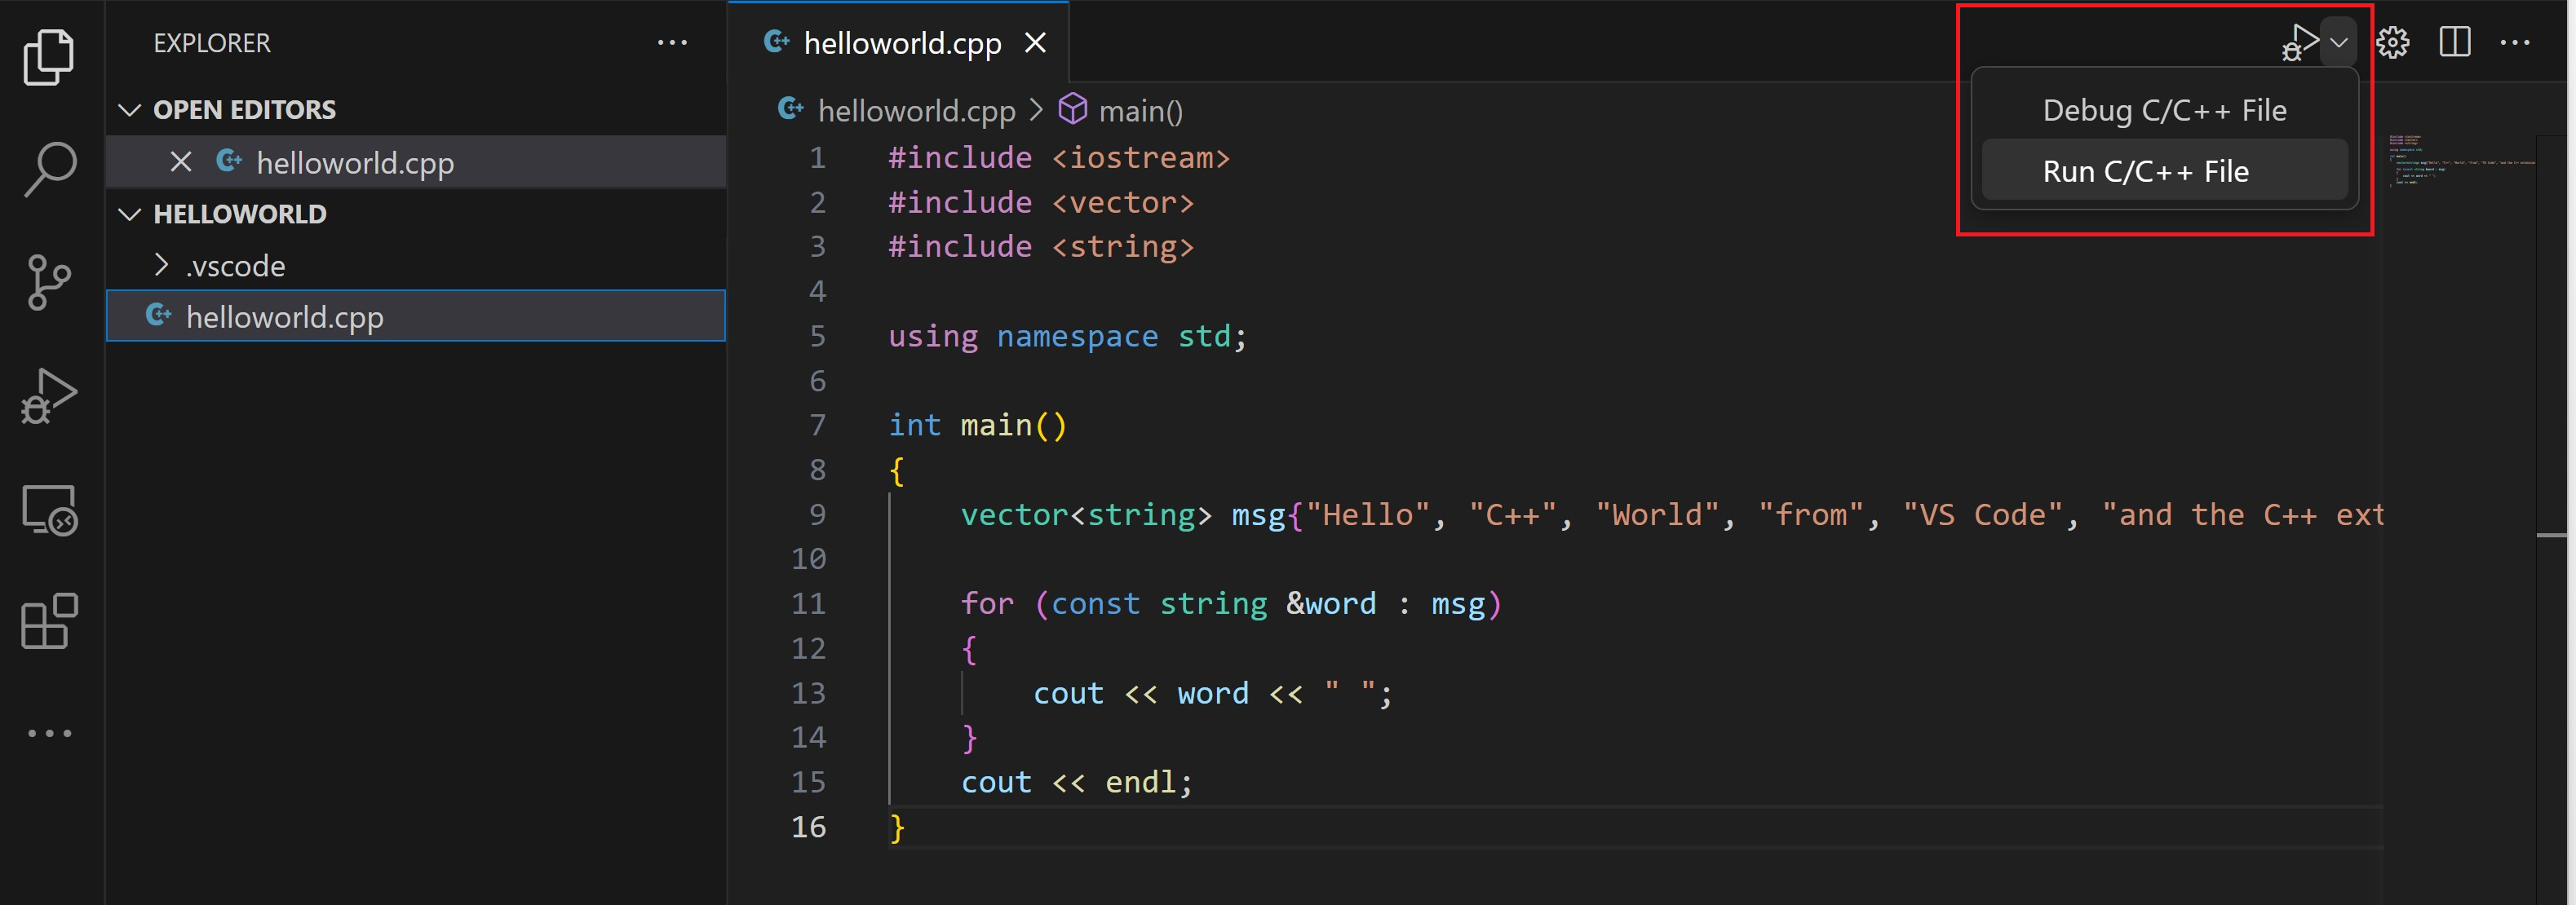
Press the play button in the top right corner of the editor.
-
Choose C/C++: clang++ build and debug active file from the list of detected compilers on your system.
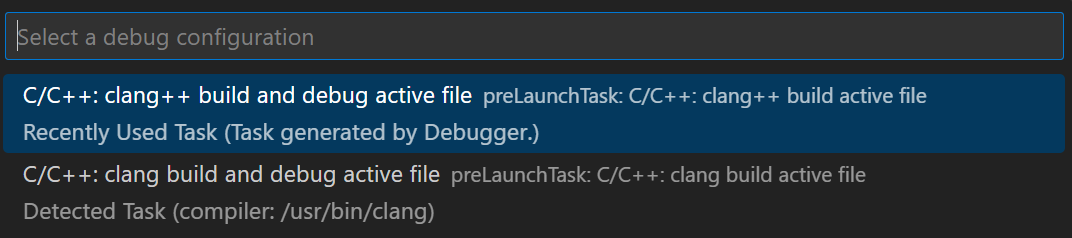
You are only asked to choose a compiler the first time you run helloworld.cpp. This compiler is the "default" compiler set in tasks.json file.
-
After the build succeeds, your program's output will appear in the integrated Debug Console.
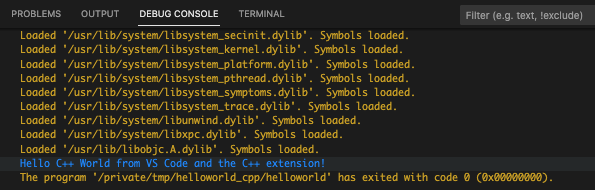
Congratulations! You've just run your first C++ program in VS Code!
Understanding tasks.json
The first time you run your program, the C++ extension creates tasks.json, located in your project's .vscode folder. tasks.json stores build configurations.
Here is a sample of a tasks.json file on macOS:
    "group": {
        "kind": "build",
        "isDefault": true
    },
with this:
{
  "configurations": [
    {
      "name": "C/C++: clang++ build and debug active file",
      "type": "cppdbg",
      "request": "launch",
      "program": "${fileDirname}/${fileBasenameNoExtension}",
      "args": [],
      "stopAtEntry": false,
      "cwd": "${fileDirname}",
      "environment": [],
      "externalConsole": false,
      "MIMode": "lldb",
      "preLaunchTask": "C/C++: clang++ build active file"
    }
  ],
  "version": "2.0.0"
}
The program setting specifies the program you want to debug. Here it is set to the active file folder ${fileDirname} and active filename ${fileBasenameNoExtension}, which if helloworld.cpp is the active file will be helloworld. The args property is an array of arguments to pass to the program at runtime.
By default, the C++ extension does not add any breakpoints to your source code and the stopAtEntry value is set to false.
Change the stopAtEntry value to true to cause the debugger to stop on the main method when you start debugging.
Ensure that the preLaunchTask value matches the label of the build task in the tasks.json file.
From now on, the play button and F5 will read from your
launch.jsonfile when launching your program for debugging.
Adding additional C/C++ settings
For more control over the C/C++ extension, create a c_cpp_properties.json file, which allows you to change settings such as the path to the compiler, include paths, which C++ standard to compile against (such as C++17), and more.
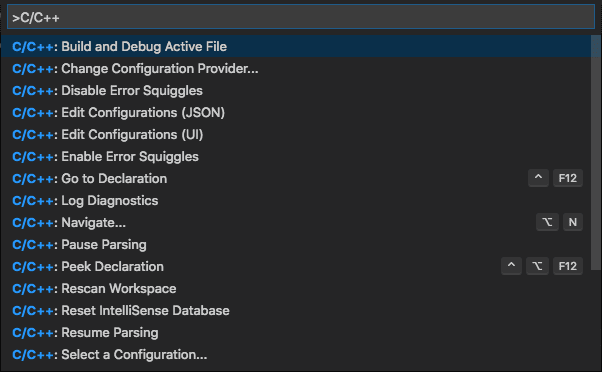
View the C/C++ configuration UI by running the command C/C++: Edit Configurations (UI) from the Command Palette (⇧⌘P (Windows, Linux Ctrl+Shift+P)).
This opens the C/C++ Configurations page.
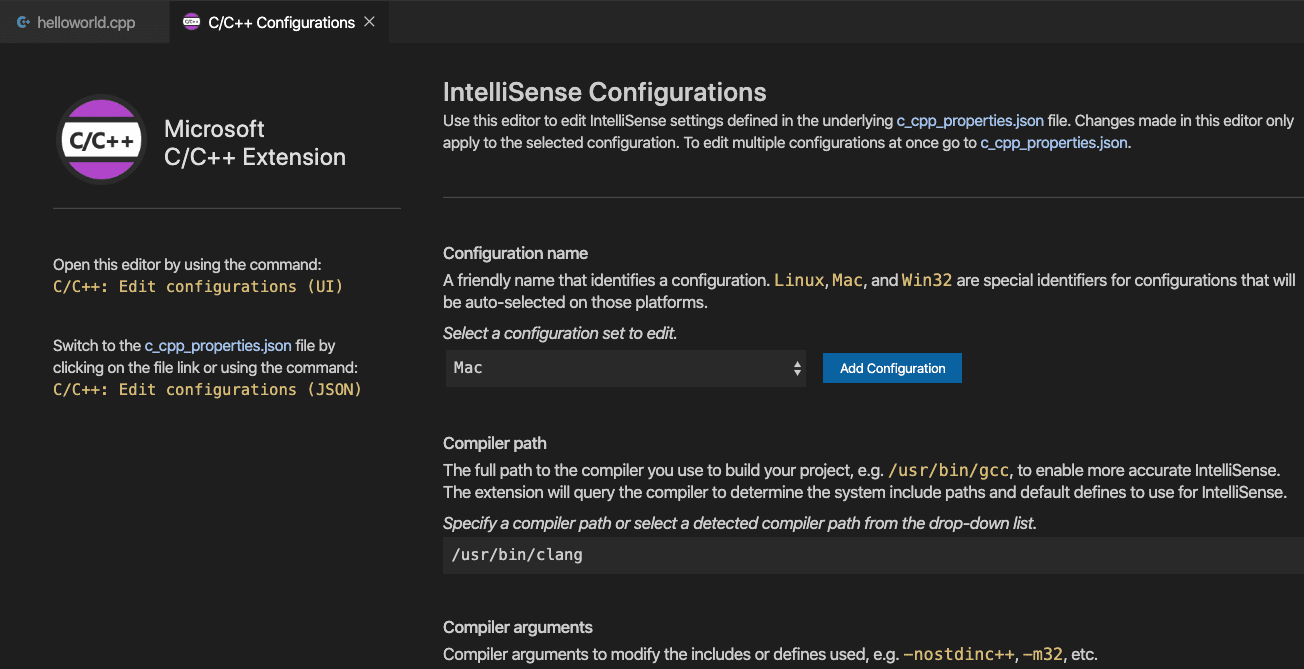
Visual Studio Code places these settings in .vscode/c_cpp_properties.json. If you open that file directly, it should look something like this:
{
  "label": "Open Terminal",
  "type": "shell",
  "command": "osascript -e 'tell application \"Terminal\"\ndo script \"echo hello\"\nend tell'",
  "problemMatcher": []
}
You can run this specific task using Terminal > Run Task... and select Open Terminal.
Once you accept the permission request, then the external console should appear when you debug.
Next steps
- Explore the VS Code User Guide.
- Review the Overview of the C++ extension
- Create a new workspace, copy your .json files to it, adjust the necessary settings for the new workspace path, program name, and so on, and start coding!
12/14/2023