
In this post I write about my experience of creating an online course for people interested in medicinal forest gardening. The course ‘Discover Medicinal Forest Gardening’ is a free introductory taster and here I explain why it was needed. You can read about the process of putting it together with some links to useful resources for photo and video editing, course building and hosting. Apart from the nuts and bolts of planning and assembling the course I review some decisions I made about the format. I am not a technological whizz so this is not professional level advice, just one person’s experience of how to get started in making an online course!!
Why was this taster course in medicinal forest gardening needed?
Since 2020 I have been developing courses for the Medicinal Forest Garden Trust. The original impetus for online provision came during the Covid pandemic when it was impossible to continue our practical woodland events, and grew from there. More recently I came to realise that people were sometimes unsure which of the courses was right for their interest and needs. So I decided to produce a taster course called ‘Discover Medicinal Forest Gardening’.
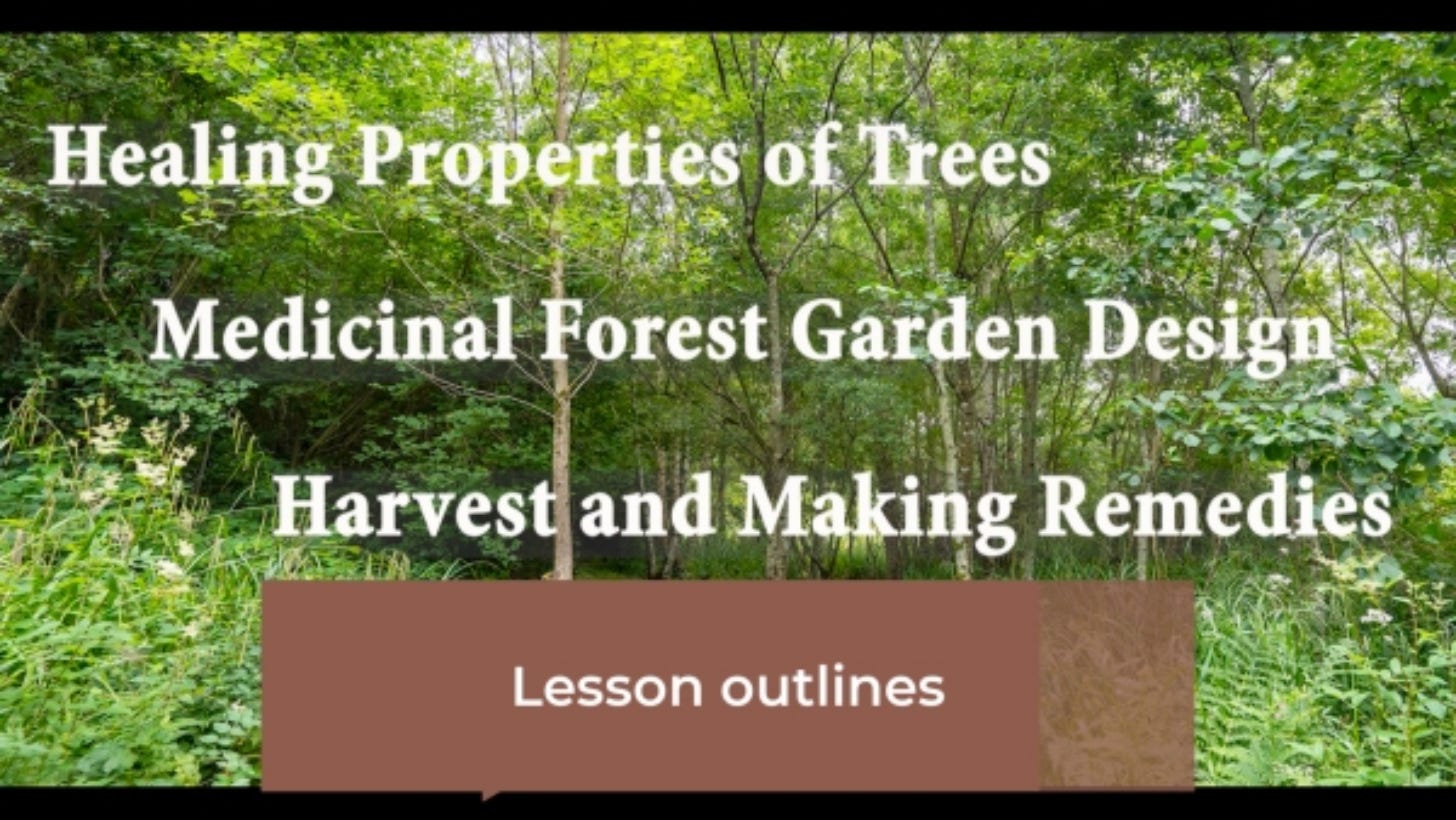
I wanted to attract a wider audience and promote interest in finding out more about medicinal forest gardening. Doing the taster course would give both an overview and more information about further courses available. The starting point was noting down aims and content ideas. I could take examples from the established courses in design, harvest and understanding medicinal trees and that would provide a three-part structure. I also wanted to include a variety of activities, from a quiz to a practical activity and a survey.
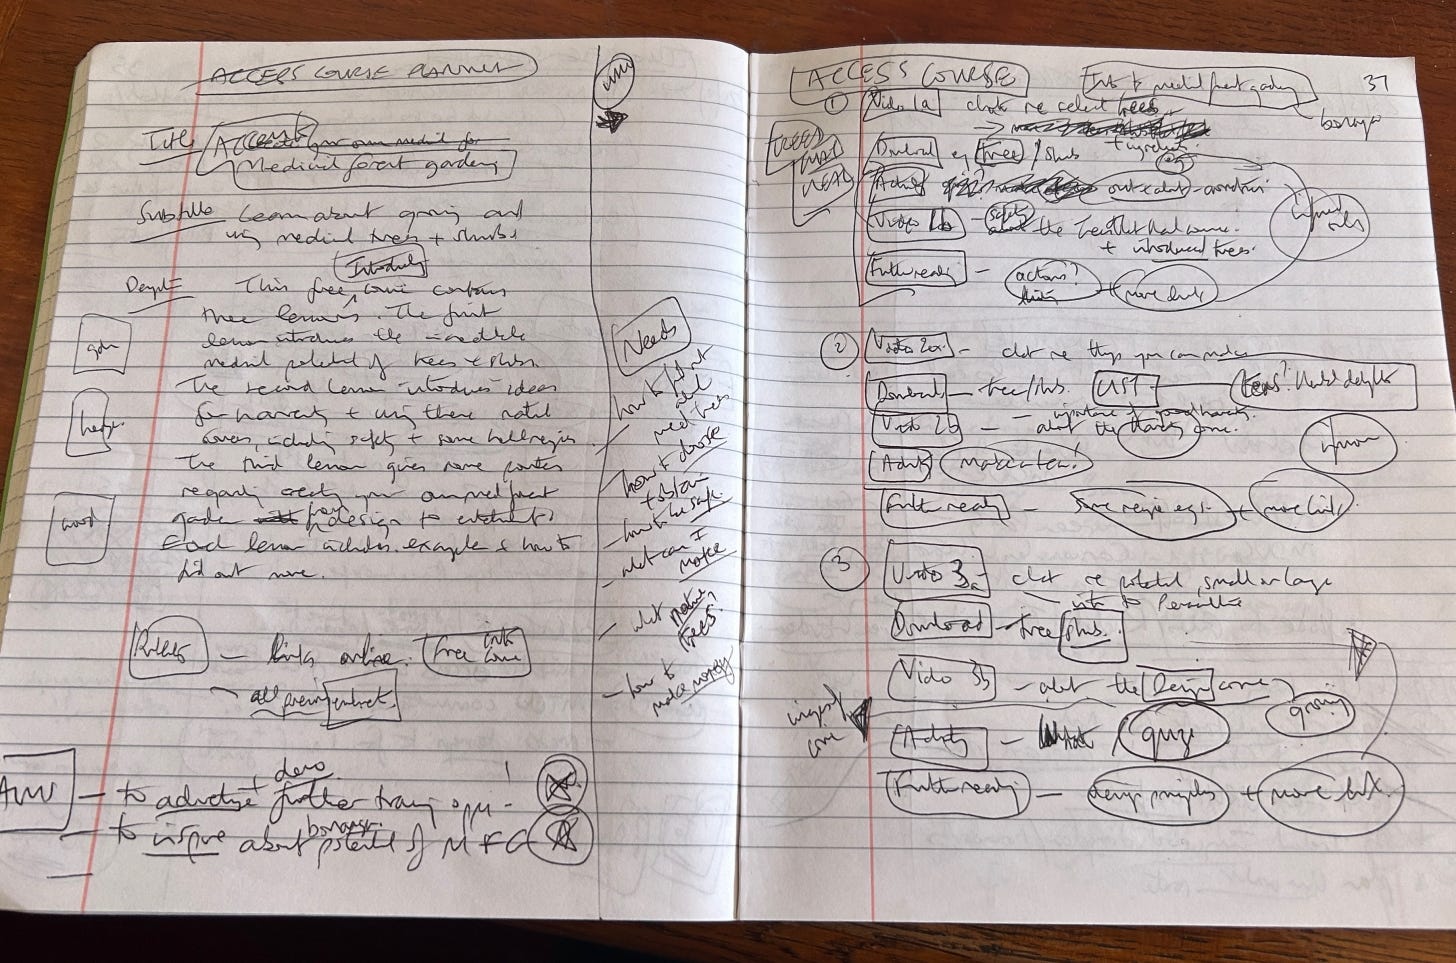
Breaking it down and my timeline
Most learning is done best in chunks, and educators need to be able to break down a subject into manageable pieces. But it is also important for a learner to have an end view in sight, an idea of what she or he will be able to do. So, for learning about medicinal forest gardening it seemed obvious to break down the topic into its main outcomes. I wanted students to feel that they could start harvesting and making remedies, better understand how herbal medicine can be safely used to help health and begin planning their journey of growing or foraging with medicinal plants. This was my starting point for filling out the course elements! I hoped that the course would be a practical example of permaculture for healthy living.
What to include in making a course?
This was my timeline over a 10-month period:
⁃ plan the lesson sections, outcomes and content
⁃ decide on course title and other settings such as cost, format and enrolment period
⁃ draft scripts for video, activities and further information
⁃ collect photos and choose some music tracks for adding to the videos
⁃ make video recordings of myself reading the scripts
⁃ edit videos, adding photos and music, voiceovers, and title and end pages
⁃ transcribe videos for subtitles
⁃ upload videos, subtitle files and other items to the course website
⁃ prepare some publicity material about the course including cost
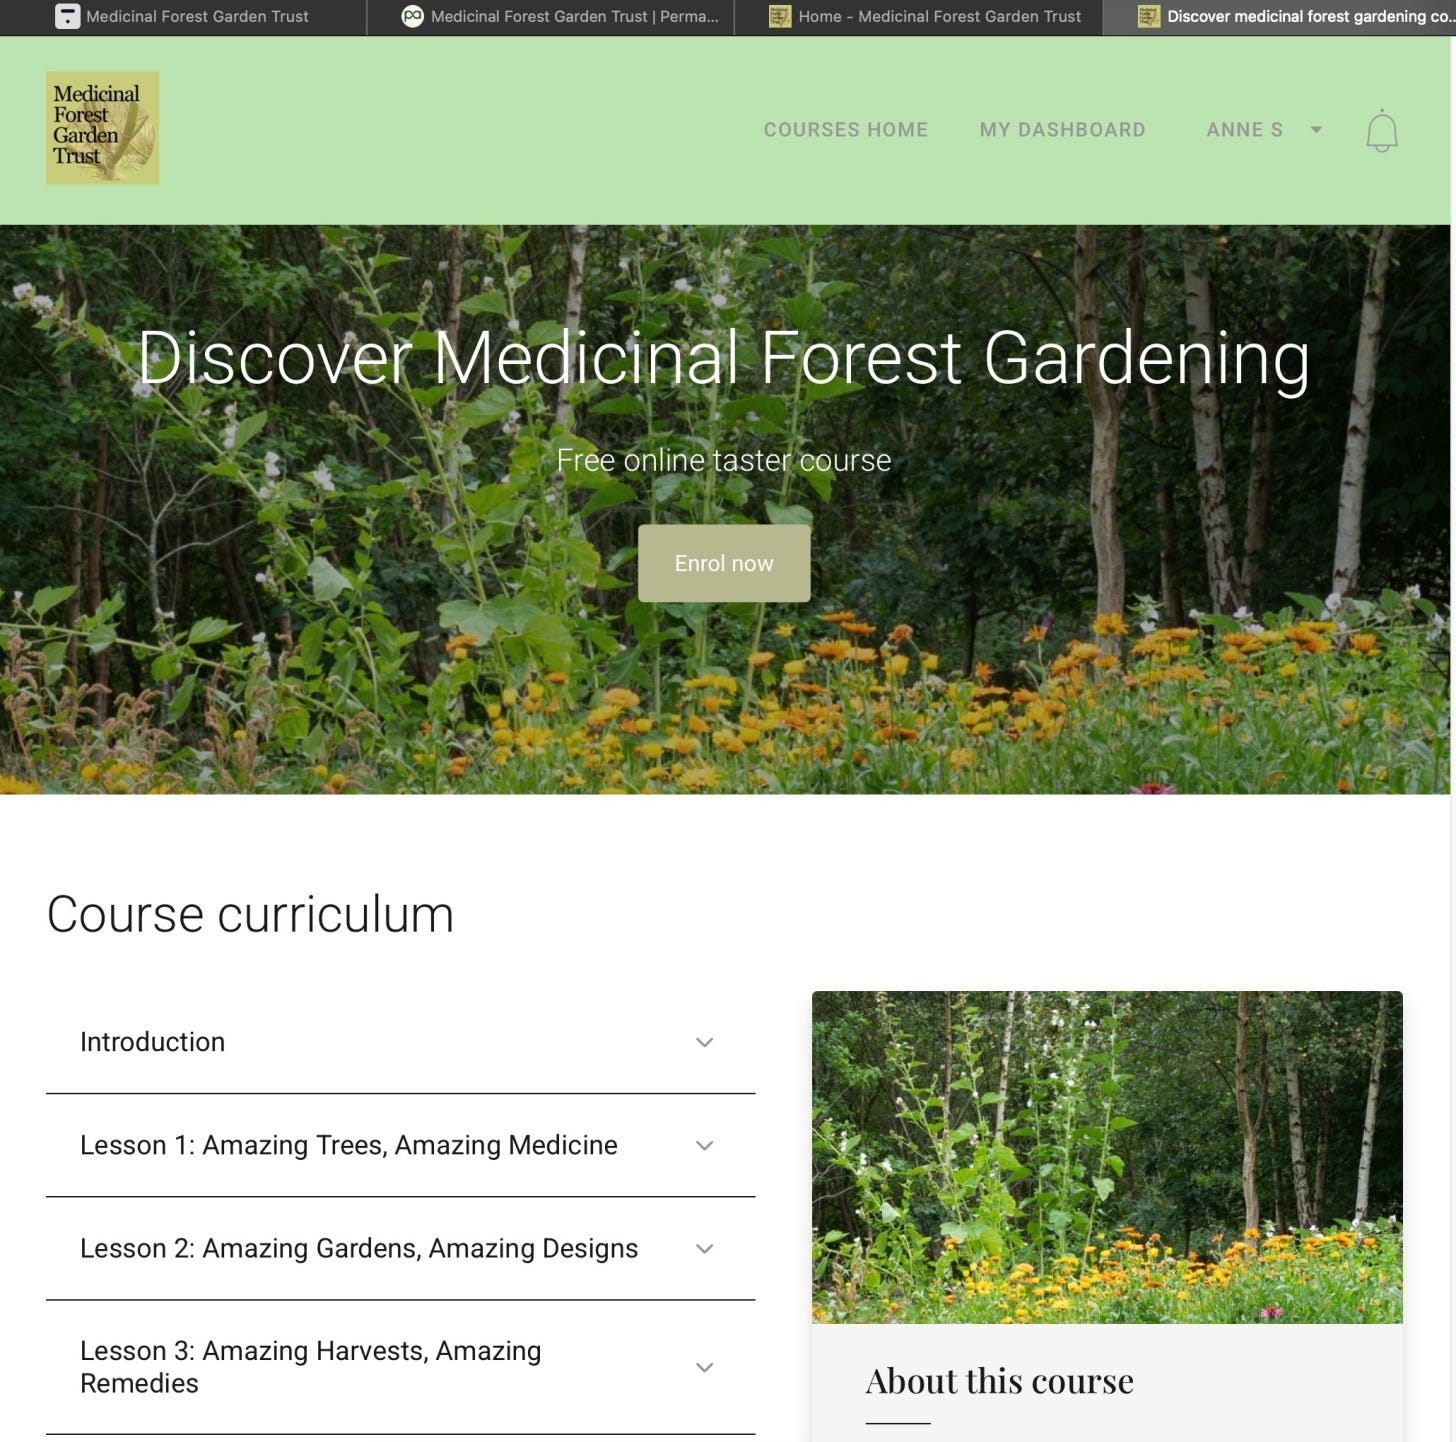
⁃ finally create a landing page for the course where people can find details and sign up
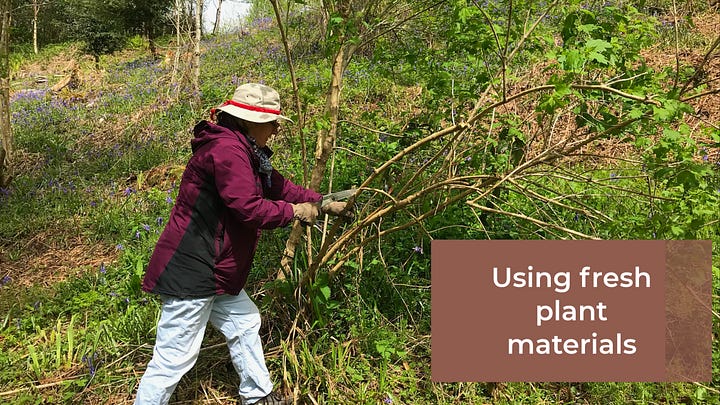
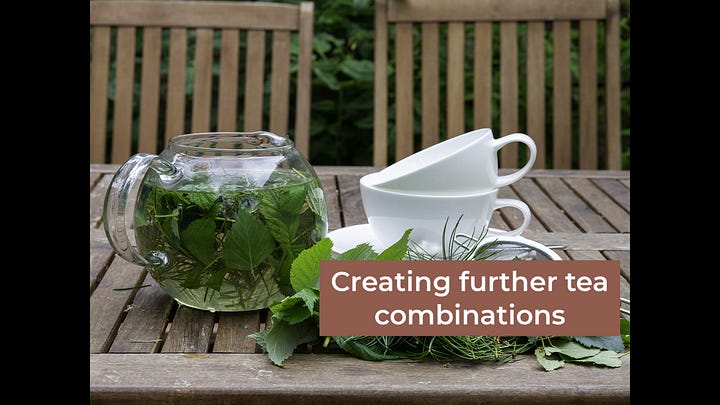
Once the outcomes were in place, it became possible to map out the components of a course. I enjoyed this part, as it can be quite creative, from acquiring images and developing scripts to designing activities like quizzes. Textual information was the core component for me so I drafted a series of short talks that I could video with added images. Then I added activities relating to each script, ranging from a download to a quiz or practical tasks. I created some downloadable sheets to reinforce the talks or add more information. I wanted to entice people with examples such as the incredible potential of harvesting fresh plants and making herbal teas. I also wanted to include advice on how to use plants for self-help without compromising on staying safe.
Making and assembling the course elements
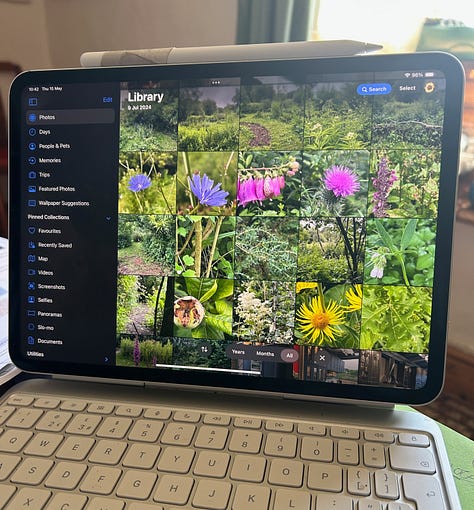
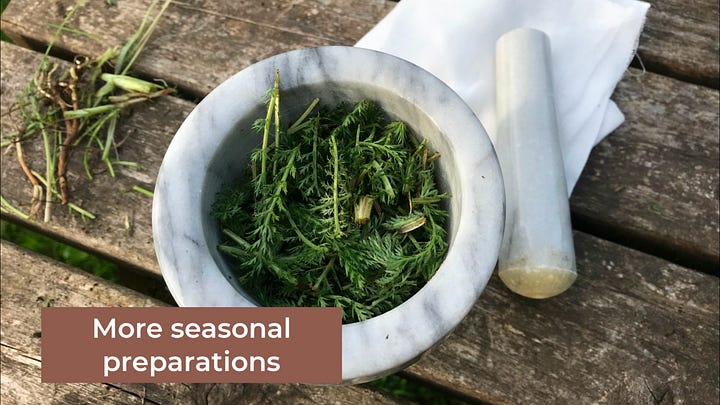
I take a lot of plant pictures so I was able to select relevant images to include. I use an iPhone camera and already had many images catalogued on my desktop computer, flagged with keywords such as plant species and various themes. For the images that I planned to use, I then edited them to a suitable size using the free photo editing app PhotoScape. This gave a chance to crop the images to bring out the most visually appealing aspects. For video use most of the images needed to be adjusted for screen size, typically 1080 pixels wide. If they were not the size required then it was possible to enlarge or shrink in video editing. And in the editing process I found a way to add useful titles to break up sections of the scripted talks.
I wanted some music to mark sections of the videos. Finding music was not too difficult as there is a lot of royalty-free music available from the YouTube Audio Library, and other sites online also offer copyright free tracks.
Learning about video recording and editing
I searched through my archives for short video clips to use. And I recorded myself with the iPhone reading the script I had prepared. I found the script could be scrolled on my iPad using an app called Teleprompter and carefully propped up just behind the iPhone camera. Making the video elements of the course was not my favourite part. I do silly things like half close my eyes, pick my nose, mumble ‘erm’ a lot, etc. Learning how to edit a video was essential. I am amazed at people who can effortlessly pull out a mobile phone and record an instant video clip worth posting to social media. The quality of sound using an iPhone is pretty variable. If you can control extraneous background noises such as computer hum and doorbells then the sound recording may be passable but still not brilliant. Ideally, a separate microphone will give the best sound, a wireless one can be bought fairly cheaply and is a good investment if planning further recordings.
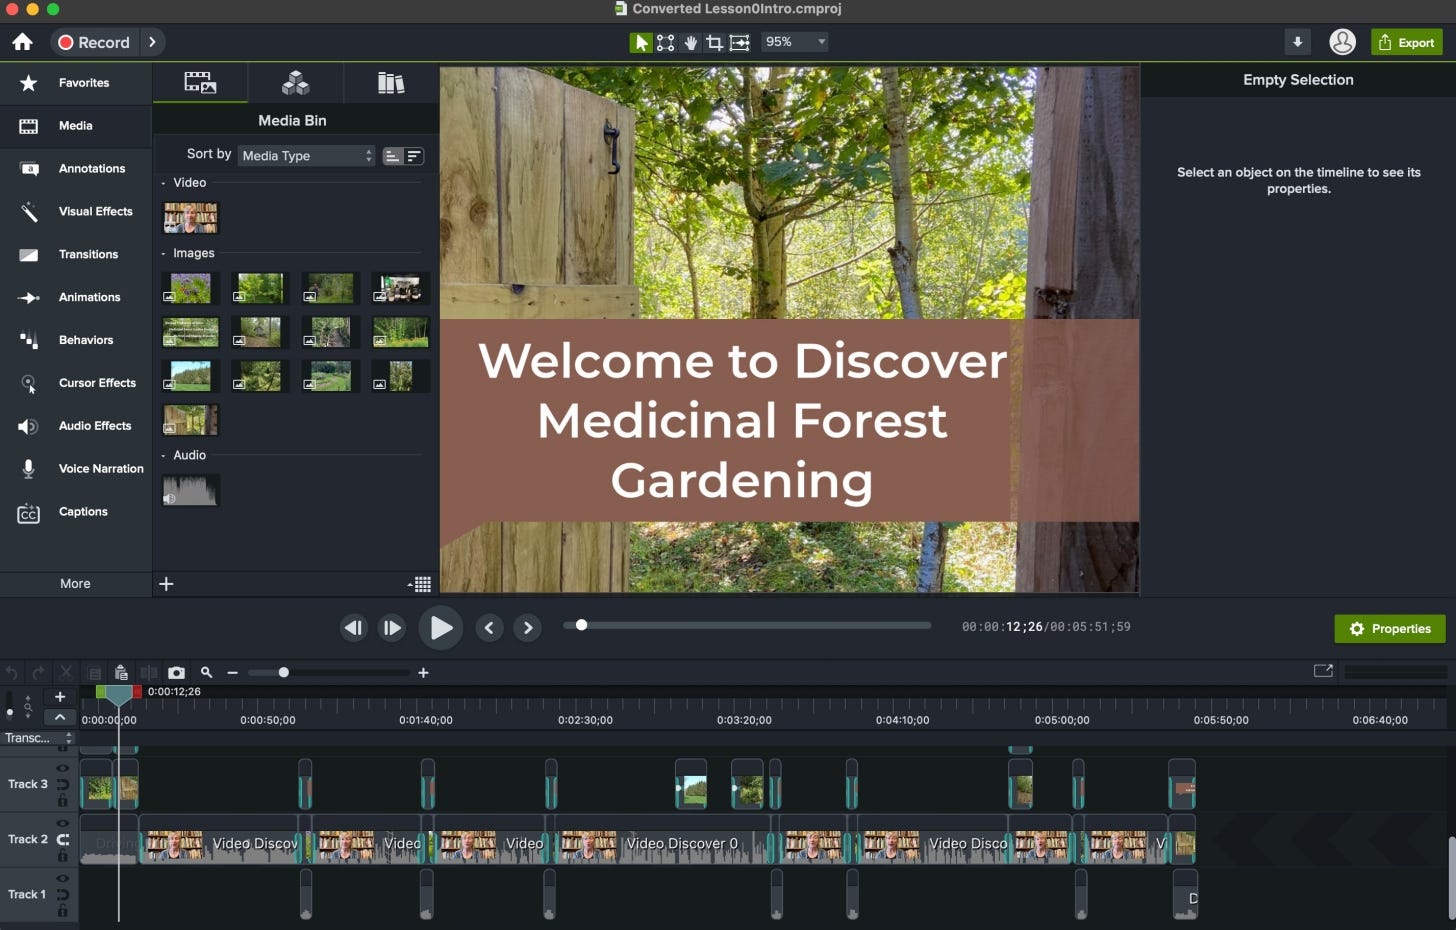
I organised computer folders and files by lesson name and version (raw, edited, and so on) so that I did not get lost in the process of making videos. Every video has both a visual and an audio soundtrack and it took a while to learn how to fiddle about with video beginnings and endings and removing ‘ums’ and ‘errs’. At first I used the video editor iMovie but later found that Camtasia has a lot more to offer in educational video recording and editing. I learned how to add titles and text to images along with music clips. For accessibility I think it is essential to be able to offer subtitles on video. In the past this meant I stuck to a script and then provided that text in addition to the video so it was not a true subtitle experience. Nowadays you can automate the process of transcribing and edit a file of subtitles to upload with a video. Another free application I used to help with transcription is called Descript.
Some further decisions to make
I had to decide whether to charge for this short course. The other Medicinal Forest Garden Trust courses are each 10 lessons and available for a cost (£45), an enrolment fee that pays for 12 months access to all of the course materials and a learning community. The fees are vital for contributing to the annual costs of web hosting and various software licences. But this new course would be a taster course so I decided that it should be available free. Immediately that presented an issue of how long to make the course materials available for? As the course could be completed in a couple of days I decided to make the enrolment last for a couple of months, hoping that should give people plenty of time to finish.
How to host an online course?
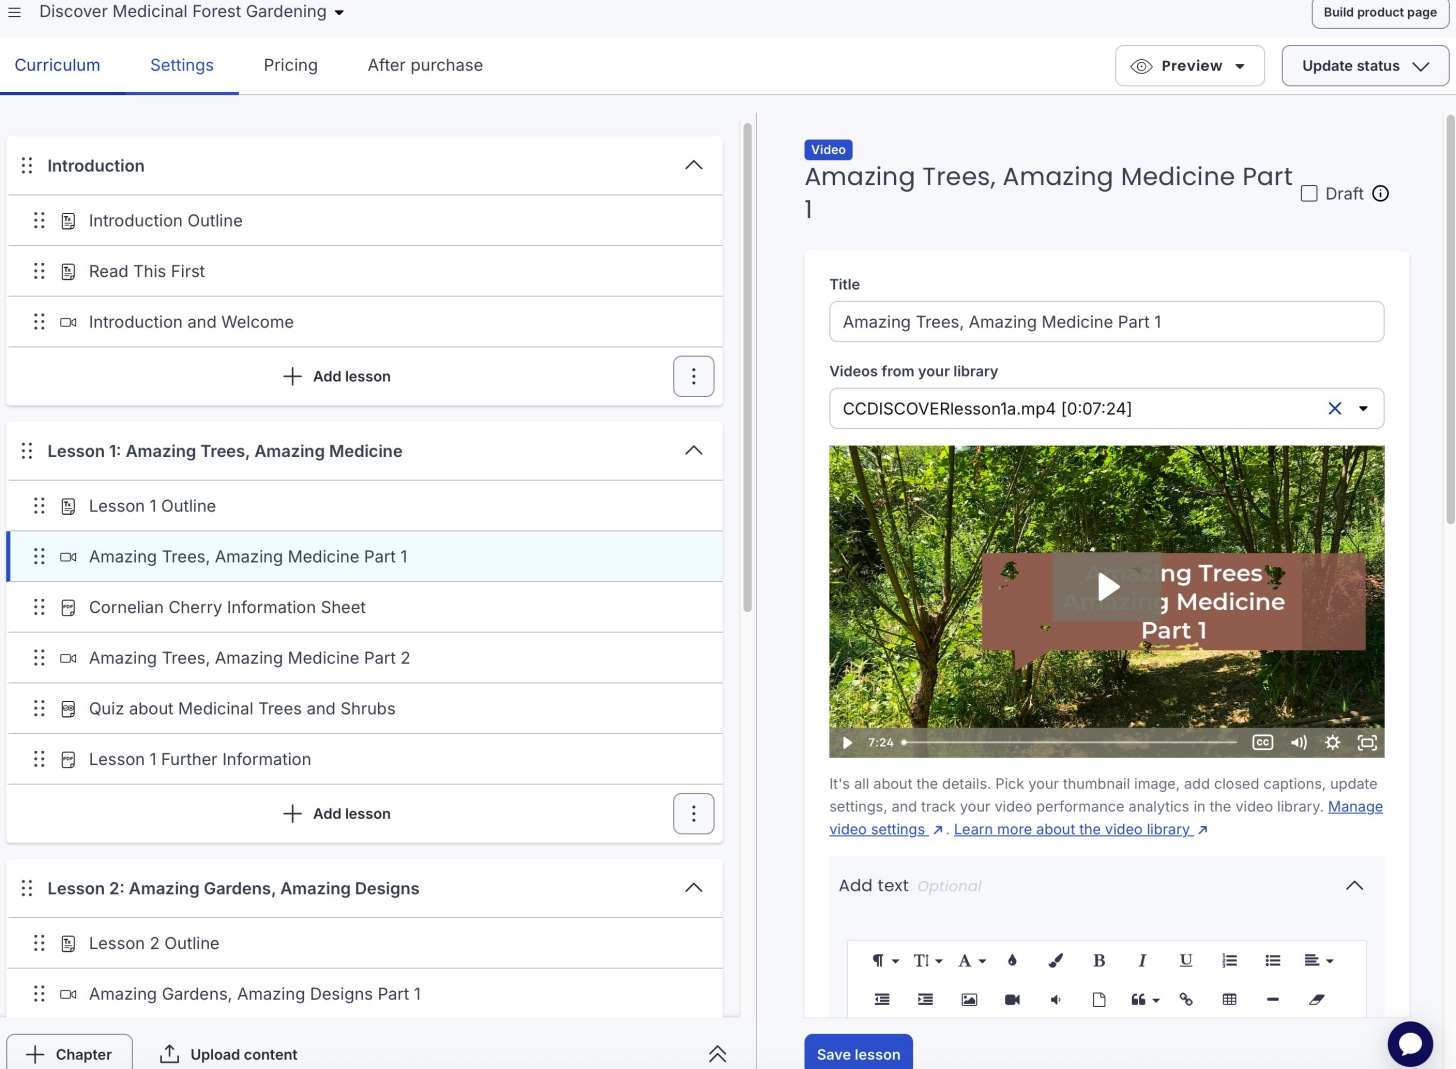
On a learning platform a student can register for a course and access it through a student dashboard, and there may be additional support such as a learning community. There are quite a few learning platforms for hosting courses including Coursera, Kajabi, Teachable, Thinkific, Udemy and more, and most offer a free trial. The hosting platform can provide facilities for enrolment, a checkout, a course website and course builder. I started out with the learning platform called Thinkific as they offered a free option for setting up one course. Once I set up the lesson names and other course settings I could upload the components of videos, downloads, quizzes etc. Although many features are available for free, a monthly fee enables more facilities to become available including useful course components such as quiz layouts and certificates. There are plenty of adjustable templates and the Thinkific platform offers guides and training events about marketing plus also ideas for making courses more interactive. A particular benefit of such a system is that I can monitor enrolments on the course and the activities that students are working on. Helpfully, the course hosting site can send weekly reminders to enrolled students if they still have outstanding sessions to complete. An alternative approach to course hosting would be to create course provision on a WordPress website with free plugins, though this may be a rather steep learning curve. Choosing a course platform is worth researching as you will not want to redo all the course provision once it is set up!
How will you know if an online course is going well?
It is good to be able to get some feedback on an online course! Apart from numbers of enrolments and completions it is student engagement that really counts. But further feedback only happens if you build in a mechanism to gather it. From my experience of running other courses I decided to include a brief student survey at the end of the course. I hoped that participants would answer a few questions so I included a survey to find out how they heard about the course and to try and capture their experience and some sense of what they might be interested in next. In the first year there have been over 100 enrolments on the free course and over 30 people have completed all lessons and the survey. Apparently 30% is a good level of completion compared with other free online courses which report 5-10%. I have been delighted to have positive feedback through the survey. A majority of respondents (76%) said that the course was ‘very’ or ‘extremely’ interesting. Some positive comments were received which has been great! For example,
‘Really clear visual and verbal information’
‘Fantastic, a good introduction’
‘This is a very inspiring course, thank you for making it available!’
‘I loved the tea infusion guide, so helpful!’
‘I was interested to learn practical applications of what to do in my garden.’
‘The course is well structured, with plenty of attention to detail and lots to pick from to deepen personal knowledge.’
A couple of people thought the taster was a bit ‘basic’ which is fine by me because I wanted this course to be at a level that could suit absolute beginners. Overall, there was lots of interest expressed in further topics including ‘Medicinal trees and their uses’ (70%), ‘Recipes for health using plants’ (63%), ‘Choosing trees and shrubs’ (50%), ‘Designing a forest garden’ (40%), ‘Tree and shrub identification’ (37%). Some of the students have gone on to enrol for further courses.
Would I do it differently?
I have been very pleased at the take up of the Discover Medicinal Forest Gardening course, and feedback has been very encouraging. Even if learners do not progress I feel that a seed has been planted about permaculture and sustainable herbal harvests. So what would I do differently if setting up another course? Well, I notice that quizzes get quite a lot of engagement so perhaps more of those! And I really must improve my video recording skills! I hope that this ‘behind the scenes’ look at making the course will inspire others to put together accessible courses. You can see the finished Discover Medicinal Forest Gardening course here….
RESOURCE LINKS (used with iPad, iPhone or Mac)
Camtasia offers educational video recording and editing software with a reasonable starter level fee, here...
Descript provides video recording software with transcription and free starter plan here...
PhotoScape is a great source of straightforward free photo editing software here…
Teleprompter provides a free starter plan for scrolling text you can read while looking at the camera here...
Thinkific is a course builder and hosting platform with a free trial here...
YouTube Audio Library for copyright free music tracks here…
Comments
Nothing yet. Say the first thing.
Sign in to join the conversation.