
I think there are approximately 10 photos and videos on the internet of cakes encased in gelatin. So after seeing one of these photos on Instagram, I decided that I had to contribute as the 11th cake covered in gelatin.
Gelatin eww…
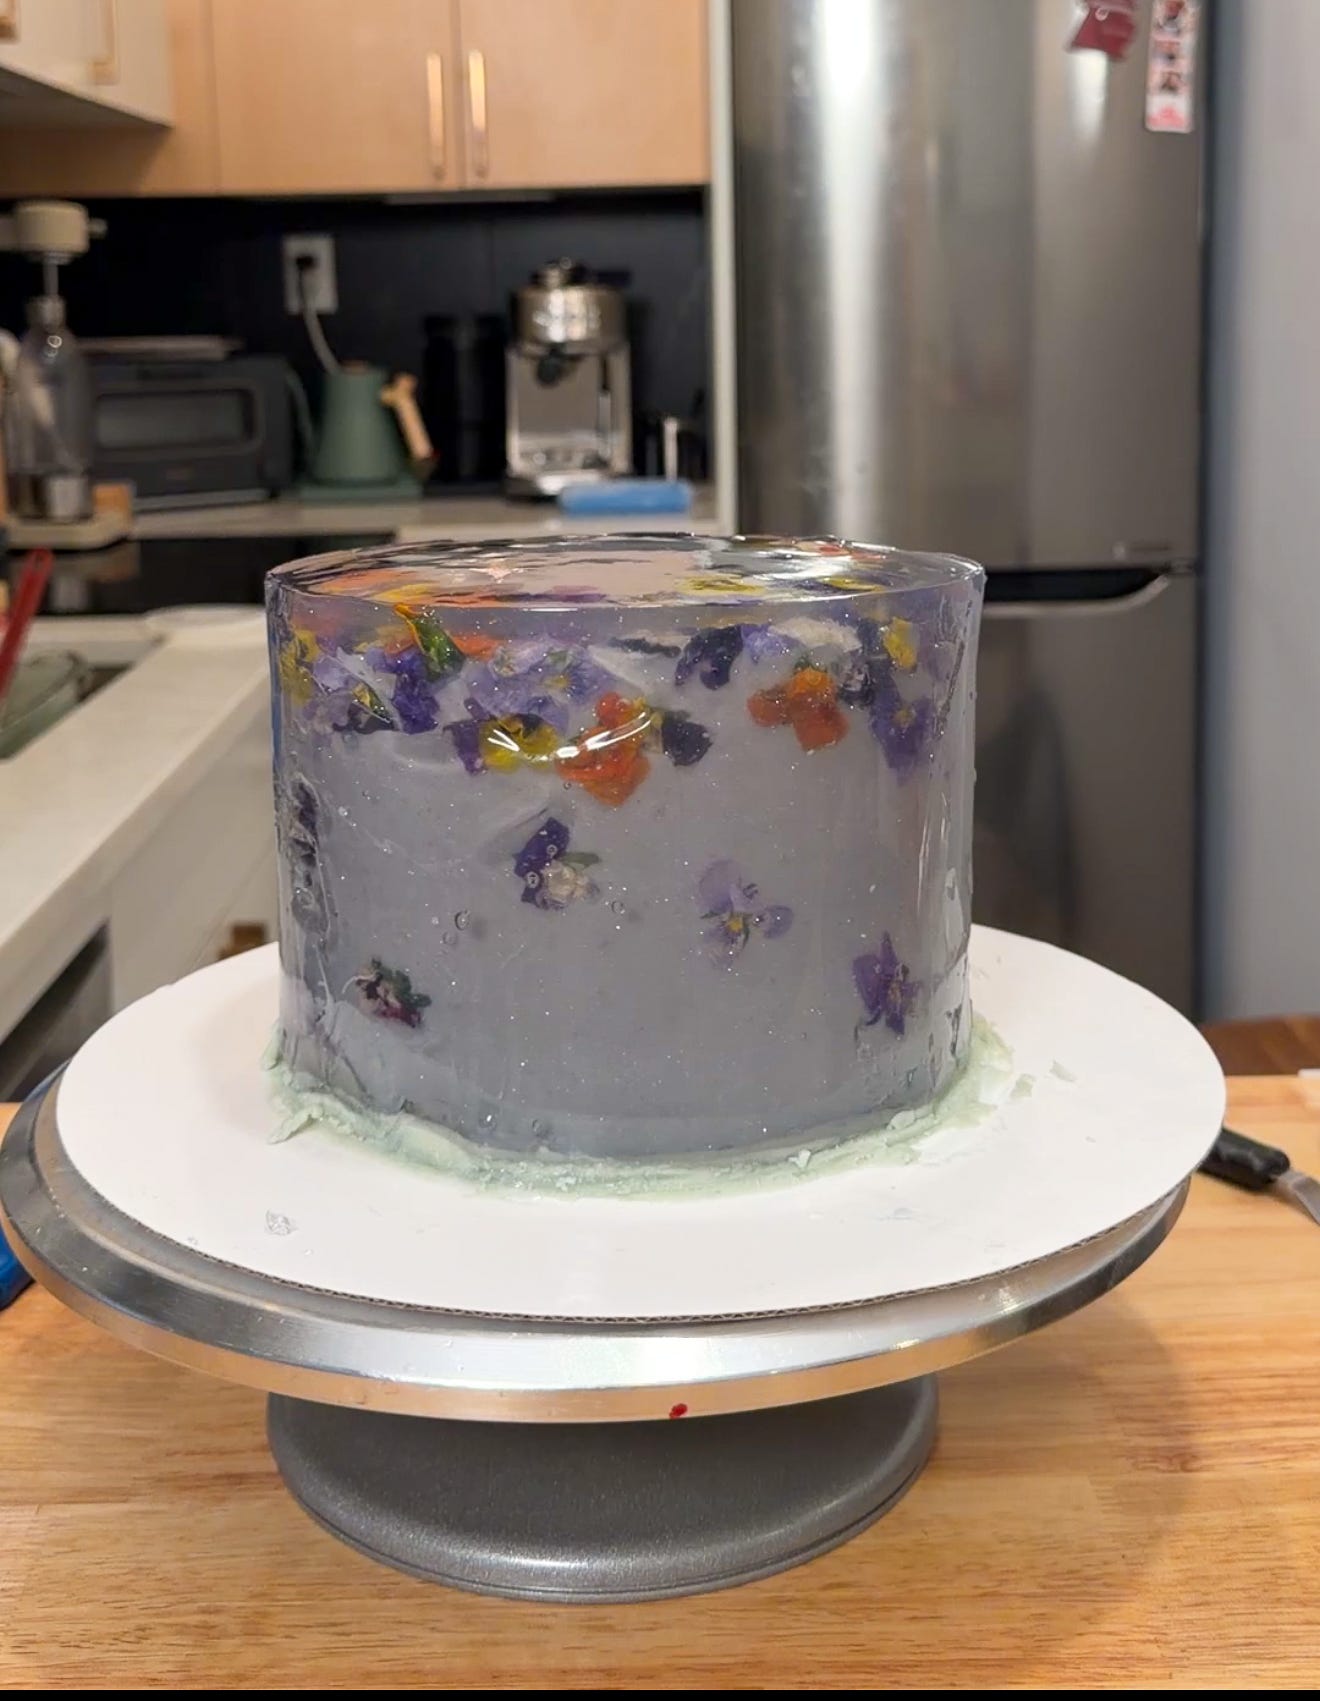
This cake is not a matter of why, but it’s a matter of why not. Obviously, no one needs to cover their cake in gelatin, but I think the effect is really cool. It creates almost a glass or plastic-looking resin to the exterior of your cake.
For those of you brave enough to attempt this, here is my best recounting of the entire process.
Above is my first attempt at covering a cake in gelatin, and after one more practice attempt here is my new and improved cake below!
for more unique baking tutorials and recipes consider subscribing to support my future work!
Tools + Materials:
Frosted and filled cake
12in Acetate Roll (depending on the height of your cake you can use a shorter sheet)
Gelatin (see gelatin section for more info)
Sugar
Water
Prepping Cake
Prepare your preferred cake and fillings.
Assemble the cake, then frost the outside until completely smooth. I like to use butter ganache for this step because it is very sturdy and creates a clean, polished finish.
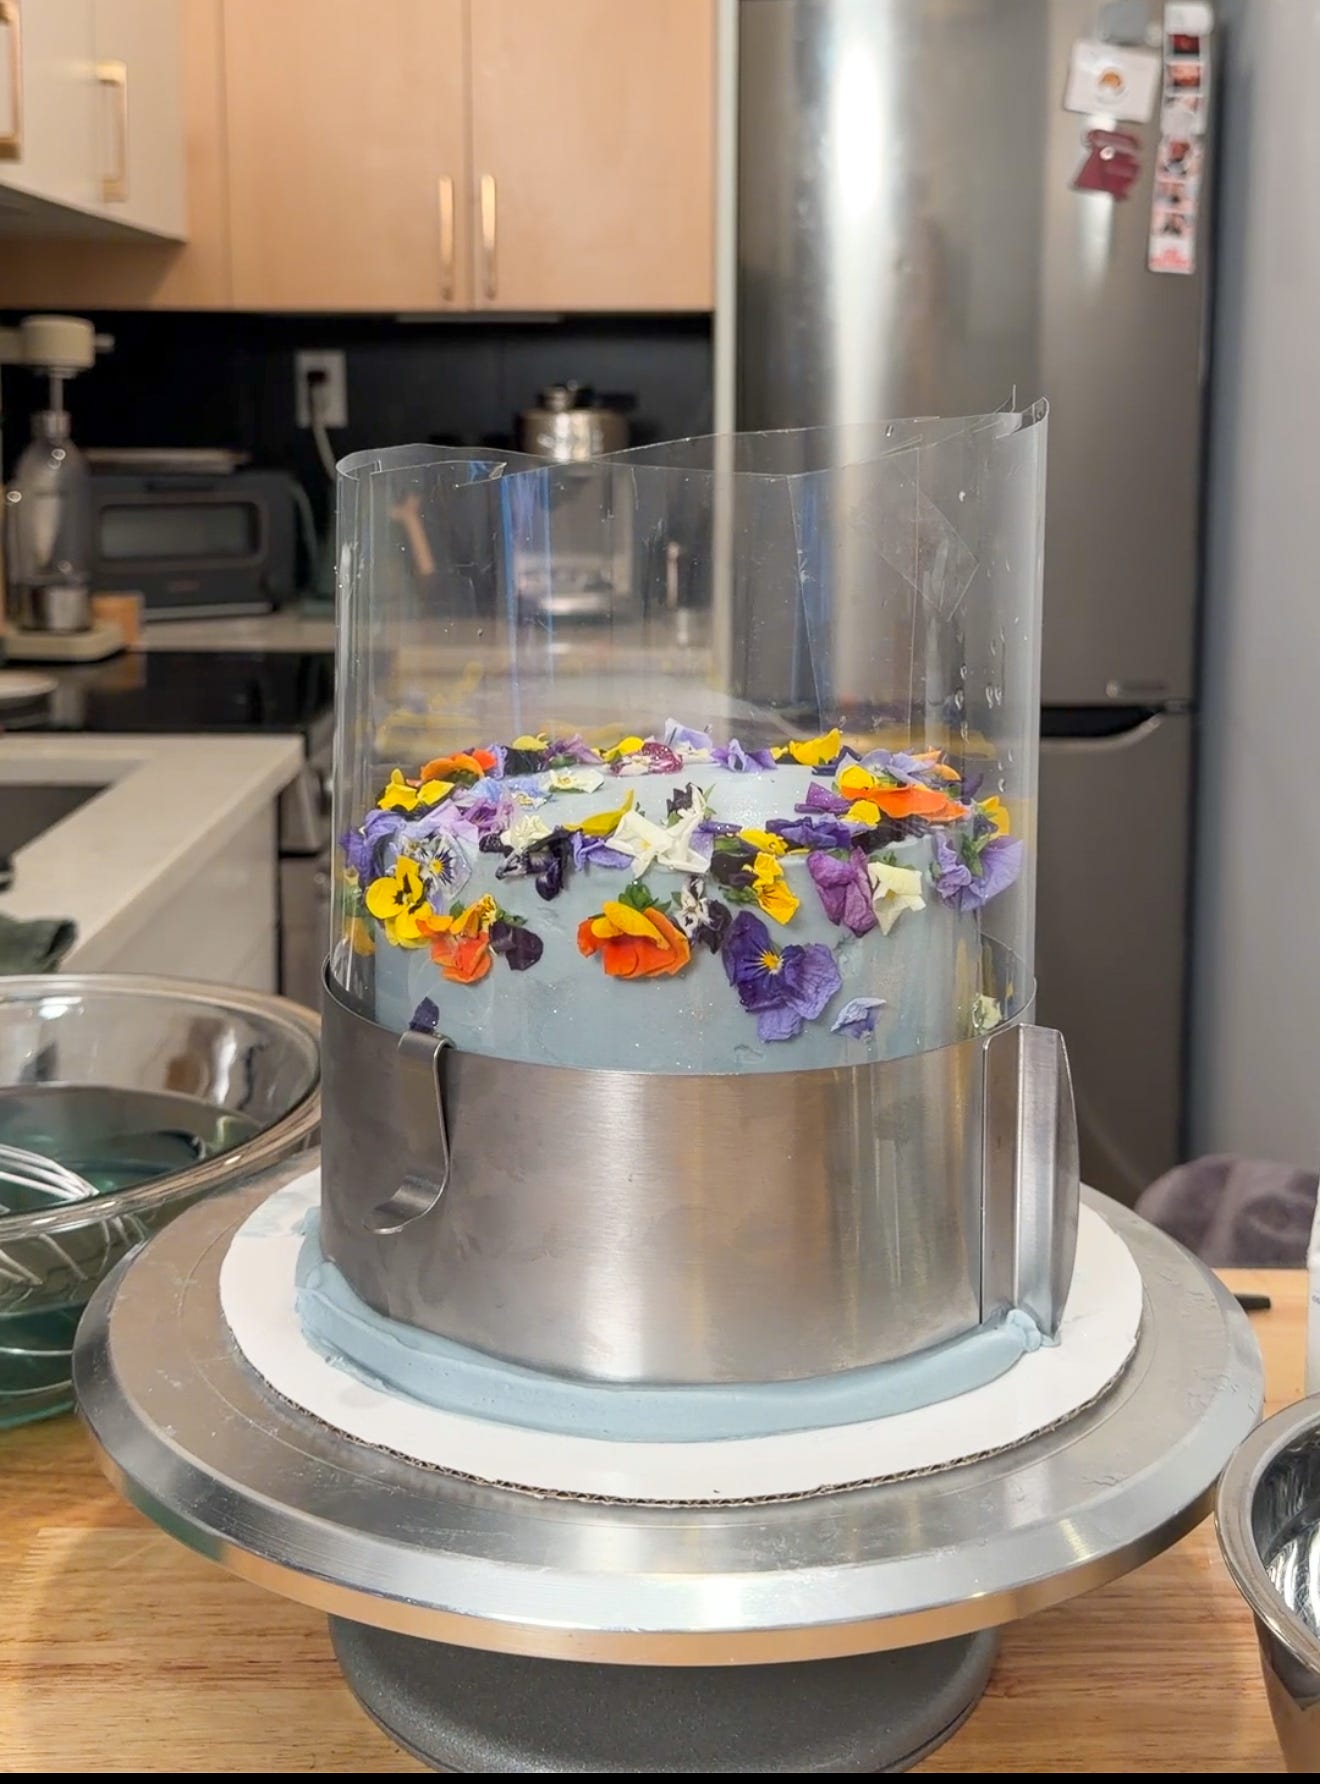
Place the cake inside an adjustable cake ring, then resize the ring so there is about a 1/2-inch border between the edge of the cake and the inside of the ring. Try to keep the cake centered so the border is even all the way around.
Line the inside of the cake ring with a sheet of acetate. Where the ends of the acetate meet, tape along the seam securely so the gelatin cannot leak out the side.
Once the acetate is in place, pipe a thin layer of ganache around the outside edge of the cake, filling the gap between the cake and the acetate. This helps create a tight seal and prevents the gelatin from slipping underneath or leaking through any gaps.
Make a batch of gelatin (see below)
Making the Gelatin
Making the gelatin was one of the trickiest parts of this cake because I wanted to balance two things that do not always go hand in hand: a crystal-clear finish and a bloom that was strong enough to hold its shape once unmolded.
What is bloom?
Bloom is the measurement used to describe the strength of gelatin. The higher the bloom number, the stronger the gelling power. A higher bloom gelatin will set more firmly than a lower bloom gelatin when used in the same quantity.
You want to use the highest bloom gelatin you can find for this recipe.
The traditional Knox gelatin found in the US has a bloom of 225. the gelatin I ended up using was a European sheet gelatin, which has a bloom of 200, but I found an even stronger one that I would use in the future.
I settled on using sheet gelatin, as opposed to powder, because European gelatin sheets are completely clear. European sheet gelatin also has a much cleaner and nicer taste, compared to American gelatin, which has a bit of a bitter and gamey quality. However, they do have a final texture that’s a little bit more jiggly and less sturdy, compared to its American powdered counterpart. So in the future, I would love to test a combination of the two, but for now this is the process.
For the Gelatin:
For a 6-inch, 3-layered cake:
1250 ml water (4 1/2 cups)
250 g sugar (1 1/4 cups)
16 sheets 230 bloom gelatin (or as strong a bloom as you can find)
Flavoring (optional)
Food coloring of choice
As a general rule, prepare the gelatin according to the package instructions, but use double the amount of gelatin for a firmer, more stable finish that can hold cleanly around the cake.
Bloom the gelatin sheets in very cold water until fully softened.
In a saucepan, combine the 1000 ml water and 250 g sugar. Heat gently, stirring until the sugar has fully dissolved. Do not let the mixture boil aggressively, or the gelatin may lose clarity.
Remove the syrup from the heat and let it cool slightly so it is hot but not boiling.
Squeeze the excess water out of the bloomed gelatin sheets, then add them to the warm syrup.
Stir gently until the gelatin is completely dissolved.
Add your flavoring of choice and coloring a little at a time until you reach the desired shade.
Strain the mixture through a fine-mesh sieve to remove any bubbles or undissolved bits.
Let the gelatin cool until it is no longer hot but still fluid and pourable
Alternative Method - Chill the gelatin in the fridge for about 30 minutes, or until small soft chunks begin to form. This helps keep the mixture from leaking out while still allowing it to be poured.
Pouring the gelatin:
Remove the cake from the freezer, making sure the butter ganache is fully set.
Pour the cooled gelatin around the entire cake, then refrigerate for at least 4 hours, or preferably overnight, until fully set and firm.
Once the gelatin is completely set, remove the cake from the fridge and remove the metal cake ring.
Slowly peel back the acetate sheet to reveal the covered cake.
thanks for making it to the end! for more unique baking recipes and tutorials consider subscribing to support my work
Comments
Nothing yet. Say the first thing.
Sign in to join the conversation.