
But most workflows are highly specialised, focusing on one particular part of the photographic process. And I reckon that if we switch from telephoto to wide angle (see what I did there), there’s a bigger, overarching workflow that we might have been overlooking. Everyone talks about the editing workflow. Hardly anyone talks about what comes before and after it.
So, six steps in a workflow that might help you make photographs you’re proud of, rather than just being satisfied with.
We often get so focused on an edit that we lose our critical faculties and start making poor decisions during the edit. The tweaks and changes we’ve made during the editing process build up like a compounded list in our working memory and take up so much thinking space that it’s tough to think critically about our own photo.
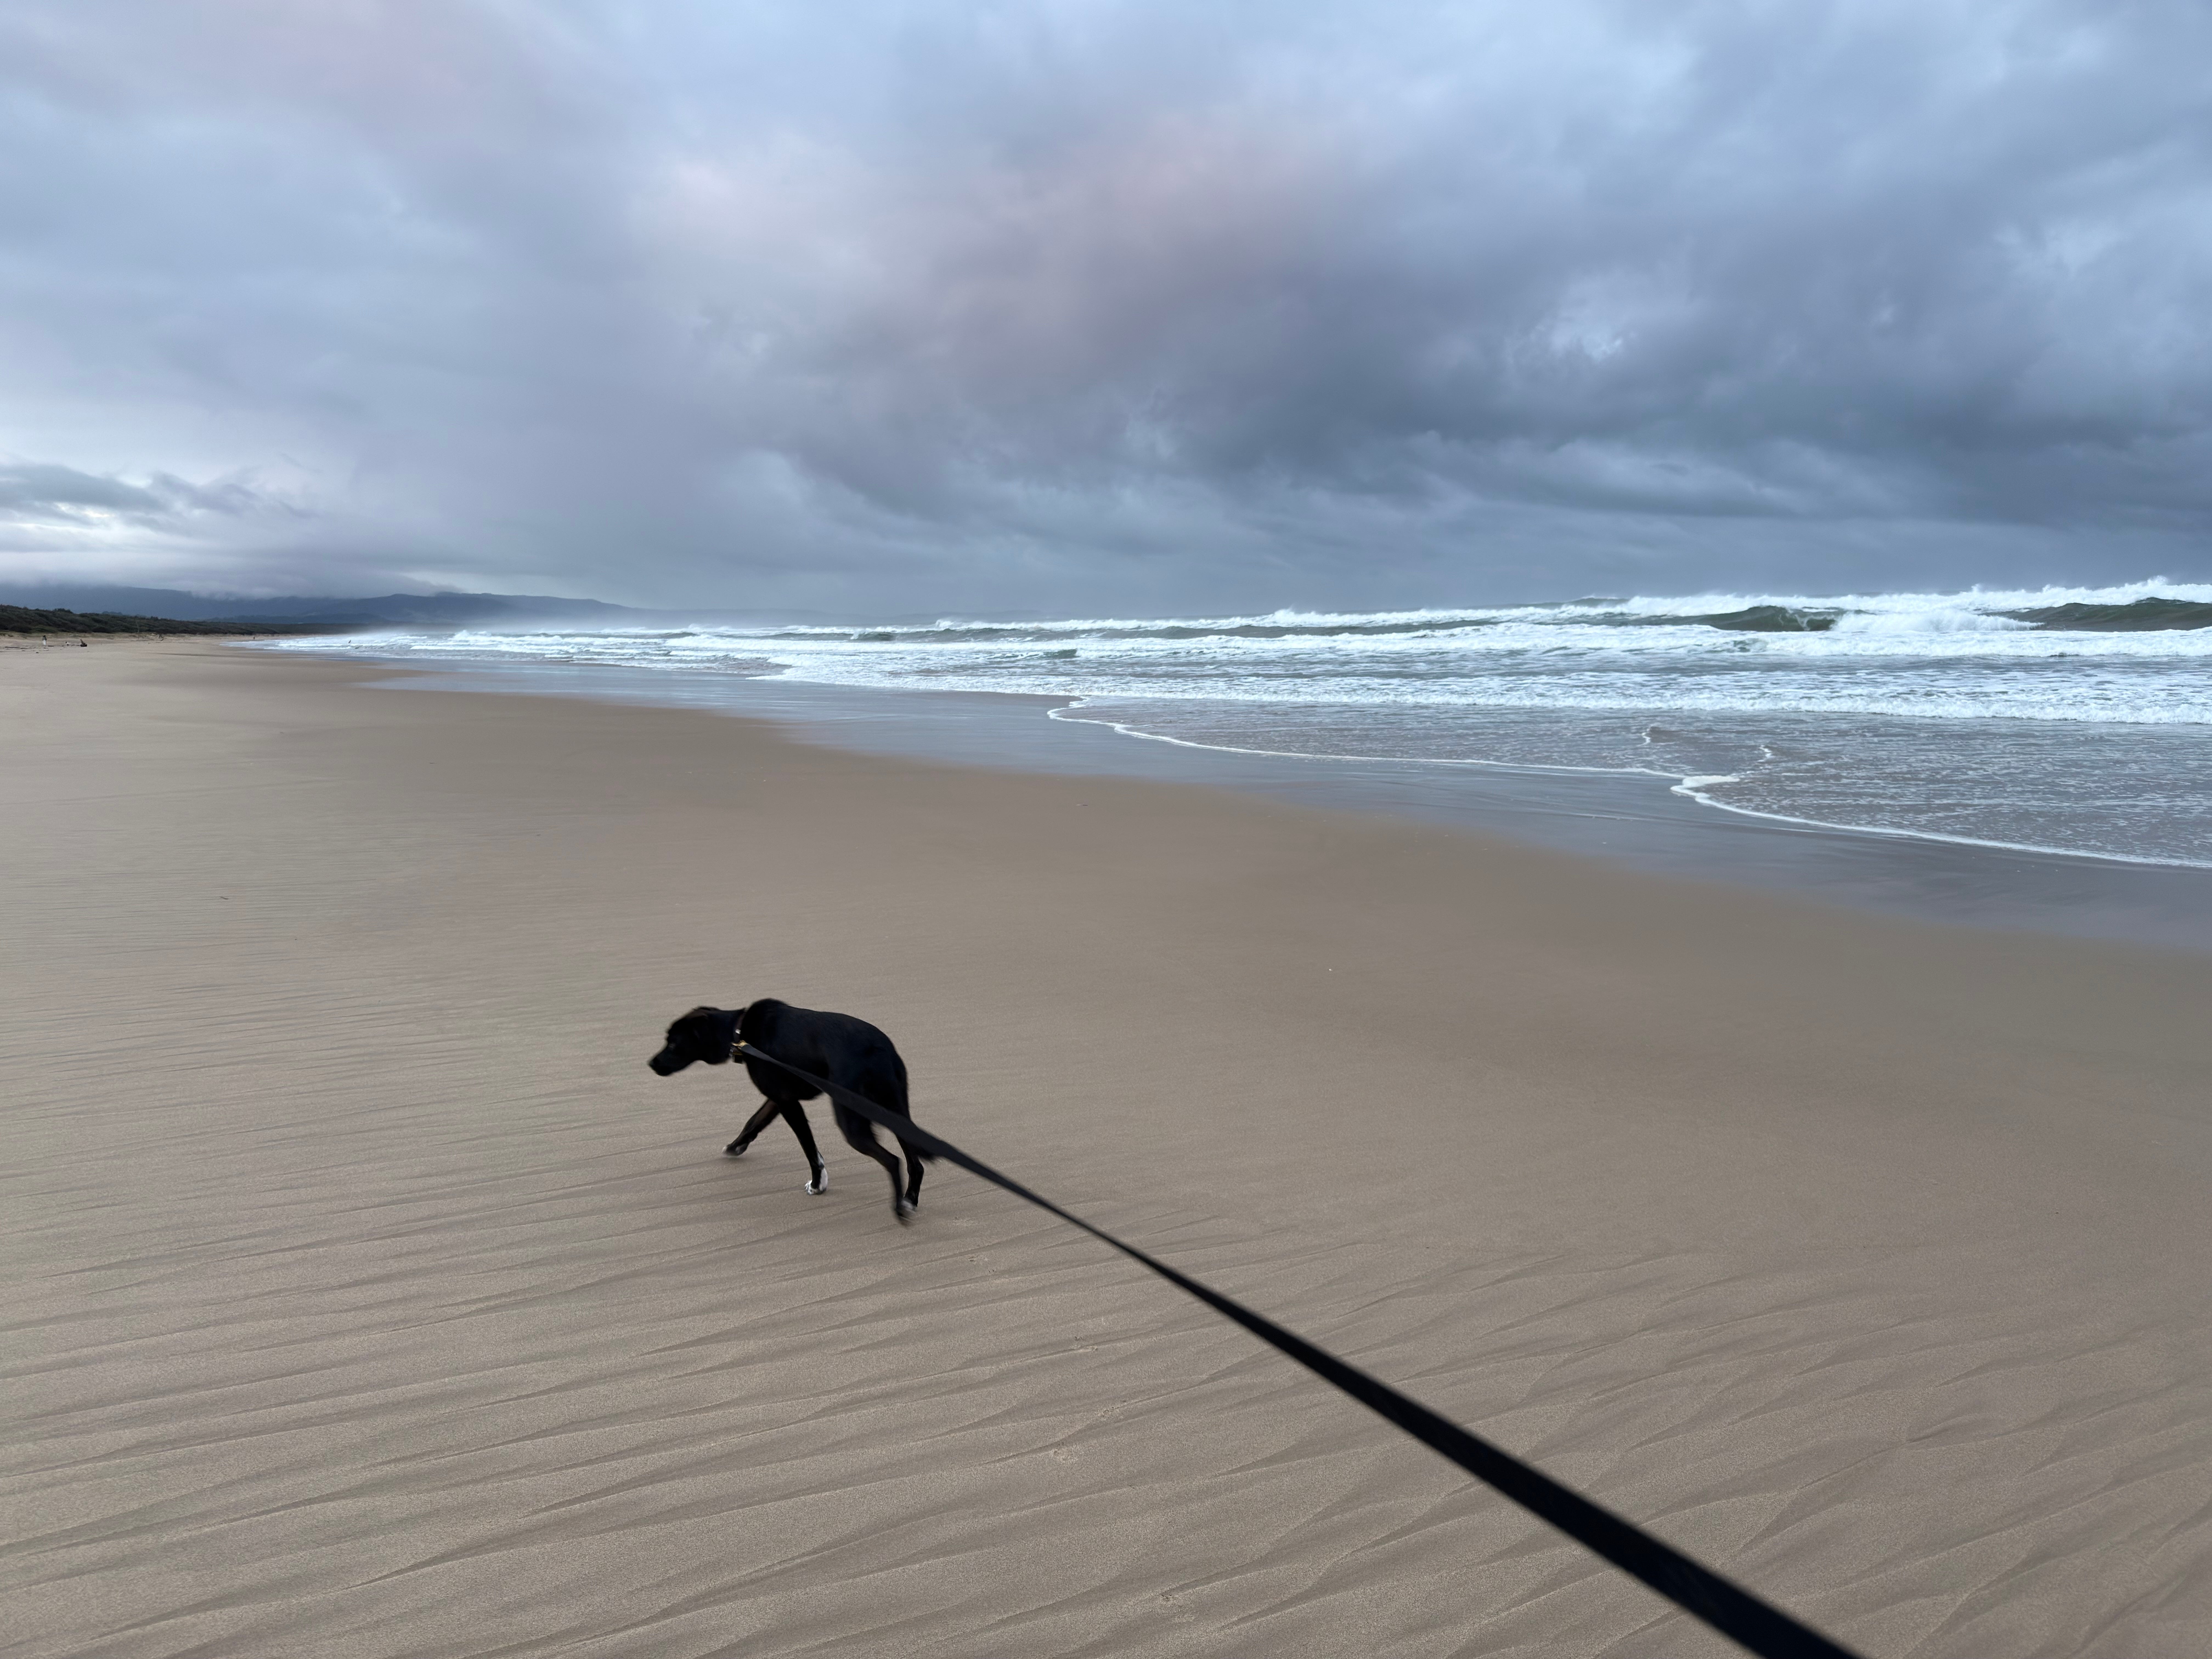
So once you’ve run through your edits, the baseline tweaks and the second run where you work a bit more on your keepers, close the lid on the laptop and go and do something else for a bit. I’d strongly suggest leaving it overnight, but if you’re keen to share it, then at least go and make a coffee, let your eyes look at something else for a period of time.
Then when you return, if there are issues with that edit you are highly likely to spot them the moment you see the image again. Gone too hard on sharpness? Dial it back. Colour balance out of whack? Correct it. Denoise so strong it looks like you had vaseline on your lens? Slide it to the left.
When you feel like your photo is there, no matter how much or how little you tweaked it, there’s a great technique that might make you think twice.
Back in the renaissance, artists of the day were all too familiar with the creative blindness that comes from over-familiarity with anything creative. Leonardo Da Vinci himself put it like this:
“I say that when you paint you should have a flat mirror and often look at your work as reflected in it, when you will see it reversed, and it will appear to you like some other painter’s work, so you will be better able to judge of its faults than in any other way.”
In other words, flipping the image breaks that familiarity and forces you to read your photo as more abstract shapes and values.
These days we don’t need a mirror, we can just flip it horizontally. Lightroom and Capture One both have flip horizontal built in, but you’ll need the Viewpoint plugin for PhotoLab, or just export to Affinity or Photoshop and flip horizontal in there.
When you first start taking photographs, it’s typically because you want a snapshot, a keepsake of some kind to remind you of some thing, some moment or someone. Nobody starts day one as a ‘photographer’. We’re all just ‘person with a camera’ at the beginning.
And the transformation that takes you from ‘person with a camera’ to ‘photographer’ is really a shift in intent. Rather than reacting to an event as it unfolds in front of you, you go out looking for one, hunting for a moment with the deliberate aim of making a photograph that holds together as a composition.
But the distinction between snapshot and photograph often gets blurred and no matter how experienced we are, we sometimes flip between the two accidentally. And if you’re unsure about a particular photo, ask yourself ‘would I edit this photo if I’d taken it a year ago?’
In other words, is it a good photo or just a personal memory? There’s nothing wrong with keeping memories but you might want to consider separating them from your main photo archive.
One of the most common misconceptions about photo editors is that the image you see inside Lightroom, Capture One, PhotoLab or any other editor is what the finished image looks like. Even if you have enabled the relevant high resolution preview mode in your editor, what you are seeing on the screen is only ever an estimation of what it will look like exported to JPEG or TIFF, or printed out.
So before you decide a particular edit is done, export it and then open it up full screen. It’s only when you do this that the tweaks (denoise, sharpening, colour, colour profiles and so on) are fully baked in along with all the edits you made in the sliders.
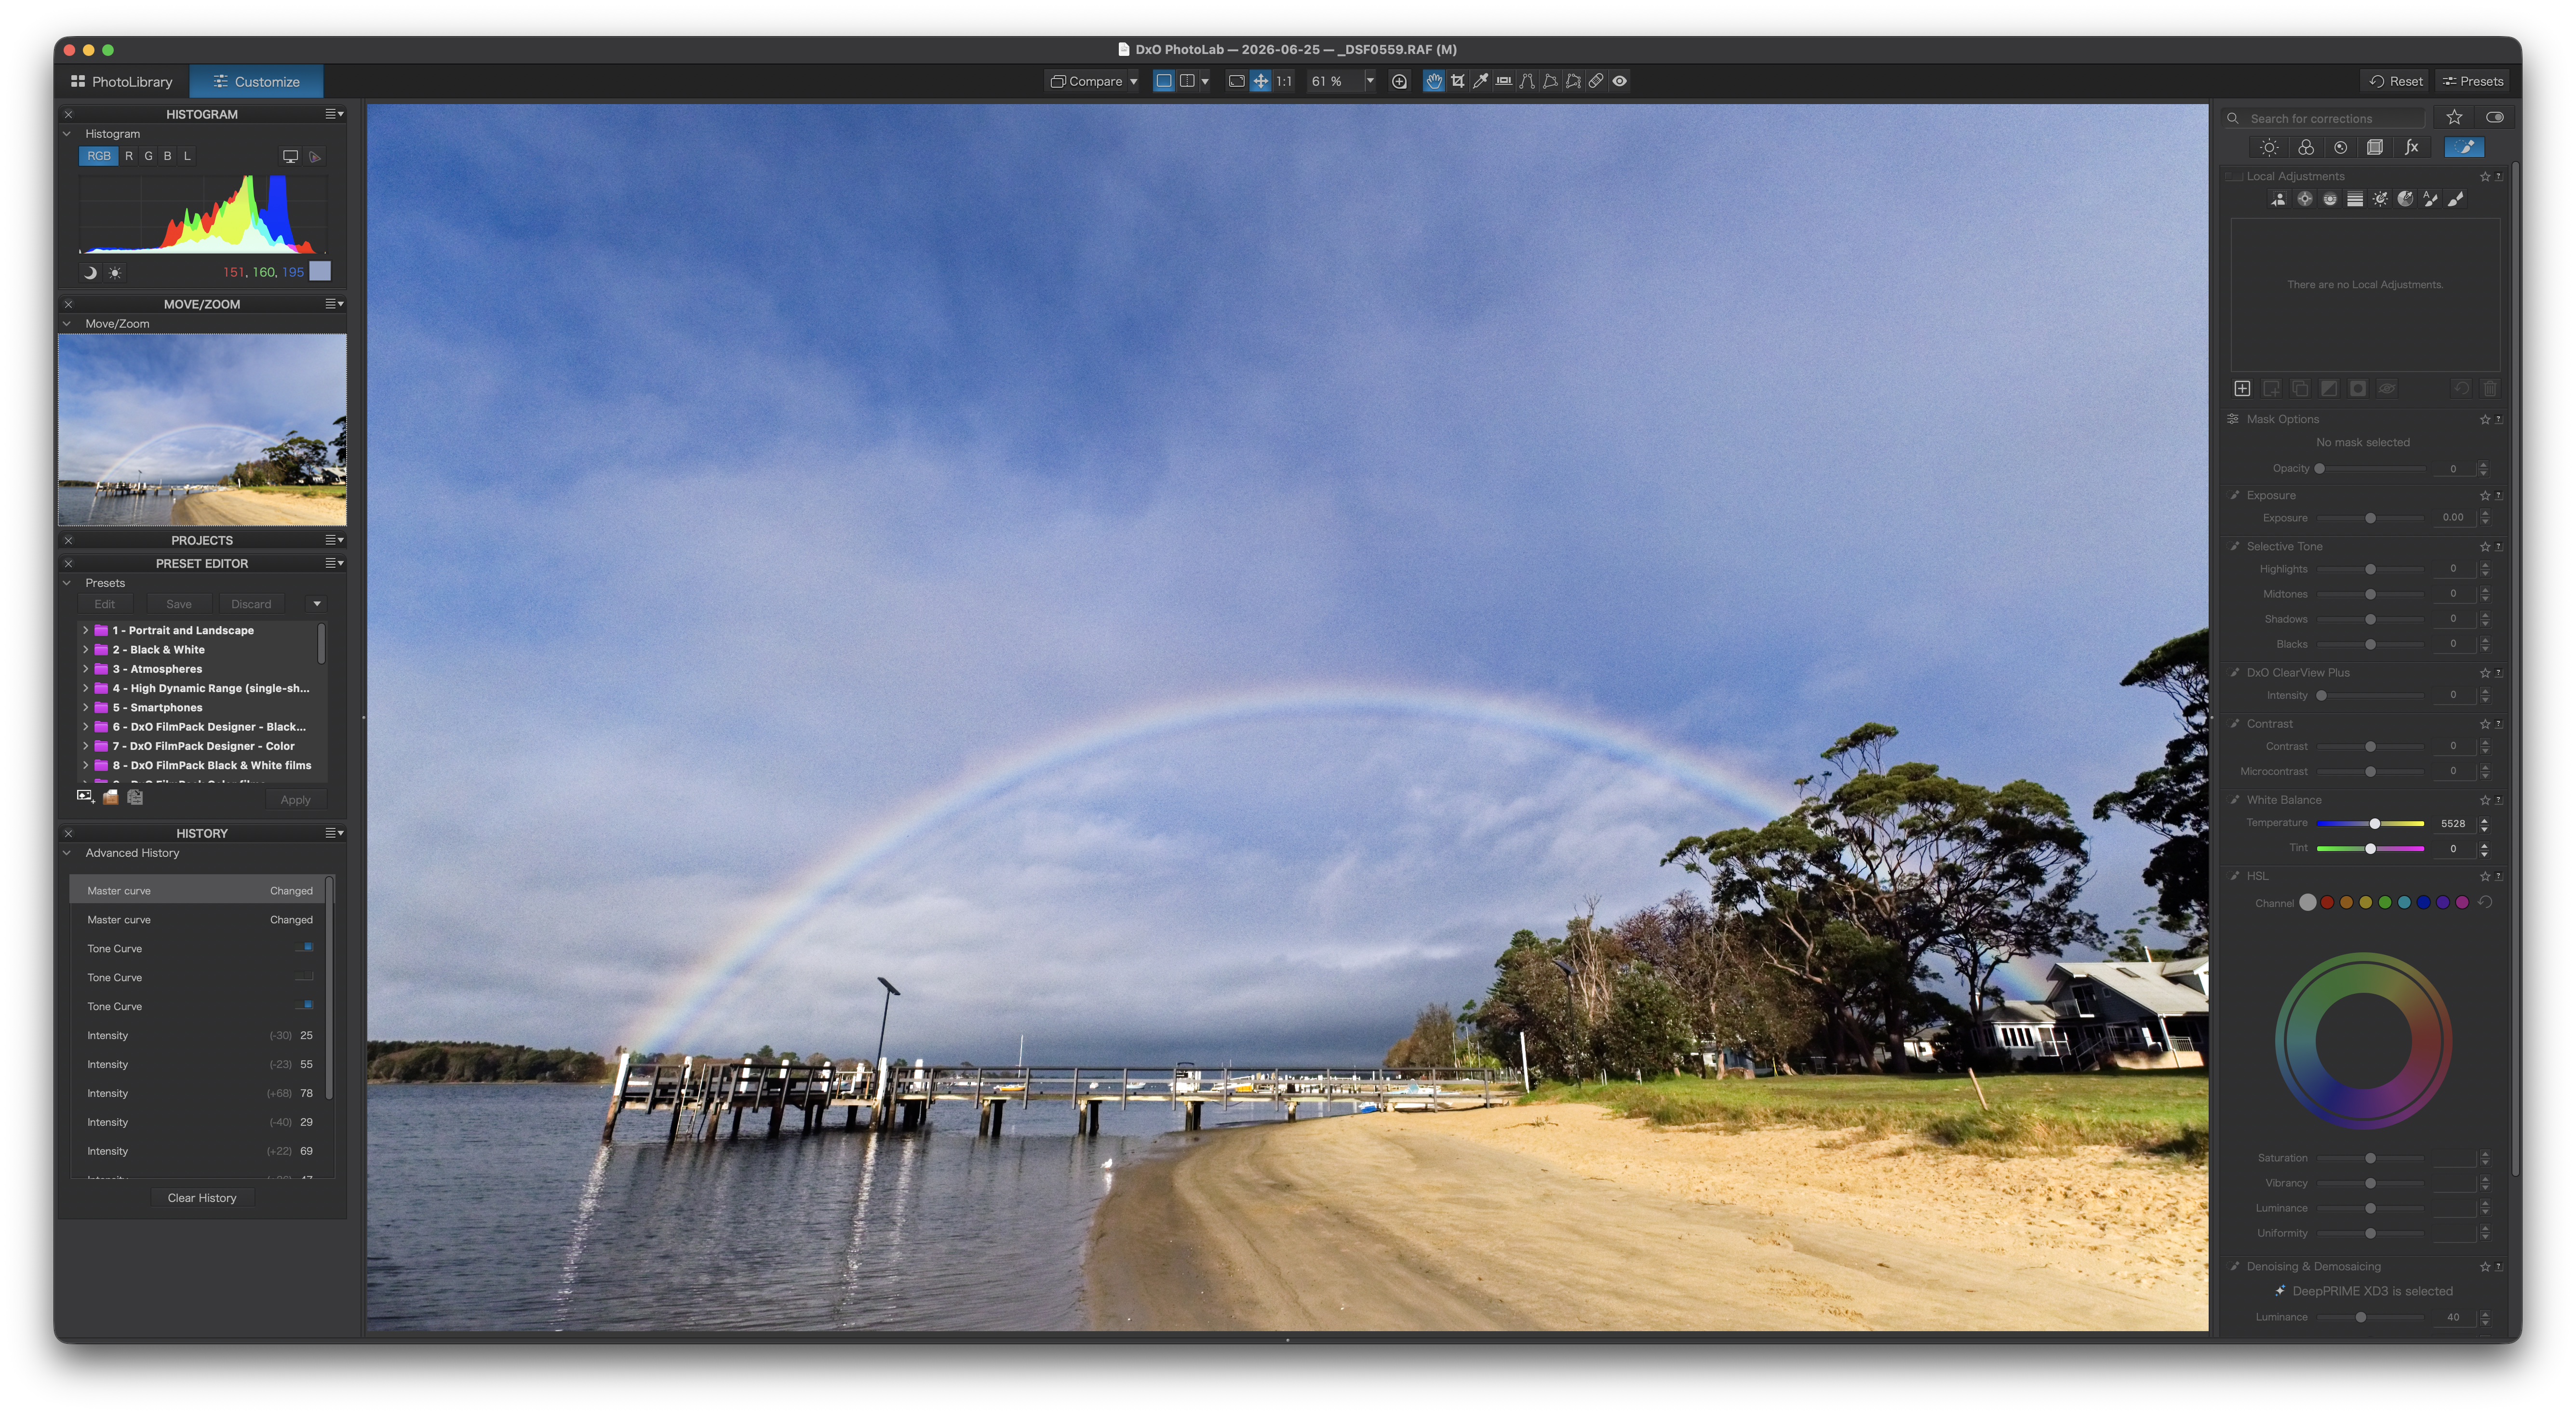
This is particularly true in the case of an app like DxO PhotoLab, where the true impact of the AI denoising and lens sharpness only become apparent on export.
Photographic hoarding is a very real problem in the digital era and I am 100% guilty of this. I have nearly 250,000 photos in my main archive and while I’ve come up with various excuses for hanging on to them, the bigger the catalogue grows the less I start to believe my own bullshit.
My main escape clause has always been that I sell my photographs commercially, primarily to local businesses, but also to state and national organisations such as official tourism agencies like Visit New South Wales. And in the past I’ve been approached and asked if I have a photograph of such a location at such a time, and 99 times out of 100 I have been able to say yes, only because I hung on to nearly everything.
But the reality is that of my nearly quarter of a million images, only about 1500 have had any useful life as a print sale, a JPEG sale to a business or organisation or a shared photo that got some traction and generated interest in my photography. The other 244,500 images are basically digital deadweight.
Many of the locations have changed and while it could be argued that they serve some purpose as a historical or documentary record, nobody but me has access to those photos and there’s no realistic way of making that number of shots publicly available anyway.
Admittedly being a landscape photographer makes my stupid hoard of photographs of far less value than other niches. And if I was a wedding photographer, for instance, then I’d probably keep an archive of those shots for obvious reasons.
But if I was starting again today, the number one tip I’d give myself would be to delete everything except the keepers.
Photographers often lament that they don’t have a ‘style’, or that they have no idea how to tell whether they have one, let alone how to go about developing it. The answer, I think, lies in the final step I’d recommend to any photographer as part of this extra-curricular workflow: debrief yourself, and learn from your own work.
Style is rarely something that you actively choose, it just surfaces on its own once you start noticing the patterns in what you shoot.
So look at the metadata of the five best and five worst shots in your shoot. Does anything leap out? A particular aperture? A lens? An angle? A subject?
In your asset manager we nearly always sort by capture time, which is a singularly unhelpful way of spotting patterns. So instead, sort by lens type or aperture or time of day and look at those photographs as a collection. What strikes you about those images? Can you see a theme emerging? Are all your best shots clustered around one specific lens or focal length? Or is there a subject that you’ve unconsciously repeated across several shoots?
Given enough time you will spot patterns in your work and when you do, you can start leaning into it, to develop it and to create a kind of photographic history that is uniquely yours.
So: brew, flip, separate, bake, delete and debrief. Sounds like a bad pub band, but works better than any preset pack.
No posts
Comments
Nothing yet. Say the first thing.
Sign in to join the conversation.